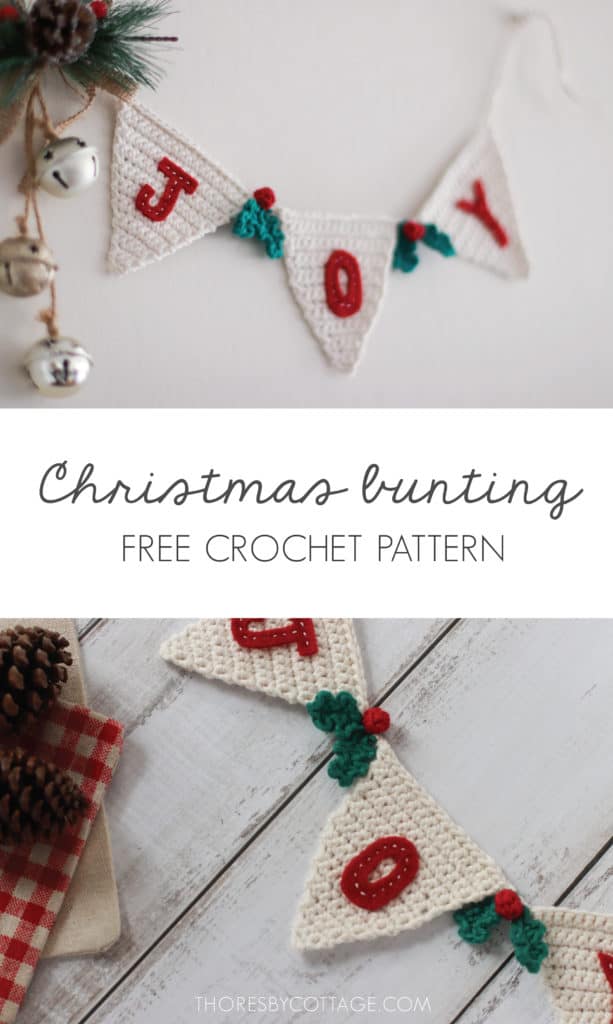
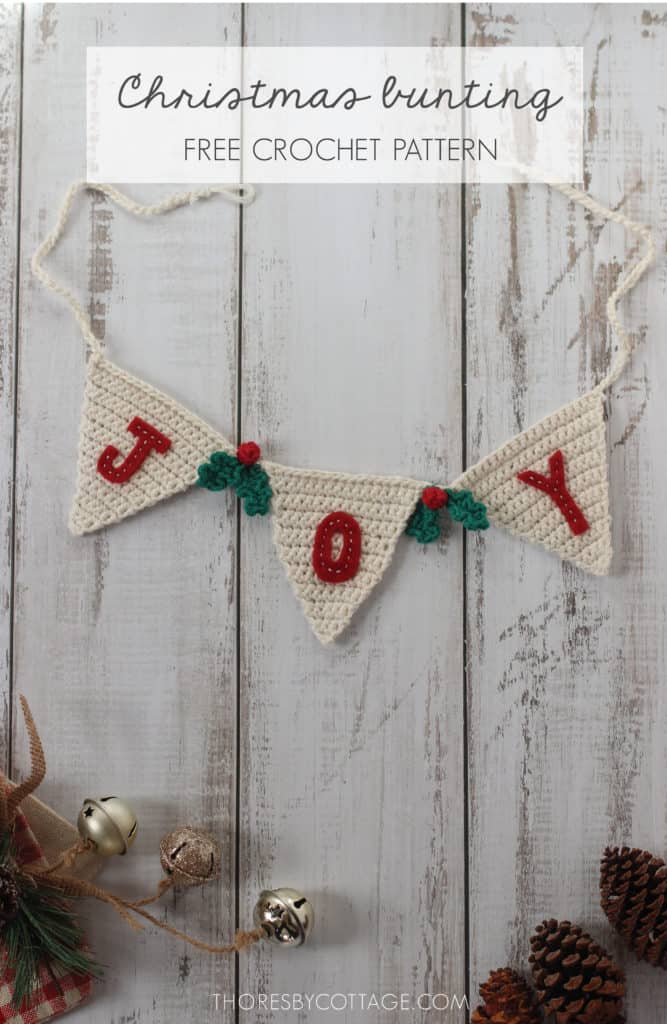
I know it’s only July, but this is the perfect time of year to get ahead of some of your Christmas makes! I’m delighted to share my free Christmas bunting crochet pattern with you. I designed this pattern as part of the Christmas in July Make-a-long with Underground Crafter. This adorable crochet Christmas bunting pattern can easily be adjusted to add in as many letters/words as you like!
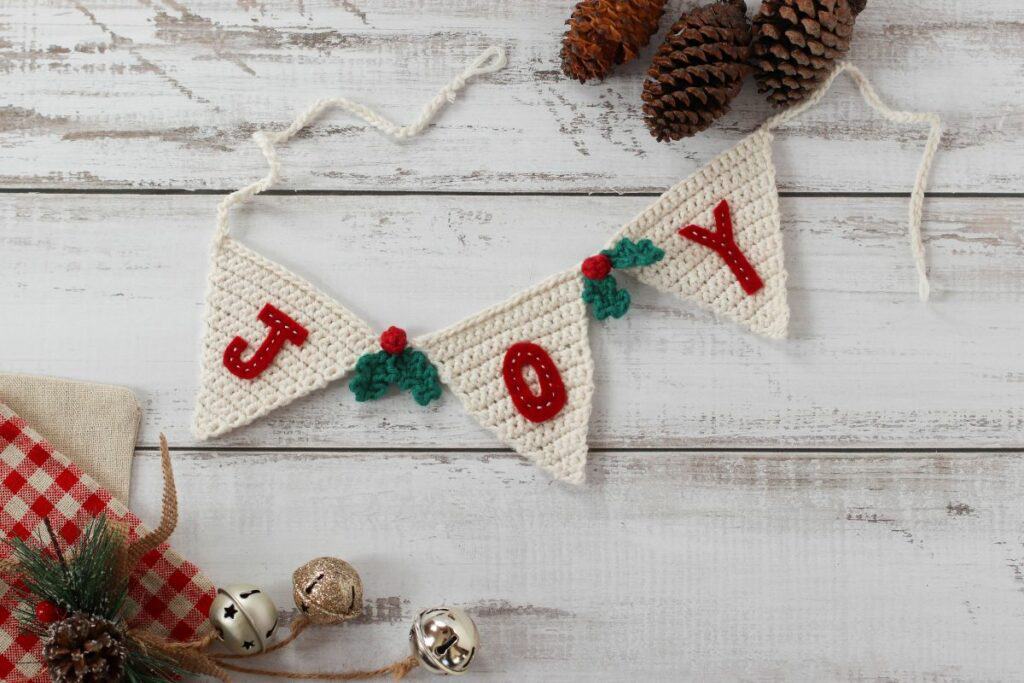
Materials
Light worsted cotton yarn in the following colors:
Cream (e.g. Paintbox Yarn, Light Champagne or Lily Sugar n Cream, Ecru)
Green (e.g. Paintbox Yarn, Evergreen or Lily Sugar n Cream, Dark Pine)
Red (e.g. Paintbox Yarn, Red Wine or Lily Sugar n Cream, Wine)
2.75mm crochet hook
White embroidery cotton
Sewing needle
Yarn needle
Felt in the color of your choice (the piece should be about 10cm x 5cm)
Sharp scissors
Please look here for pattern abbreviations. This pattern uses US crochet terms.
Free Christmas Bunting Crochet Pattern
First up we crochet the cream bunting triangles. Make as many triangles as you need. I made 3, one for each letter of the word “JOY”
R1. ch 2. In the 2nd ch from hook, work 2 sc. ch 1 and turn. This will form the bottom tip of your triangle.
R2. Work a sc into the next st and 2 sc into the last st. ch 1 and turn (3)
R3. Work a sc into the next 2 st, 2 sc into the last st. ch 1 and turn (4)
Continue working in this manner, with a sc increase (i.e. 2sc) in the last st of each row, until your triangle is 20 st wide (19 rows). Fasten off and weave in ends. Block the triangles. Unsure how to block crochet? Follow my easy blocking tutorial.
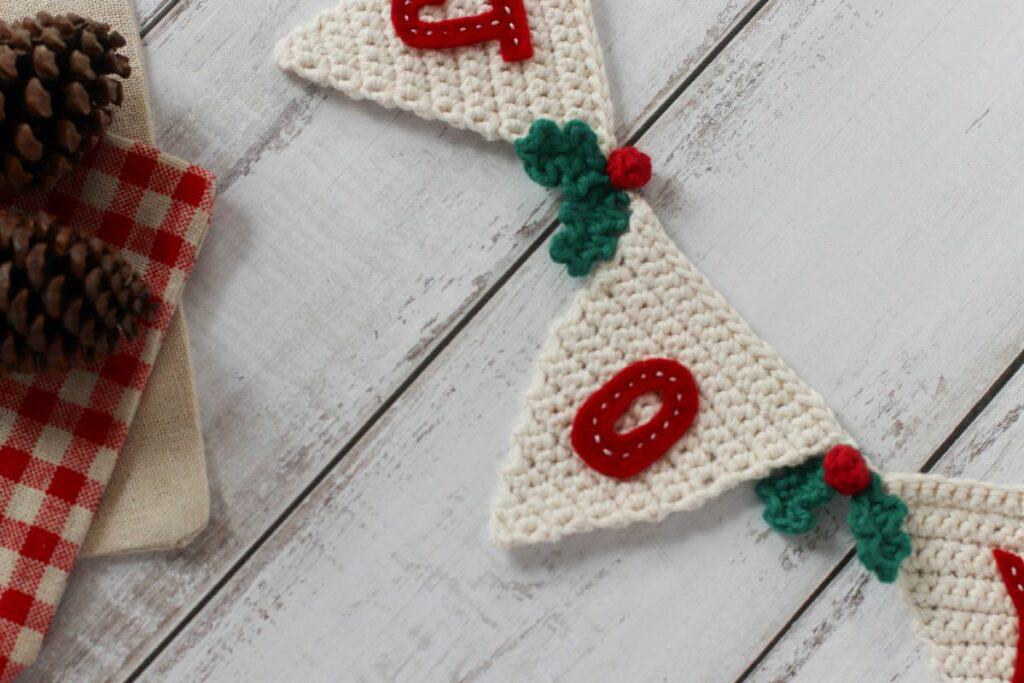
Holly decoration
The holly decoration is made up of several components, namely 2 holly leaves and a holly berry.
First work 4 holly leaves (or as many as you require) as follows:
1) Using green yarn, ch 6, slst into the 2nd ch from hook. *sc into next st, picot (ch 2, slst into 2nd ch from hook), slst into next st. Repeat from * once more.
2) Ch 1. Working on the other side of the ch, *slst into next st, sc into next st, picot. Repeat from * once more. Slst into last st. Ch 1. Fasten off leaving a tail for joining.
Next, using red yarn, work 2 holly berries (or as many as you require) as follows:
1) Into a mr, sc 5. Pull the ring closed (5)
2) Work a sc into each st around (5)
3) Fasten off, leaving a tail.
4) Shape the berry: When working in the round, the berry will tend towards turning inside out. Make sure that the berry is turned the right way around. Thread a needle onto the yarn tail and thread the yarn tail in and out of the last rnd of crochet. Pull the yarn tail to cinch the open end of the berry together. Leave the remaining yarn tail for joining.
Assembly
1) Cut letters out of felt and stitch them onto the middle of the triangles using the white embroidery floss. I used a simple tacking stitch but you can attach the felt letters with any stitch you like!

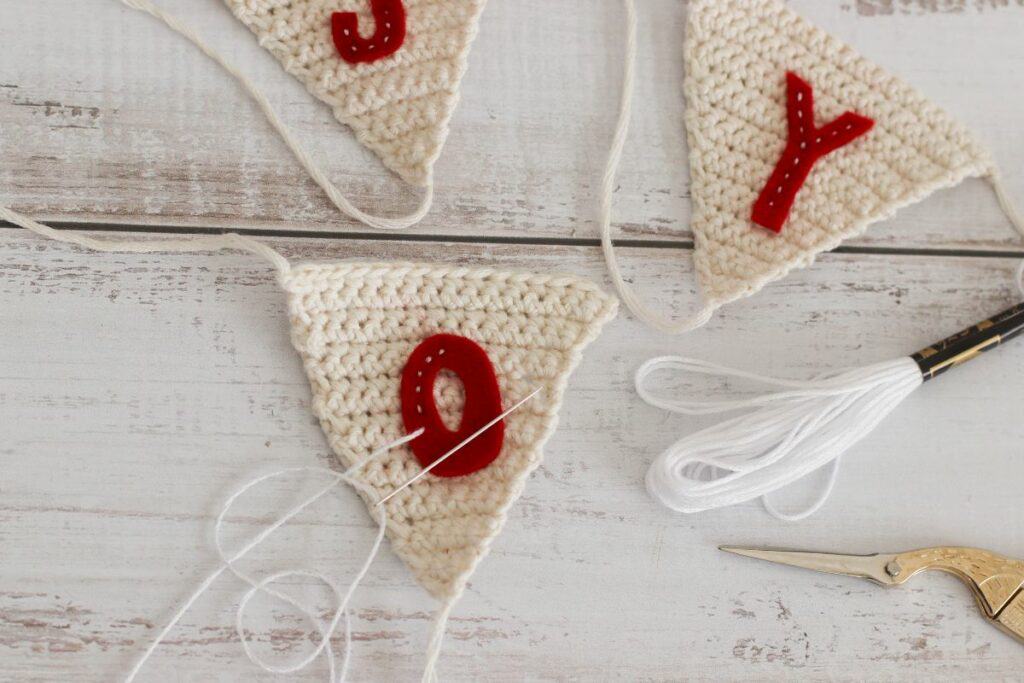
2) Using the cream yarn, leave a yarn tail and ch 40 st. With the letter facing away from you, join the first triangle by slst across (20 st).
3) ch 4 and then add the next triangle by slst across. Repeat step 3 until all letters are joined. Ch 40, fasten off and leave a yarn tail.
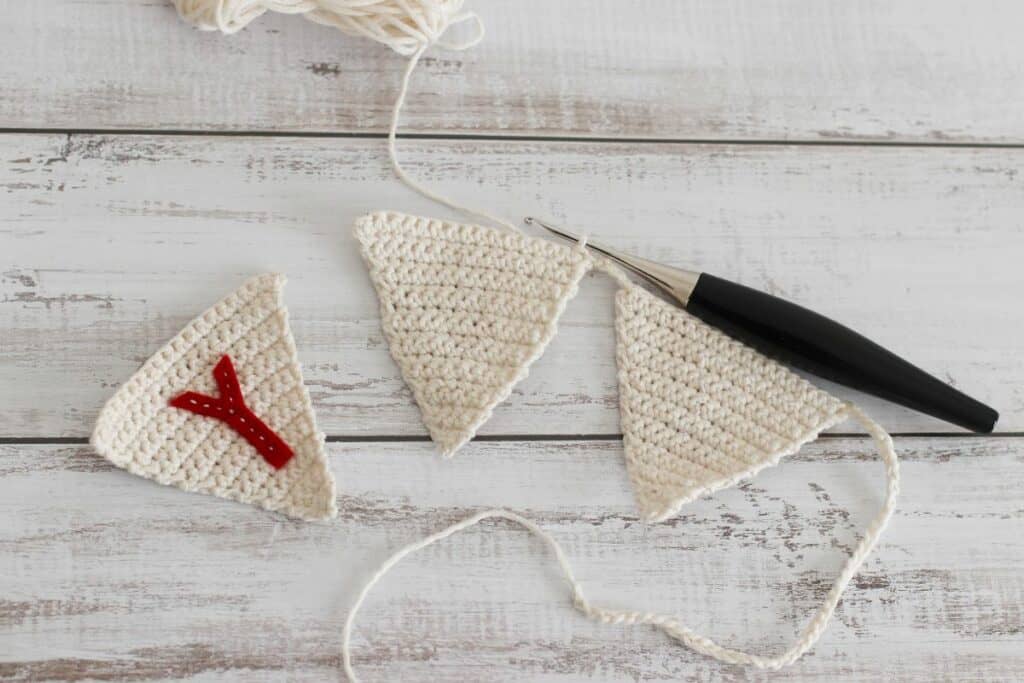
4) Using the cream yarn tails, form a loop (optional) on either end of the ch 40. These loops can be used to hang your bunting.
5) Stitch 2 holly leaves in place along each ch 4 (i.e. between each triangle)
6) Stitch a holly berry between the two leaves.
I hope you have enjoyed this Christmas bunting crochet pattern. Looking for more Christmas patterns? Head over to my Patterns page for plenty of free, festive crochet patterns.
Happy Christmas in July everyone!
Yours in craft,
Caitie x

It will really be helpful
I made this and crocheted the letters with a Moody pattern. I made the flags bigger and the leaves a little pointier. I’ve found much joy from making this…although I’m Argentine so I changed “joy” to “paz”. Thank you for investing the time to share this lovely pattern