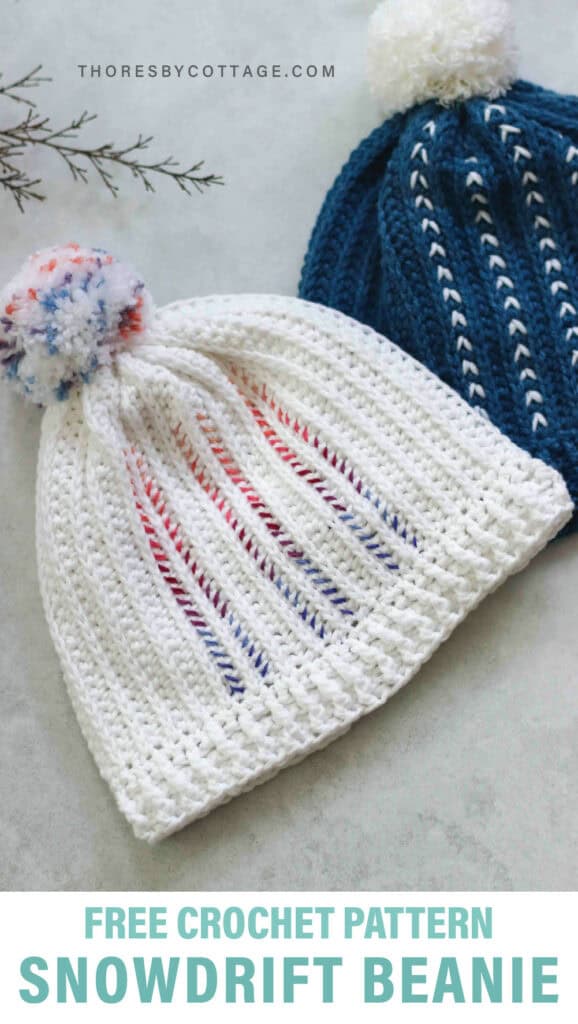
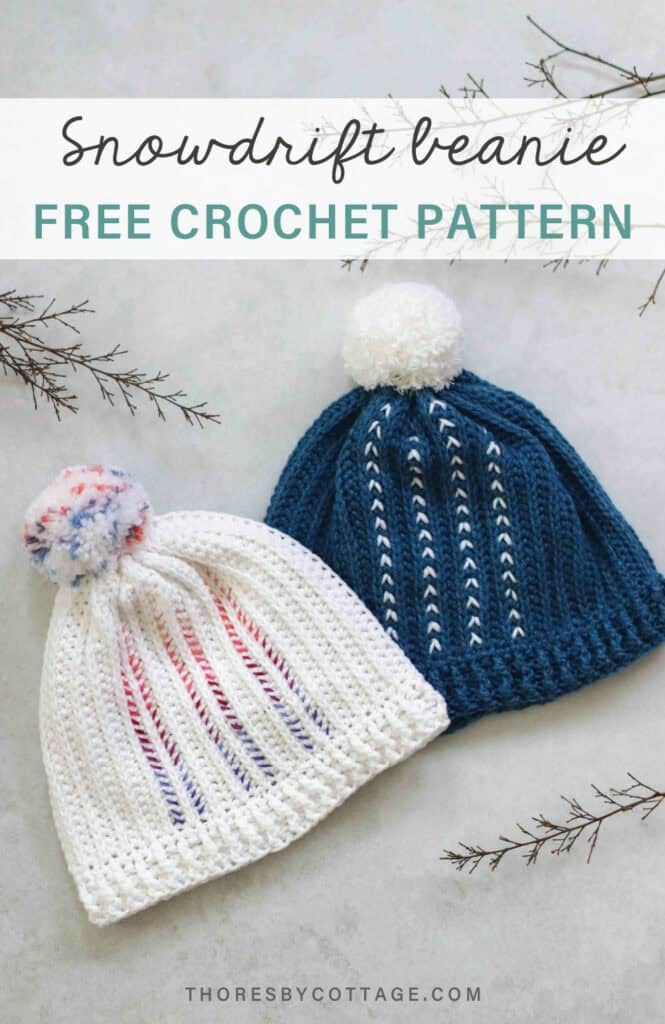
The Snowdrift crochet beanie is wonderfully textured and cozy. It is a great pattern for beginners!
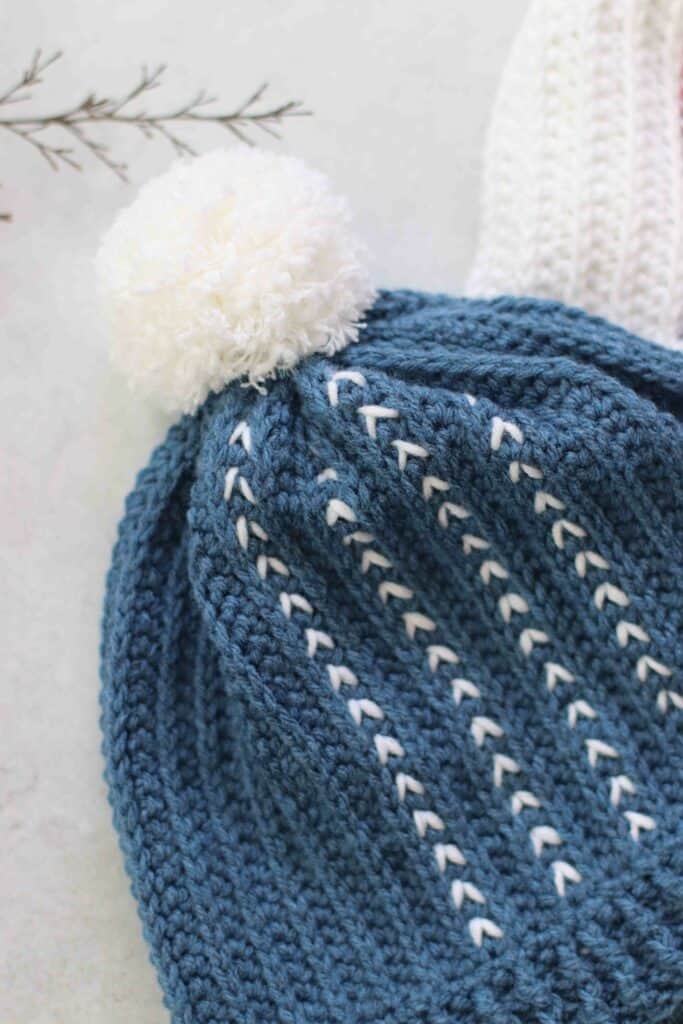
It is best to work this crochet beanie in a single color, rather than variegated yarn, to make the texture really pop. While the Snowdrift crochet beanie is best worked in a plain color, adding that extra touch of embroidery really does add to the visual interest of this crochet hat. I recommend you give it a go!
The Snowdrift crochet beanie pattern can easily be adjusted to fit a wide range of sizes (please refer to the table below for measurements). The fit of the hat is in a more traditional style, midway between snug and slouchy.
Crochet beanie size chart
Below is a standardised table of crochet beanie measurements (adapted from the sizing chart from the Crochet Guild of America) which is a good approximation of beanie sizes (including some ease for good fit), however, if possible, it is always a good idea to try and obtain an accurate measurement from the person who is going to wear the hat!
| Age | Head Circumference | Hat height* |
| Newborn | 14″ / 36cm | 6″ / 15cm |
| Baby (3 – 6 months) | 17″ / 43cm | 7″ / 18cm |
| Baby (6 – 12 months) | 18″ / 46 cm | 7.5″ / 19cm |
| Toddler (12 months – 3 years) | 19″ / 48cm | 8″ / 20cm |
| Child (3 – 10 years) | 20″ / 51cm | 8.5″ / 22cm |
| Teen | 21″ / 53cm | 10″ / 25cm |
| Adult (Small – Medium) | 22.5″ / 57cm | 11″ / 28cm |
| Adult (Medium – Large) | 24″ / 61cm | 11.5″ / 29cm |
A note on gauge: The gauge for this pattern is not too important, as long as the circumference and height measurements are met.
Crochet beanie construction
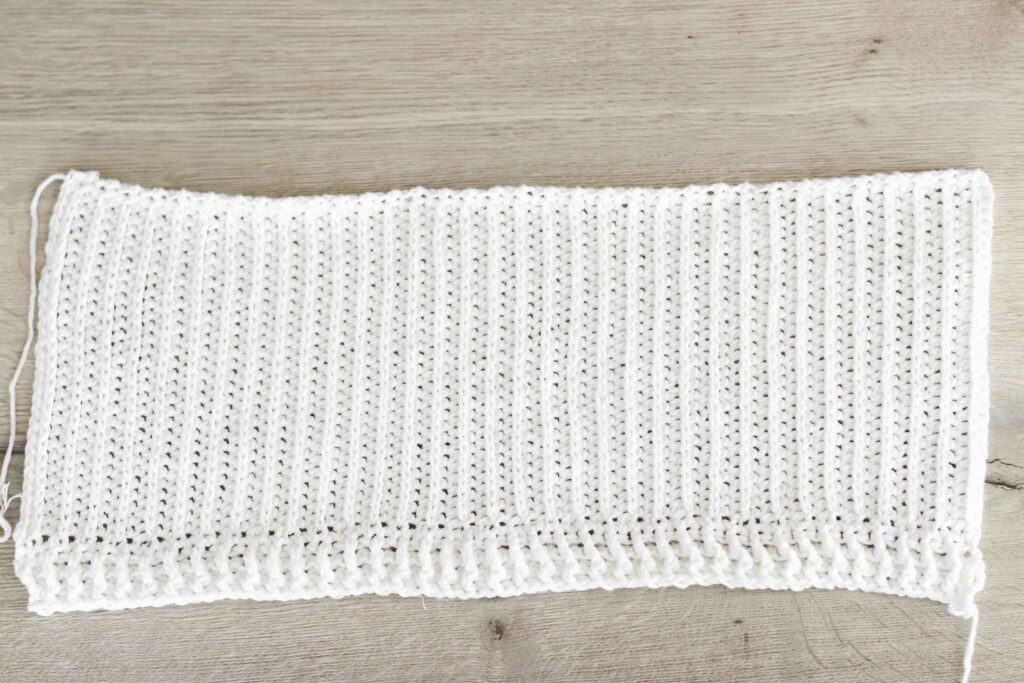
The entire Snowdrift crochet beanie, including the body of the beanie and the brim, is worked flat and then seamed into a tube shape. Because of the ridged texture, the join is completely invisible, so no need to worry about an ugly seam.
Snowdrift crochet beanie pattern requirements
Worsted weight yarn in your color of choice
5mm crochet hook
Pom pom
Sewing needle
Embroidery thread / yarn for details
Pattern notes:
- This pattern uses US terminology (see pattern abbreviations)
- View my recommendations for my favourite tools and supplies on Amazon
- Finished size: Childs size
How to adjust the size of the beanie
To make the hat taller and more slouchy, add more starting chains (approximately 2 chains for every 3 cm). To make the hat wider (i.e. to fit larger sizes), add more rows to the body of the hat until the desired length (circumference) is reached. This should roughly match the head circumference in the table above.
Snowdrift crochet beanie pattern (child’s size)
R1: Ch 32, sk 2, hdc across (30)
R2: (WS) Ch 1, turn, sc in first st, sc in 3rd loop across, sc in last st.
R3: (RS) Ch 1, turn , hdc across
R4: Ch 1, turn sc in first st, sc in 3rd loop across
Rep R3 + 4
Continue until crochet piece measures approximately 50cm / 20” long (this is to fit a child – please refer to table for additional sizing). Finish at the end of a sc row. Do not fasten off!
How to add the brim the crochet beanie
R1: Ch 2 and turn work 90 degrees. We will now work along the long edge of the work. The wrong side should be facing you!
Sc an even number of stitches across. The exact number of stitches is not important, as long as they are worked evenly. Too many stitches will make the brim flappy, and too few will make the brim too tight.
R2: Ch 2, turn, work FPdc in next st, work BPdc in next st. Alternate with FPdc and BPdc across. Work a dc in the last st.
R3: Ch 2 (counts as a stitch), alternate FPdc and BPdc stitches, working FPdc around stitches pushing to the front of the work, and BPdc around stitches at the back of the work.
R4: Repeat R3 of brim.
You can repeat R4 for a longer brim. Fasten off and leave a long tail for seaming.
Add embroidery to the crochet beanie
Add the decorative embroidery before seaming the hat. Use yarn or embroidery thread to add details to the beanie.
Work a series of whip stitches or v shaped stitches evenly between the ridges (see images below for how to work the stitches in different directions).
For an ombre effect, select 5 to 7 different colors that blend together. Work an even number of decorative stitches in each color.
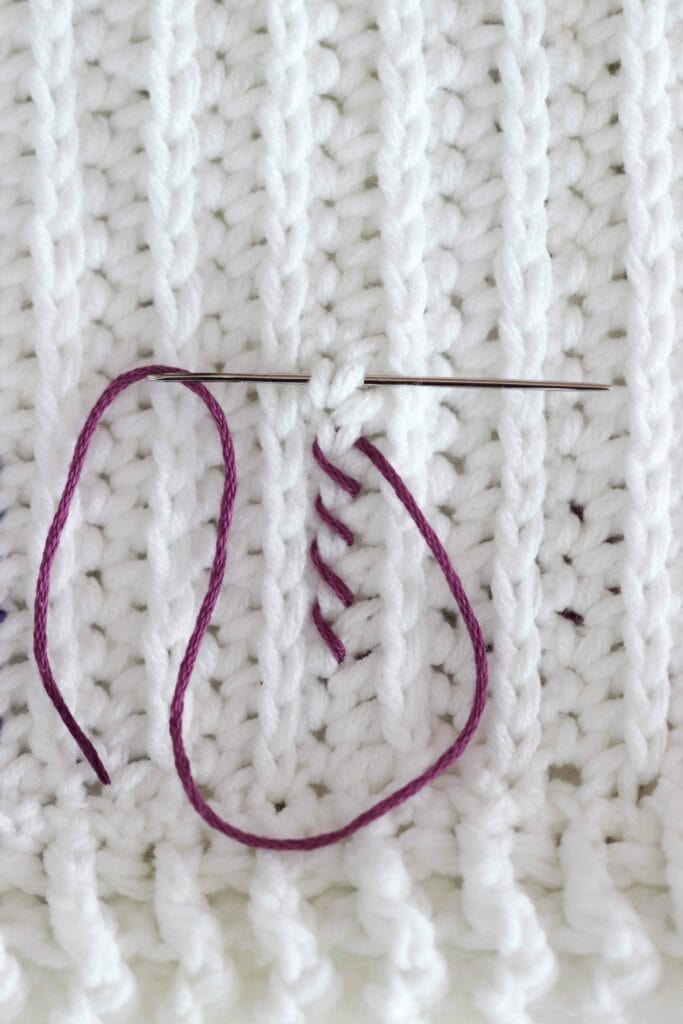
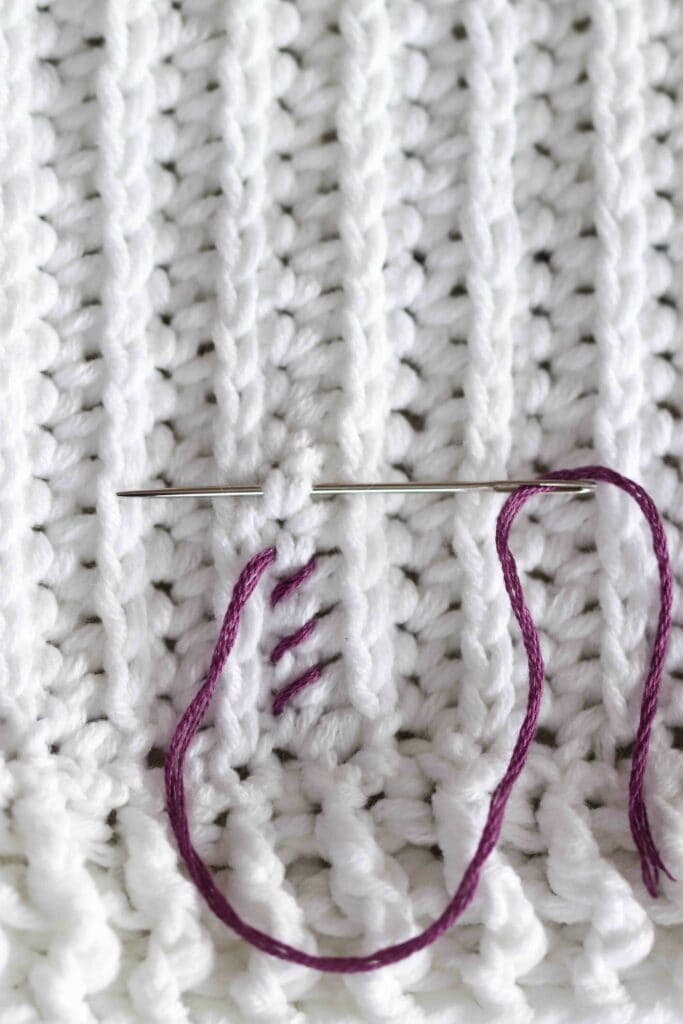
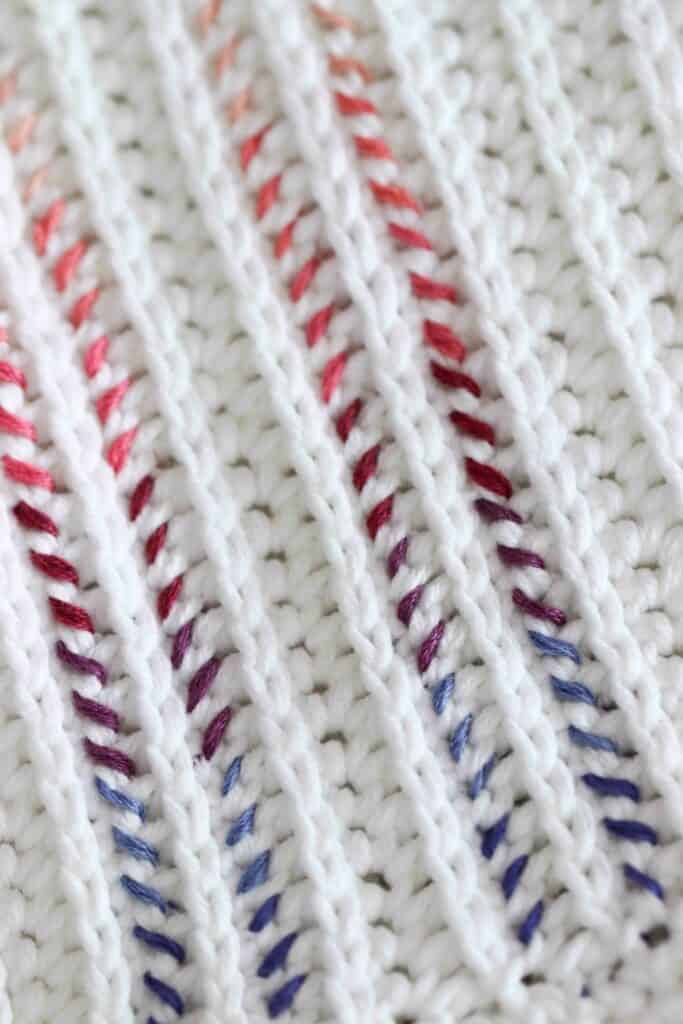
TIP: Do not pull the yarn or thread too tightly as it will disappear into the yarn.
Finishing off
Using the yarn tail, cinch the top of the hat closed by working long stitches (1” – 1.5” / 3cm – 4cm) in and out across the top of the hat. Pull the yarn tightly to close the top of the hat.
Use the remaining yarn tail (or add a new piece if needed) to seam together the open edges. I like to use mattress stitch (stitching through the front loop on either side of the join) but any join will work.
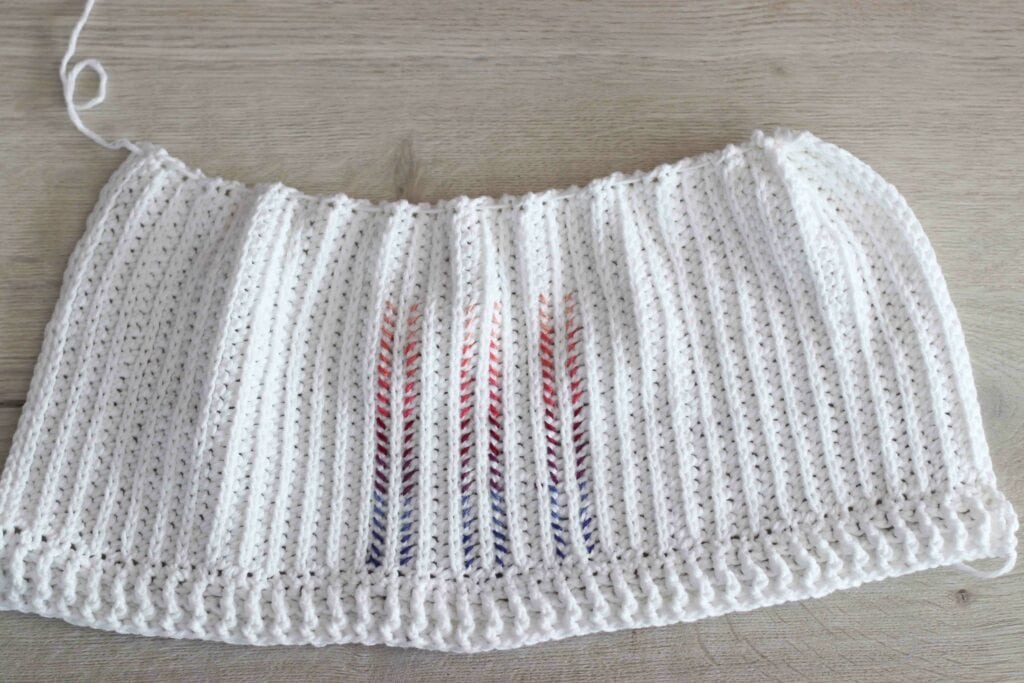
TIP: Make sure the stitches are not too small as this will create too much bulk and you won’t be able to close the hole!
If you prefer, you can seam the body of the hat into a tube shape first, and then cinch the top closed.
Sew on the pom pom.
This hat pairs beautifully with the Frosted Glass Cowl.
