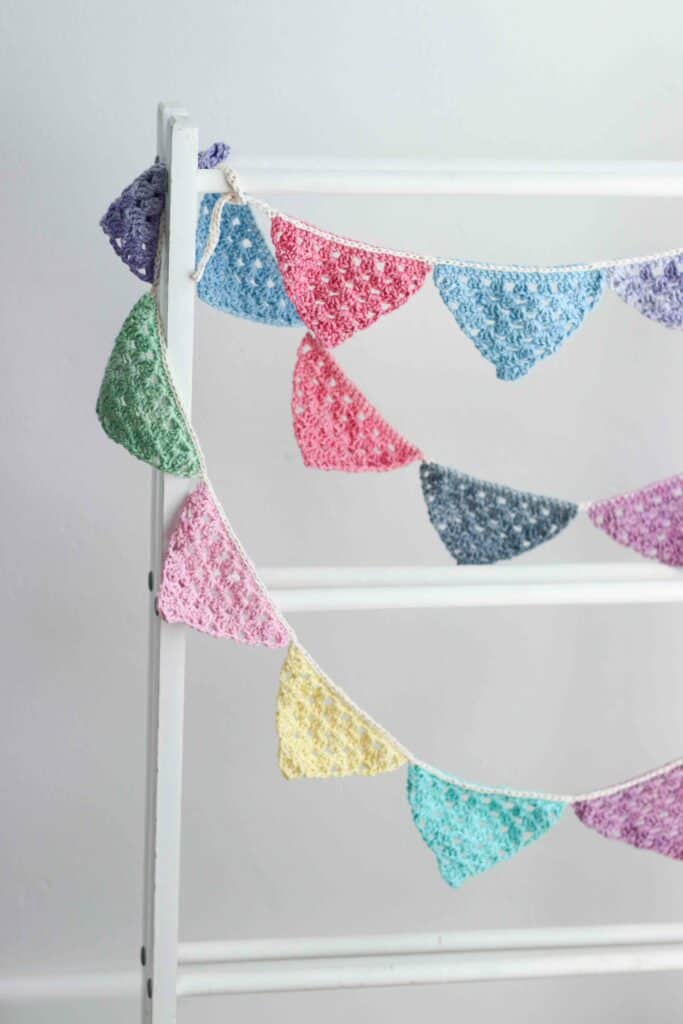
It’s a new year, a clean start, and time to celebrate! And what better way to decorate for a celebration than with some granny stitch crochet bunting.
My new year often starts with a bit of decluttering; getting rid of the old and ushering in the new. And this crochet bunting pattern is a great way to use up different colored yarn scraps.
While I’ve worked my granny stitch crochet bunting triangles in single colors, they would also be delightful in colorful stripes or with a floral applique (such as a narcissus flower) stitched onto some or all of the triangles.
This crochet bunting can be used throughout the year; for birthday parties, festive decor as well as decorations for a child’s room (how cute would it be with little bunny appliques stitched onto each triangle!). Simply switch up the colors to make this bunting your own!

Crochet Bunting Requirements
4mm crochet hook
DK/light worsted yarn in the colors of your choice*
I chose to use scraps of brightly colored cotton yarn for the triangles and a neutral cream color for the joins
*Yarn suggestions for crochet bunting
While acrylic yarns come in lots of bright, fun colors, I would suggest opting for cotton or bamboo based yarns for this project. Acrylic yarn tends to be springy and can curl, and does not drape as nicely as cotton yarn. For this project I used Nurturing Fibres Eco-Cotton, but something like Paintbox Yarns is also great.
Nurturing Fibres Eco-Cotton: 50g (1.75oz), 125m (137yds), 100% cotton
Paintbox Yarns Cotton DK: 50g (1.75oz), 125m (137yds), 100% cotton, 8 ply
>> PIN NOW, MAKE LATER <<
This design is featured in Granny Fest 2025 hosted by Banana Moon Studio. Visit the roundup post to see all of the free projects to choose from, and please join the Facebook group to participate in the crochet-a-long.

Granny Stitch Crochet Bunting pattern notes:
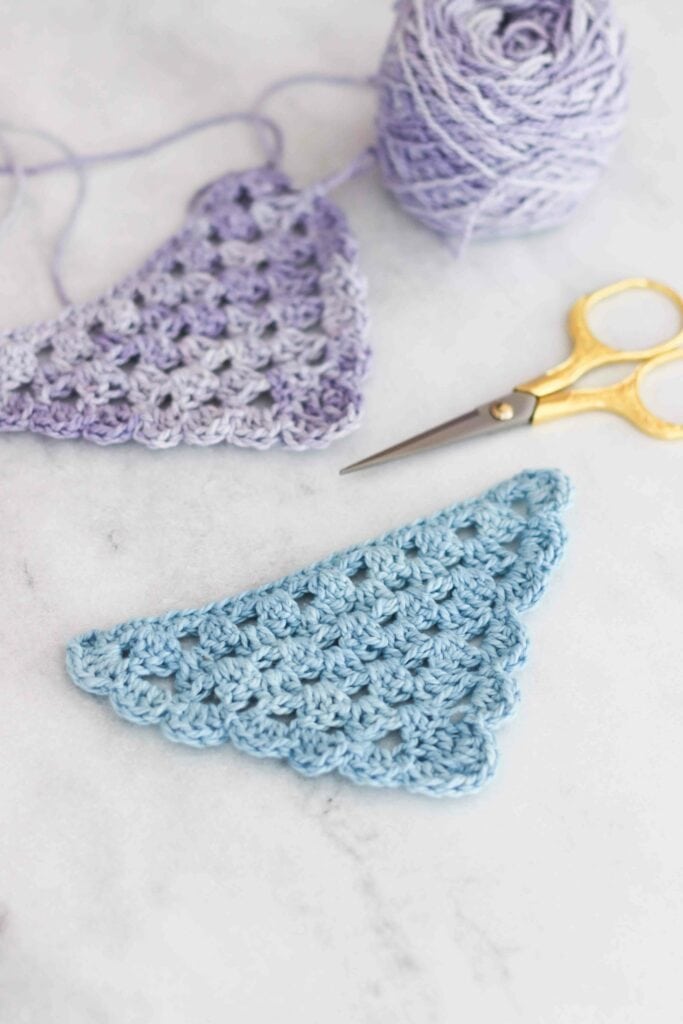
- These triangles are worked back and forth, from the widest point of the triangle, using the traditional granny stitch (double crochet clusters)
- This pattern uses US terminology (see pattern abbreviations)
- Don’t know how to crochet into the back bumps? Watch my video on how to crochet in the back bumps
- I recommend wet blocking the triangles / finished crochet bunting for a neat finish
- Finished size of each triangle is approximately 15cm / 5.9″ across
- You will need 7 triangles for every 1 meter (3.2 feet) of bunting required
Crochet bunting pattern
Make triangles
R1: ch 26 (this is the base of the triangle), sk 2 ch st and sc across (24)
R2: ch 2, turn, sk 3 (this includes the stitch that is just below the ch 2), 3 dc into next st, *sk 2 st, 3 dc into next st. Rep from * five more times. Sk 2 st, dc into turning ch (7 dc clusters + dc + turning ch)
R3: ch 2, turn, sk first st + dc cluster, *3 dc cluster into space between two dc clusters from previous row. Rep from * five more times. dc into space between last cluster of previous row and turning ch. (6 dc clusters + dc + turning ch)
R4: ch 2, turn, sk first st + dc cluster, *3 dc cluster into space between two dc clusters from previous row. Rep from * four more times. dc into space between last cluster of previous row and turning ch.(5 dc clusters + dc + turning ch)
R5: ch 2, turn, sk first st + dc cluster, *3 dc cluster into space between two dc clusters from previous row. Rep from * three more times. dc into space between last cluster of previous row and turning ch. (4 dc clusters + dc + turning ch)
R6: ch 2, turn, sk first st + dc cluster, *3 dc cluster into space between two dc clusters from previous row. Rep from * two more times. dc into space between last cluster of previous row and turning ch. (3 dc clusters + dc + turning ch)
R7: ch 2, turn, sk first st + dc cluster, *3 dc cluster into space between two dc clusters from previous row. Rep from * once more. dc into space between last cluster of previous row and turning ch. (2 dc clusters + dc + turning ch)
R8: ch 2, turn, sk first st + dc cluster, 3 dc cluster into space between two dc clusters from previous row. dc into space between last cluster of previous row and turning ch. (1 dc clusters + dc + turning ch)
R9: ch 2, turn. Work a dc decrease over the next 3 sts as follows; yo, insert hook into first st of dc cluster, yo, pull up loop, yo, pull through 2 loops on hook. 2 loops remain on hook. yo, insert hook into second st of dc cluster, yo, pull up loop, yo, pull through 2 loops. 3 loops remain on hook. yo, insert hook into third st of dc cluster, yo, pull up loop, yo, pull through 2 loops on hook. 4 loops remain on hook.
Yo and pull through all 4 loops on hook to complete triangle.
Fasten off and weave in ends.

How to join the crochet triangles
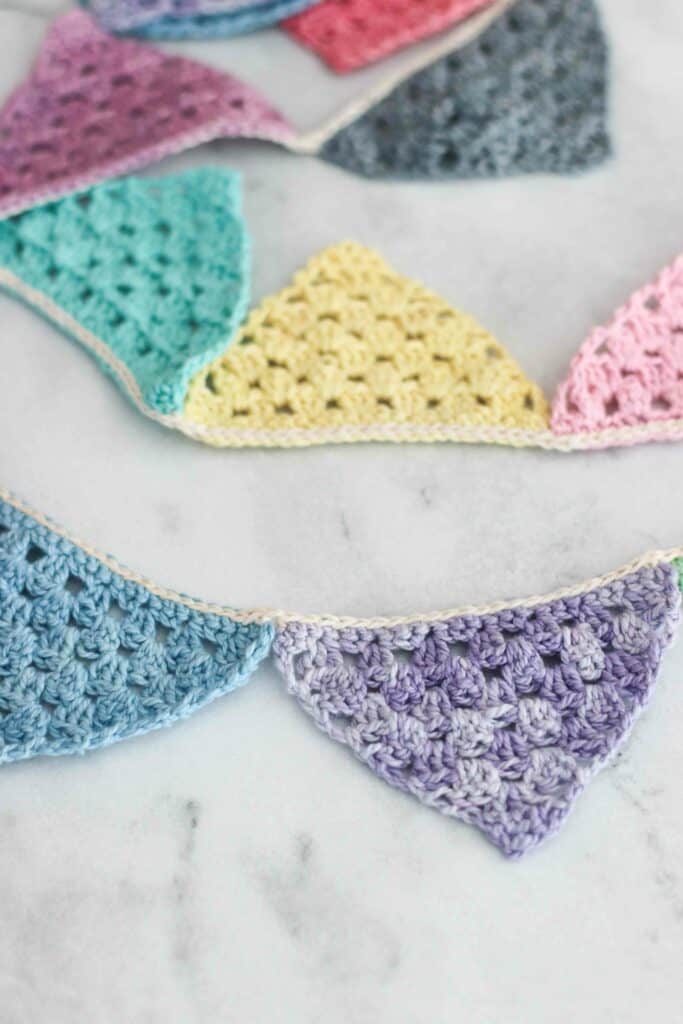
The triangles for this crochet bunting pattern are joined together along the first row (starting chains) of each triangle, with a long tie on either end.
Using your chosen color, ch 40 stitches (make more chains if you want a longer tie), sk 2, slst across. For a neater finish, slst into the back bumps.
Now add in a triangle. For right handed crocheters, join the triangle from right to left, across the base of the triangle (with the tip of the triangle pointing downwards). For left handed crocheters you will do this join in the opposite direction.
*sc into first st of triangle, slst across the top, sc into last st. Rep from * to add another triangle.
P.S. Don’t forget that if you need some more help with this part of the pattern, make sure to check out the full PDF pattern, which includes extra photographs and tips, a chart as well as a bonus lacey triangle!
Finishing off
After adding the last triangle, do not fasten off! Continue to work the next tie as follows;
Ch 40 (or the same number of chains you started with), turn, sk 2, slst in next 38 st into the back bumps, slst into last triangle. Fasten off and weave in ends.
Gently block or steam the bunting to make nice crisp triangles (this can also be done before joining the triangles)
Looking for more granny stitch patterns? Click below!

