Selling your hand crafts online is completely different to selling in a physical shop or craft stall. Your buyers don’t have anything to touch, hold and examine. How do they know that what they are buying is good quality and well-made?
That’s why it is essential to take good pictures! How else is the buyer going to be sure of what they are buying?
I’m going to give you my top tips for how to photograph crochet, so that your beautiful makes turn into sales!
Why should I take good photographs of my crochet?
I cannot tell you the number of times I’ve come across an online shop listing or forum post where the poster has posted a terrible photo. You can see that they have amazing craft skills, but the pictures that have been posted just don’t do the item justice.
I can promise you that most buyers will simply scroll right on past…that’s not what we want.I’m not a professional photographer by any means, but I’ve certainly learned a thing or two since opening my shop years ago.
Your photographs are an opportunity to make a great first impression and to communicate as much information as you can about the quality and uniqueness of your product. You only have a few precious seconds to snag a potential buyers attention, and having a good photograph of your crochet is how to make those seconds count!
So, here are some tips on how to photograph crochet:
6 tried and tested tips to photograph crochet
1. Light, light, light
One of the keys to a great crochet photograph is light. Good lighting will help you to take crisp and clear photographs.
But what is good lighting? You want as much natural light as possible (although not glaring, direct sun, I find morning sun near a window works well). I would strongly suggest turning your flash off too as it can give a horrible glare to your photos as well as create harsh shadows.
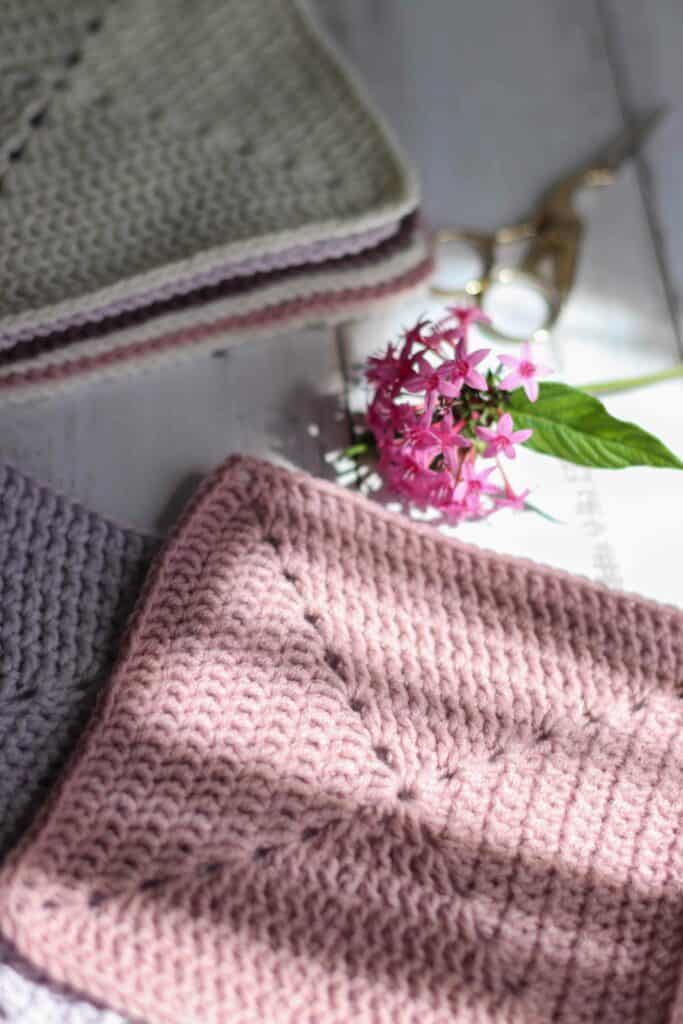
In the image below, you can see the harsh shadows created by direct sunlight. While the image itself is moody and not a bad photograph, it is hard for a potential buyer to clearly see what is going on in the picture.
TIP: If your flash is going to come on automatically, it means you don’t have enough natural light.
Consider building a light box as it helps to improve the contrast of your image and gives it that bright, magazine-esque finish. I used this great tutorial by Flax and Twine.
Alternatively, you can use a phone stand to help photograph crochet. My favourite is the Olivia phone stand. It is compact, adjustable and comes with a built-in light. Perfect for photographing overhead shots!
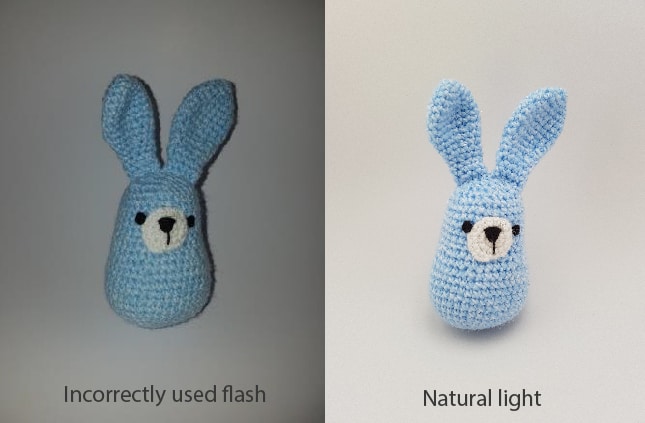
Above you can see a comparison of a photograph taken with a flash and one taken in natural light. As you can see, natural light gives a much better result!
2. Lose the clutter
Don’t clutter your picture with too many other things. Remember that your product is the hero, and it needs to be obvious. If your beautiful handmade doll is sitting in the middle of a pile of other toys, it’s not going to be clear to the buyer. Your eye needs to go straight to the subject of the photograph.
Backgrounds: I like to use white or light backgrounds with a little texture, but you don’t have to stick to that. Just a note that if you venture into the world of color, try and be consistent and don’t use clashing colors or backgrounds that are too busy. Try and pick up similar colors to help make your picture cohesive.
3. Take the best crochet photograph you can with the tools you have
If you have a DSLR, then great, use that! I personally use a Canon 77D, which I love. However, not everyone has a high-end camera, so don’t underestimate your cell phone.
Cell phones these days have the most amazing built in cameras and can do a wonderful job of taking pictures. I have a decent smartphone and a DSLR, and I find it so much easier to snap a photo with my phone than I do with my DSLR.
A few tips for using your phone camera to photograph crochet:
- Don’t use the digital zoom, rather move physically closer to the object you are photographing or crop your pictures afterwards. Digital zoom is just that, digital (i.e. it’s not actually zooming in). And while it appears to make your image more zoomed in, you are actually just reducing the image quality, and your final picture will end up grainy.
- Turn off the flash! Natural light is just so much better.
- Don’t be tempted to take your photo with some fancy filter. Rather, take a regular photo and then add your filters afterwards (if you even need to add a filter).
- Make sure your phone is set to take the highest quality pictures.
- Make sure your crochet item is in focus and not the background!
- It may sound silly, but make sure that your phone camera is clean and not covered in smudgy fingerprints, which will show up on your photographs.
- Consider using a tripod to hold your phone still (such as the Olivia phone stand). This will help to make your photographs nice and crisp
4. Edit your photos
Don’t you just hate it when you are trying to capture a picture of an amazing sunset and your photo really just doesn’t look great?
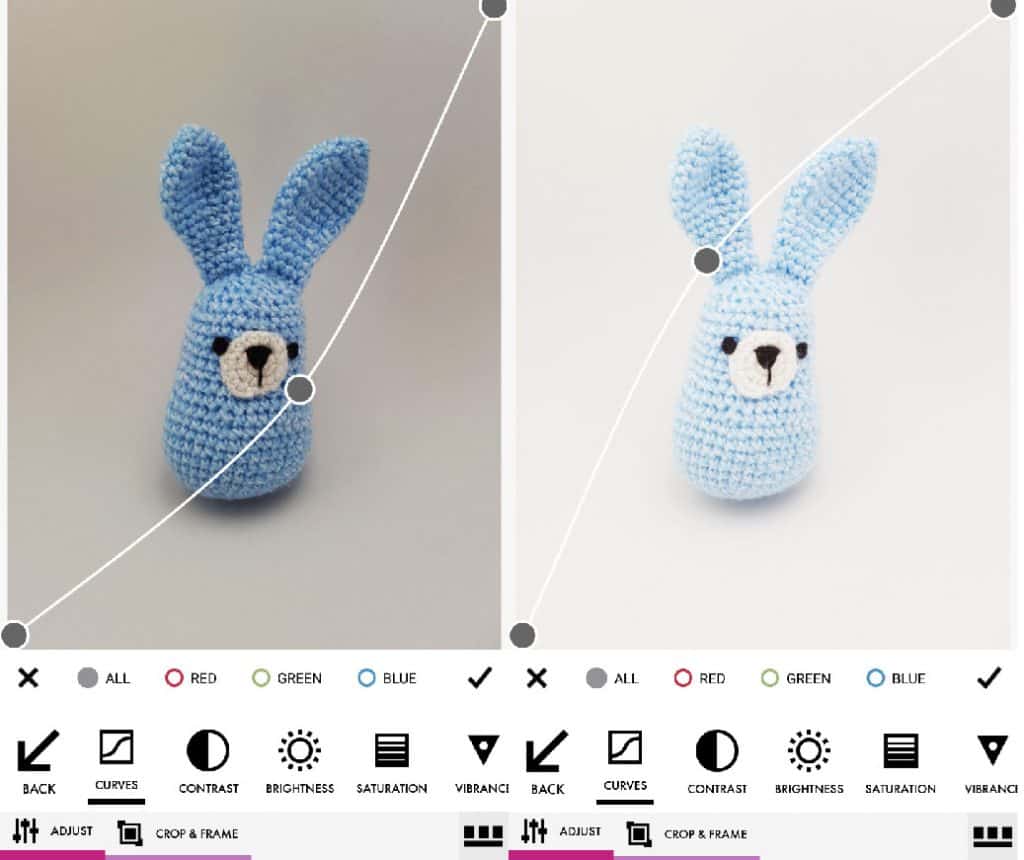
You will be astounded at how easily you can adjust an average looking crochet photograph to make it just pop. All you need is some photo editing software. You can use something powerful like Adobe Lightroom or Photoshop, however, if you are just posting the occasional picture, then the price tag on these products is probably not worth it.
There are also lots of free apps out there as well as built in editing capabilities on your phone (I use Lightroom for mobile which is free!). Whatever you do, don’t be seduced by all the filters and stickers etc. Adding a few filters is just fine, but you don’t want your photo to look fake or overdone.
5. Consider the angles when you photograph crochet
When you photograph crochet, instead of taking just one photo showing the whole of your crocheted item, consider breaking this down into a few shots, including:
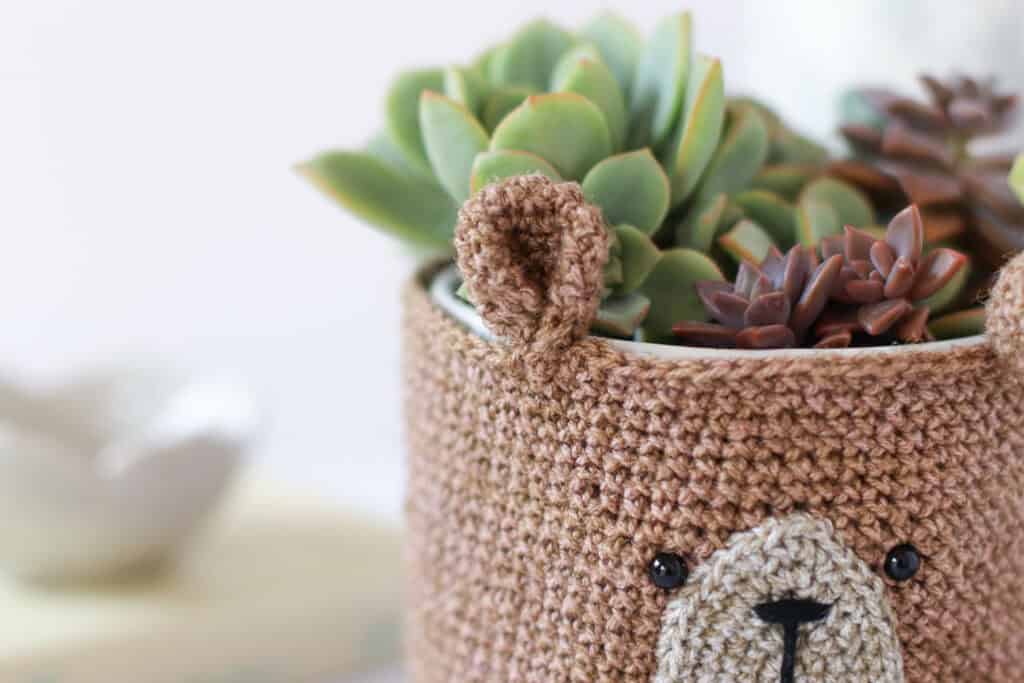
- A macro shot (a close up) so that buyers can see more detail
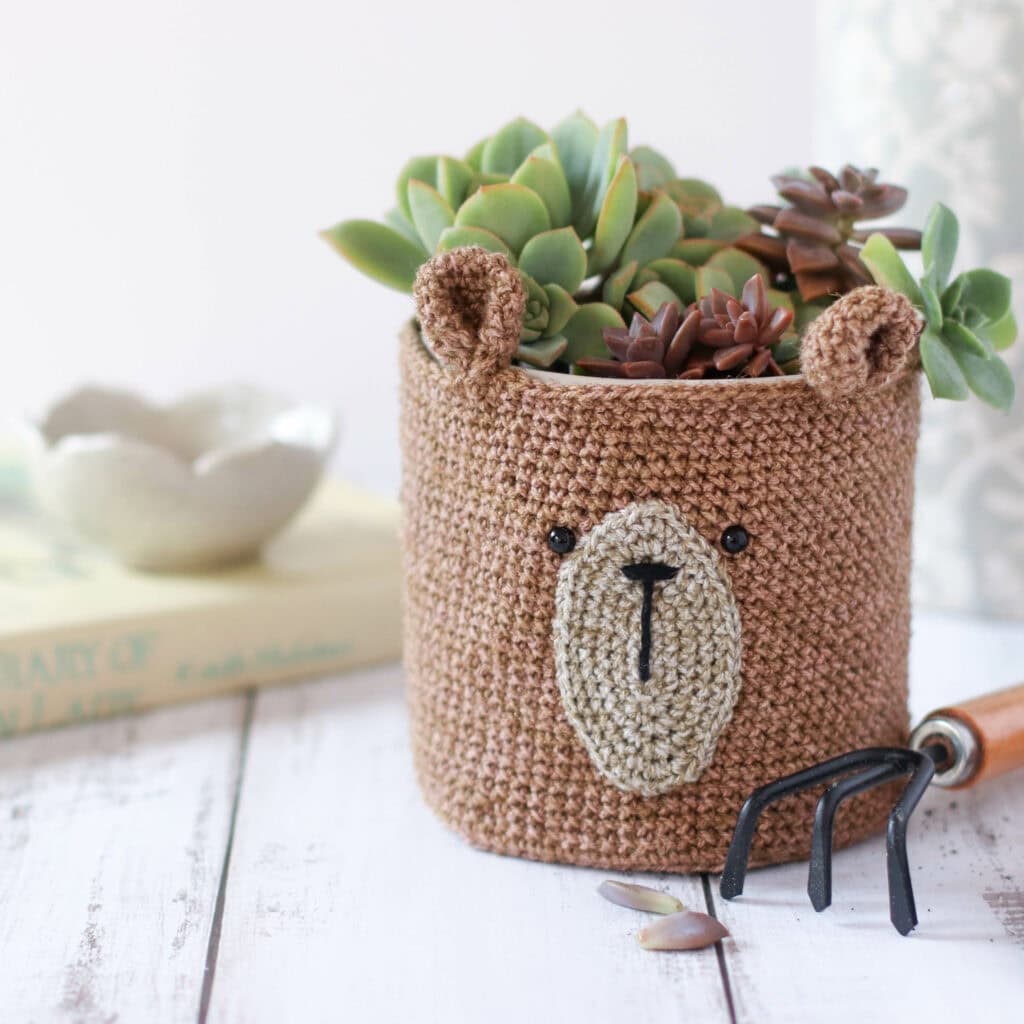
- A shot that has something to reference the scale of your item. In other words, take a picture of your crocheted item alongside an everyday item that clearly shows how big or small your crochet item is
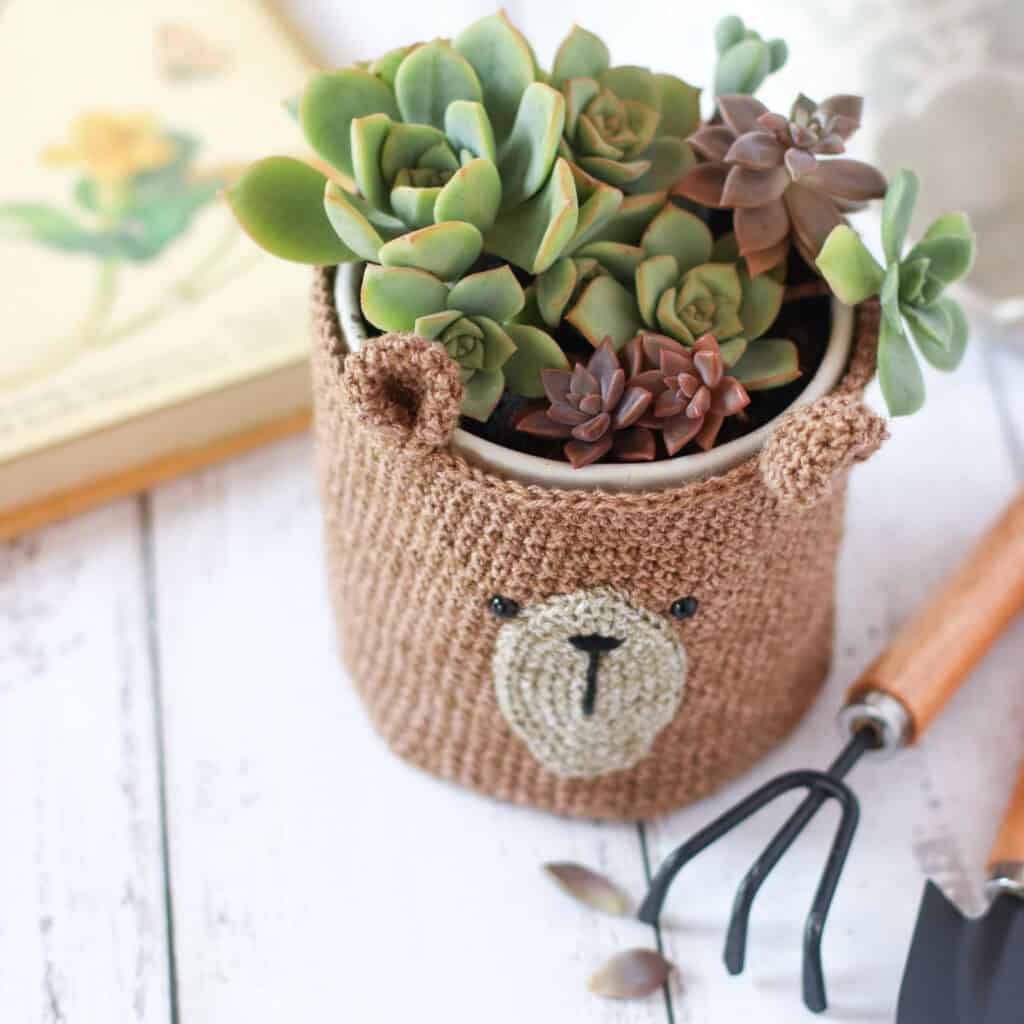
- Shots covering your product from different angles.
- Style your photo’s so that they look neat and intentional. Many of my pictures are taken on my bed, propped up by a sock and surrounded by the chaos of what life is like with a small child. But, with careful angles and some editing, my pictures don’t give that away! 😉
Examples of different ways to photograph crochet:
MACRO SHOT:
SCALE SHOT
DIFFERENT ANGLES
6. Practice makes perfect
Don’t expect to get an amazing photo with your first picture. Snap a few pictures and then choose the best ones. Practice, practice, practice!
What tips have you learned along the way? I’d love to hear them!
Yours in craft,
Caitie x

It was really helpful thanks 😃❤️