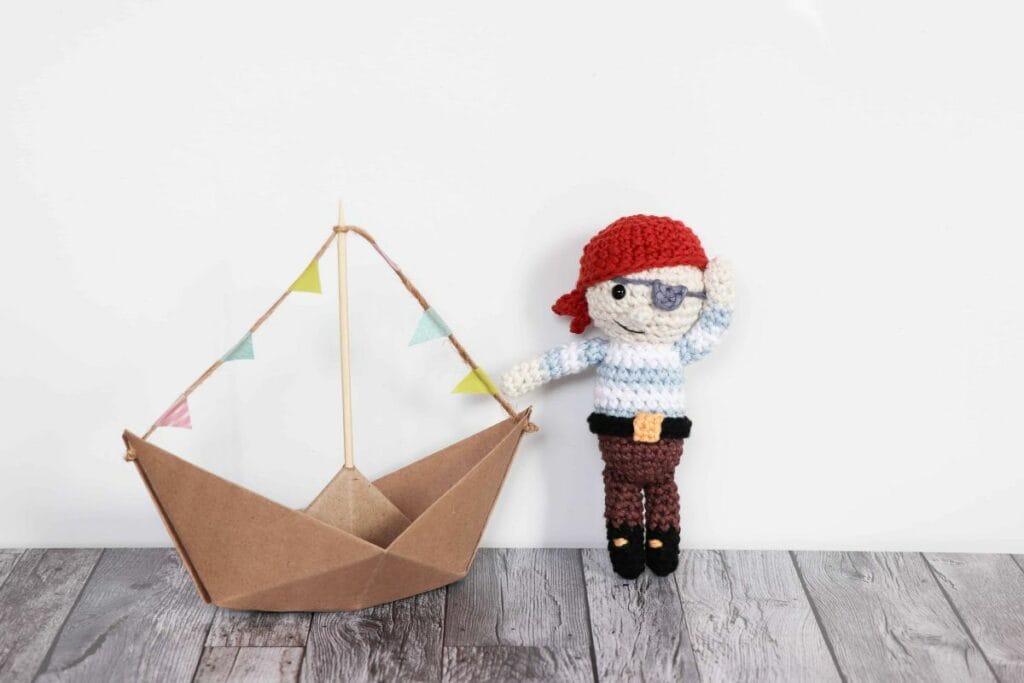
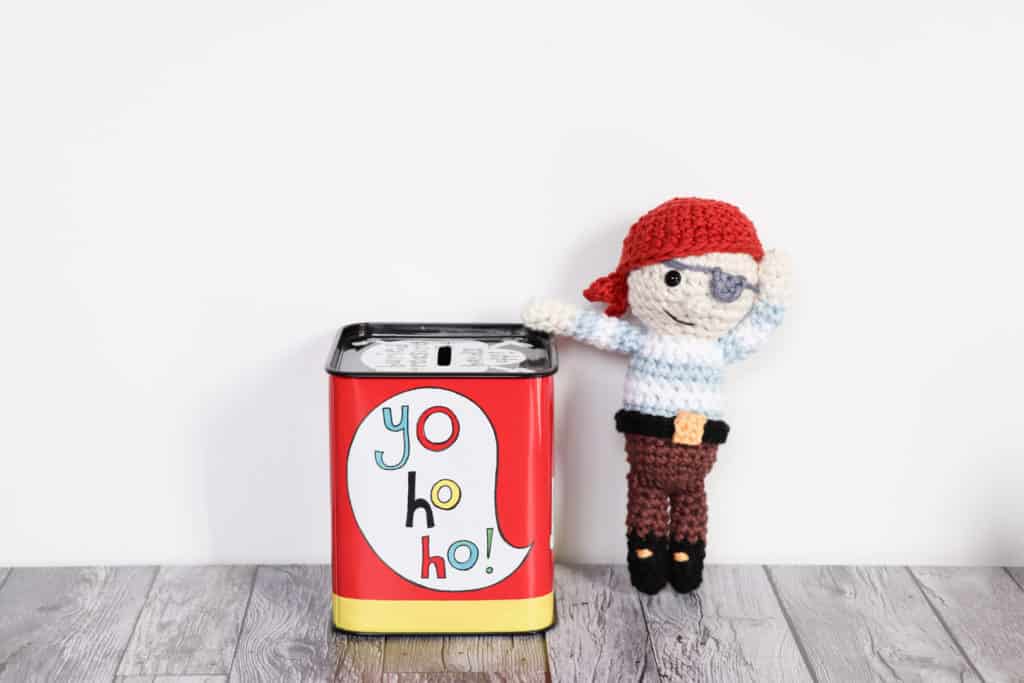
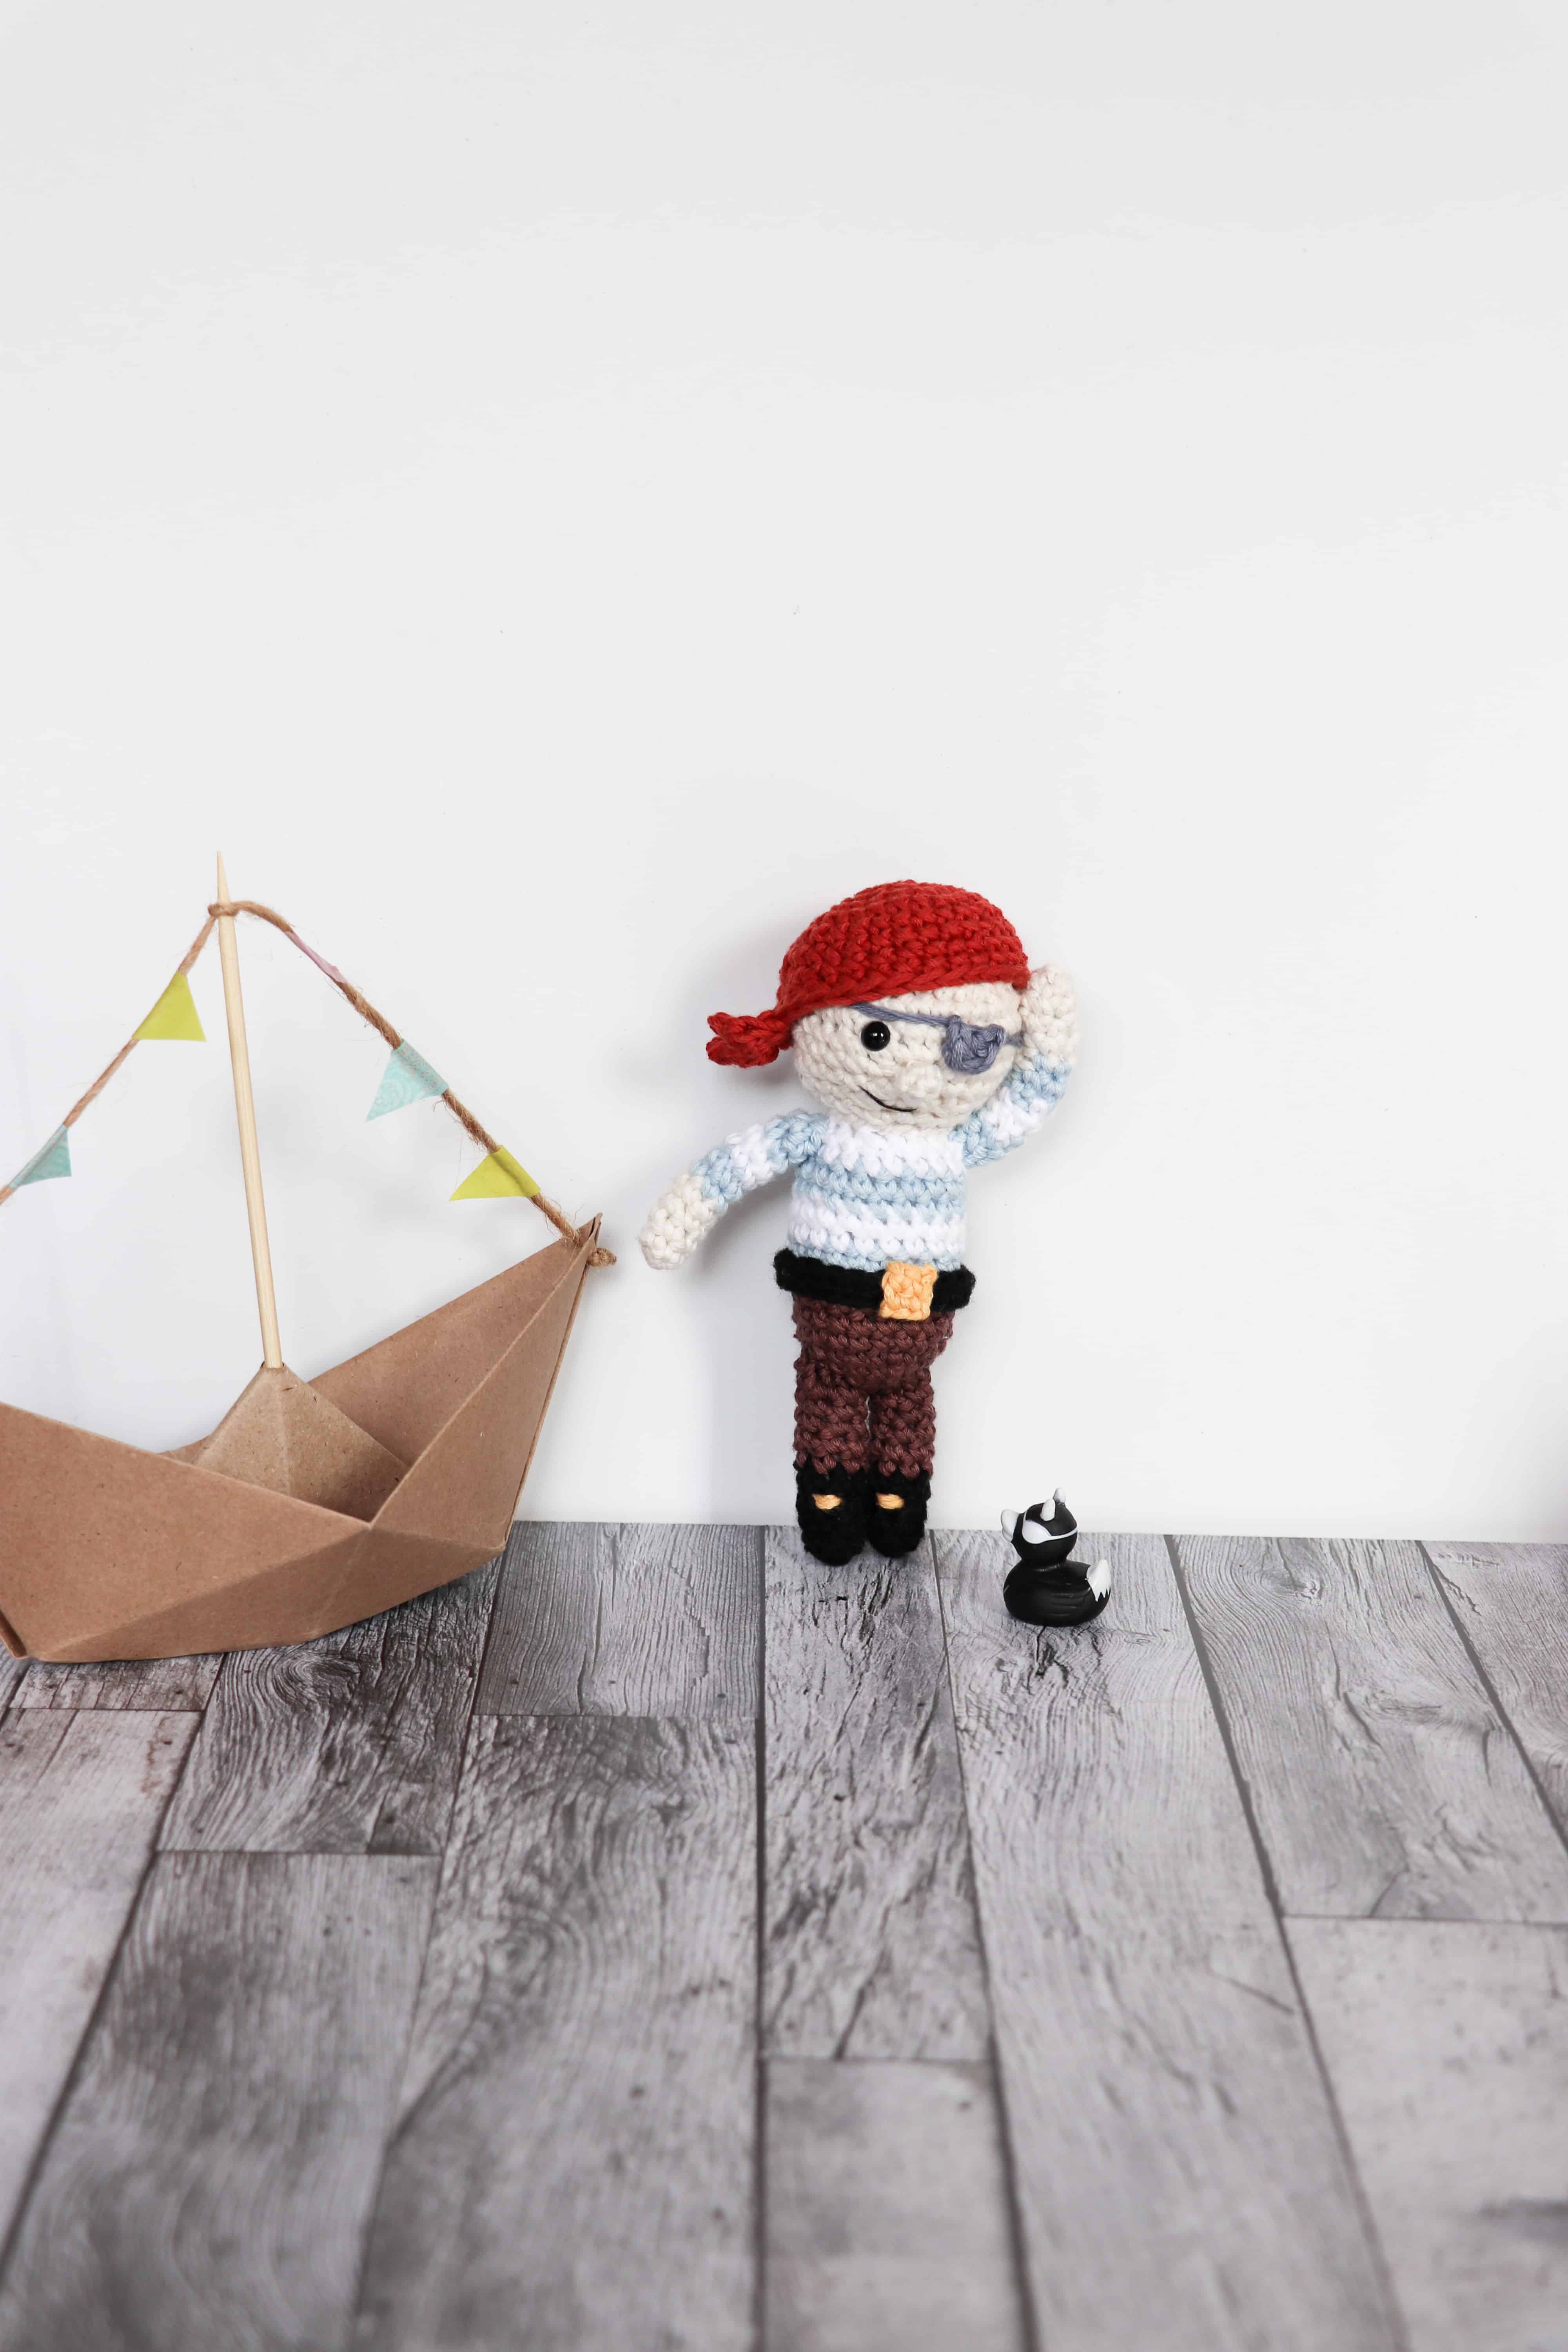
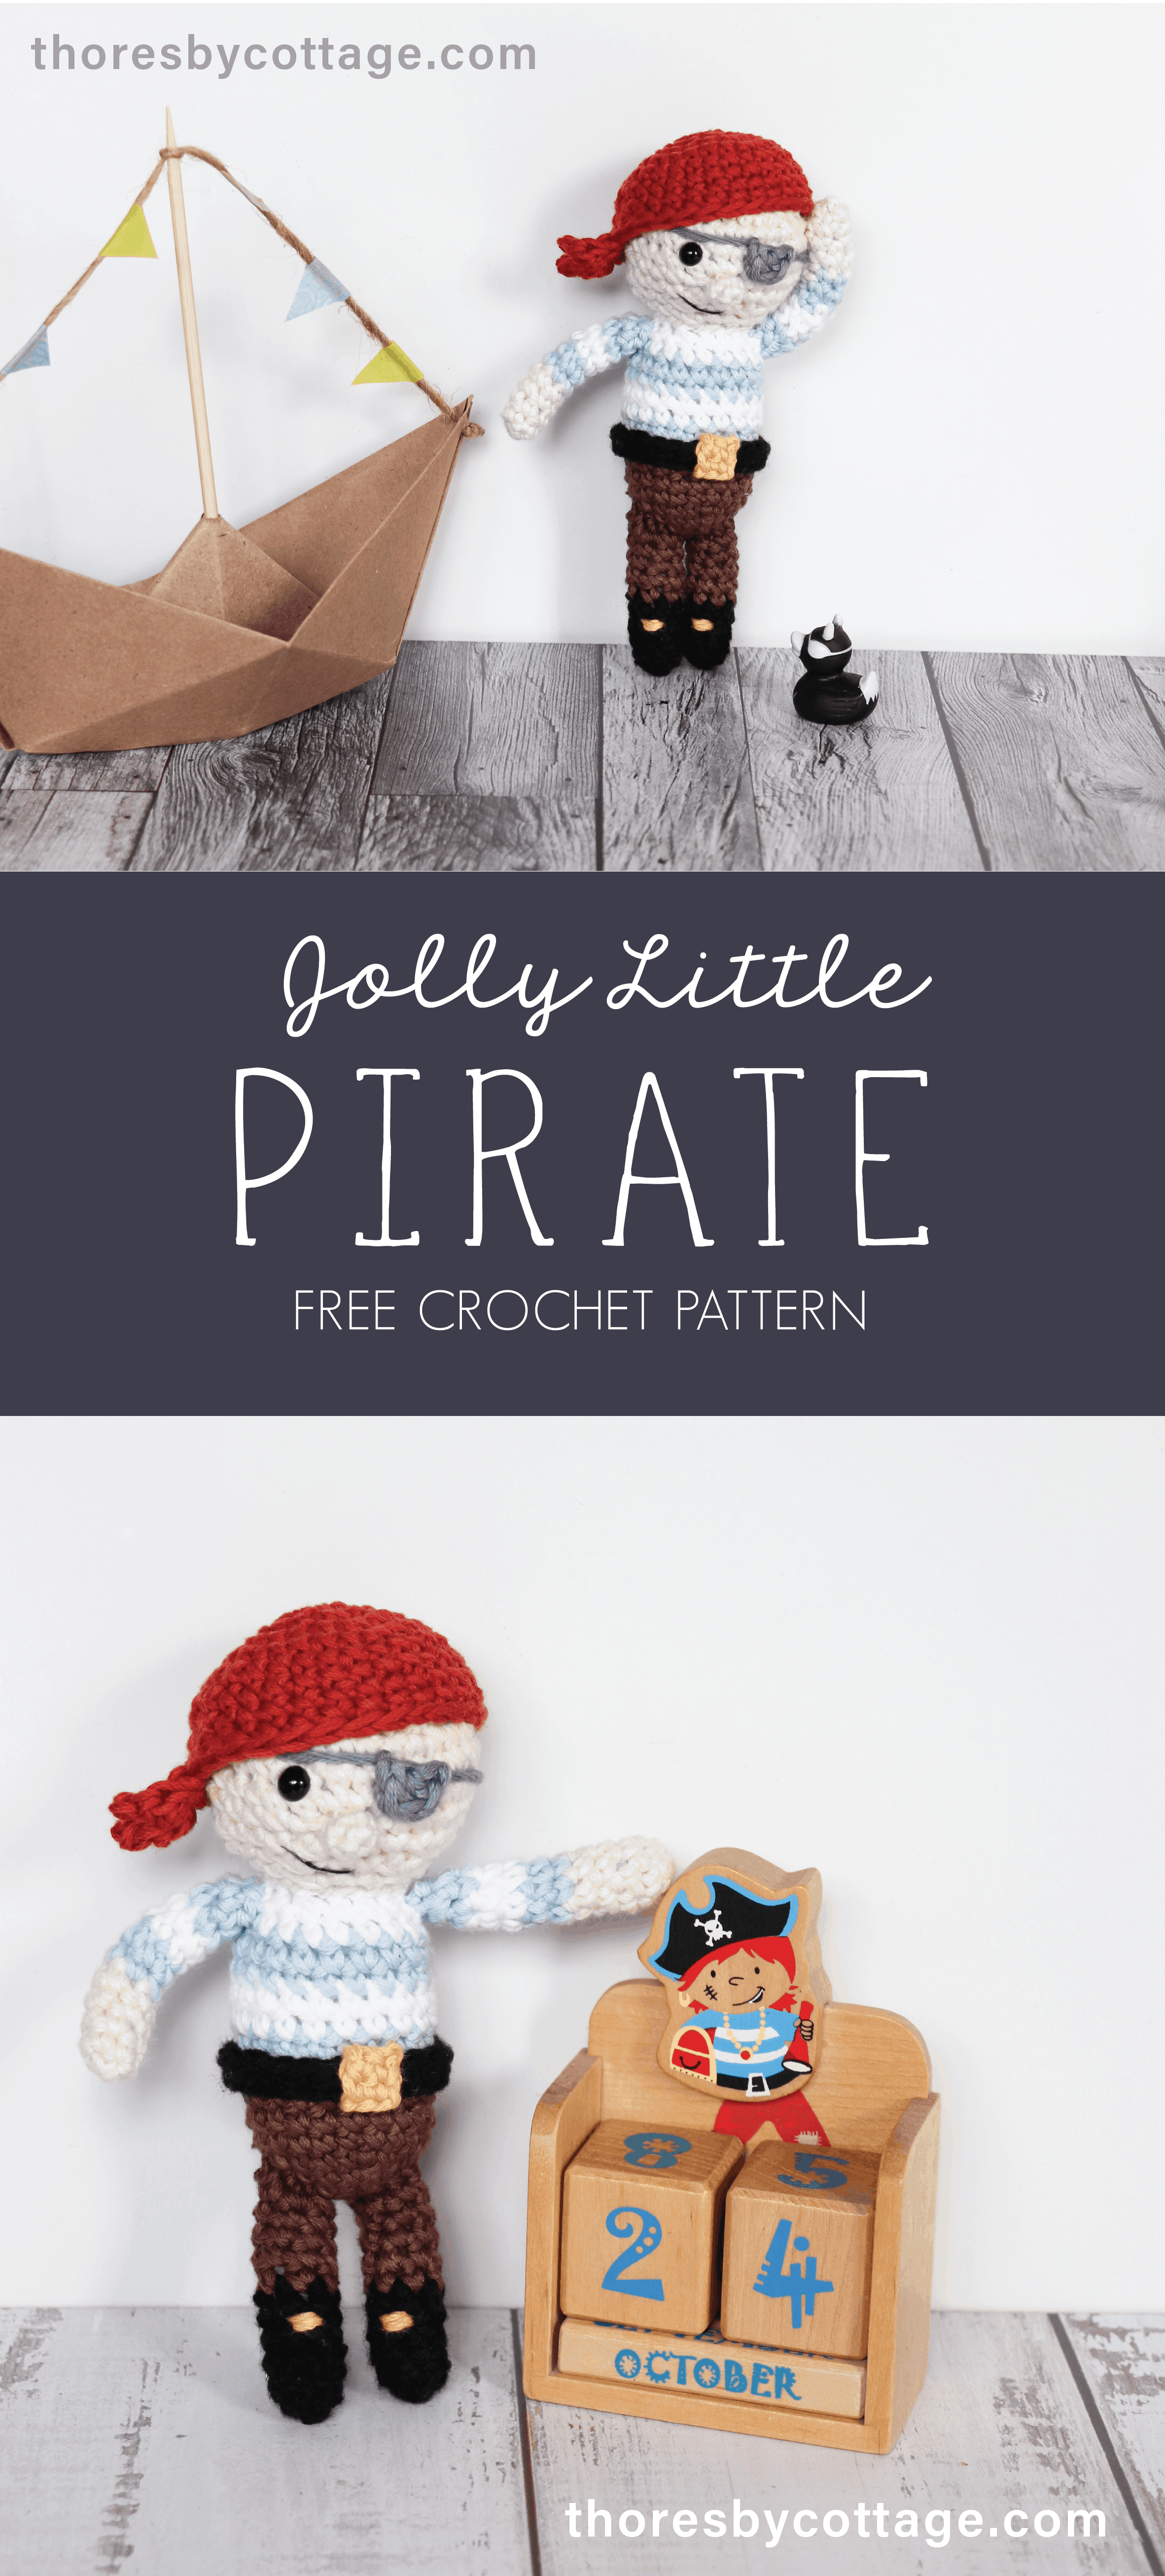
Ahoy there matey! Here is a free crochet pirate pattern that I put together a while ago. This jolly little pirate makes a perfect companion for adventurers on the hunt for buried treasure. Let’s hop on board his sail boat and away we go!

FREE CROCHET PIRATE PATTERN
Materials
Light Worsted cotton yarn (I used Vinni’s colors yarn – Nikkim, double knit (100% cotton, 130 yds / 119m per 1.75oz/50g ball)
½ ball Natural (cream; face and hands)
½ ball White (white; shirt stripes)
½ ball Black (black; belt and boots)
½ ball Baby blue (blue; shirt stripes)
½ ball Brick Red (red; skull cap)
½ ball Mahogany (brown; trousers)
Small length (less than 1m) Grey (grey; eye patch)
Small length (less than 1m) Sunshine (yellow; belt and boot details)
Hook & Other Materials
US size C/2 (2.75mm) crochet hook
1 x 6 mm safety eye
Stuffing
Pins
Yarn needle
Cream sewing thread
Black sewing thread
Notes
1. This pattern calls for ½ a ball of yarn per color, however, much less than half the ball is used.
2. This pattern is worked in continuous rounds. Do not slip stitch the round closed unless instructed to do so.
3. Work into the front loops only for any decreases (invisible decrease).
4. To change colors, in the stitch before the color change, insert your hook, yarn over and pull through. You should have 2 loops of the first color on your hook. Drop the first color, yarn over with the new color and pull it through the 2 loops. Continue in the next stitch with the new color.
5. During assembly, use pins to place all the components before you stitch them in place.
6. Finished size: 14 cm tall
7. Read through my tips for amigurumi before starting this project!
8. US crochet terms used (see stitch list here)

Jolly Little Pirate Crochet Pattern
Head (cream)
Round 1: 6 sc into mr (6)
Round 2: 2 sc in each st around (12)
Round 3: (sc in next st, 2 sc in next) repeat around (18)
Round 4: (sc in next 2 st, 2 sc in next) repeat around (24)
Round 5: (sc in next 3 st, 2 sc in next) repeat around (30)
Round 6 – 9: sc around (30)
Round 10: (sc in next 3 st, sc2tog) repeat around (24)
Round 11: (sc in next 2 st, sc2tog) repeat around (18)
Round 12: sc2tog, sc in next 3 st, sc2tog, sc in next 4 st, sc2tog, sc in next 3 st, sc2tog (14)
Sl st into next st and bind off, leaving a tail for joining. Attach safety eye between round 7 and 8. Stuff.
Nose (cream)
Round 1: 4 sc into mr (4)
Round 2: sc around (4)
Sl st into next st and bind off, leaving a tail for joining.
Body (brown, blue, white)
Starting with brown:
Round 1: 5 sc into a mr (5)
Round 2: 2 sc in each st around (10)
Round 3: (sc in next st, 2 sc in next) repeat around (15)
Round 4: (sc in next 2 st, 2 sc in next) repeat around (20)
Round 5 – 7: sc around (20)
Round 8 – 9: Change to blue and sc around (20)
Round 10 – 11: Change to white and sc around (20)
Round 12 – 13: Change to blue and sc around (20)
Round 14: Change to white. sc in next st, sc2tog, sc in next 14 sts, sc2tog, sc in next st (18)
Round 15: sc2tog, sc in next 3 st, sc2tog, sc in next 4 st, sc2tog, sc in next 3 st, sc2tog (14)
Sl st into next st and bind off.
Weave in ends. Stuff.
Arms (cream, blue, white; make 2)
Starting with cream:
Round 1: 6 sc into mr (6)
Round 2 – 5: sc around (6)
Round 6 – 7: Change to blue and sc around (6)
Round 8 – 9: Change to white and sc around (6)
Round 10 – 11: Change to blue and sc around (6)
Sl st into next st and bind off, leaving a tail for joining. Stuff lightly (I find stuffing with the yarn tails from the color changes is sufficient).
Legs (black, brown, yellow; make 2)
Starting with black:
Round 1: 7 sc into mr (7)
Round 2 – 5: sc around (7)
Round 6 – 10: Change to brown and sc around (7)
Sl st into next st and bind off. Leave a tail for joining. Stuff.
Using yellow yarn, stitch on the buckle details: in the centre of the boot, one row down from the color change from black to brown, make a whip stitch one stitch wide. You can do a second stitch into the same holes, to make the boot buckle slightly thicker.
Belt (black)
Row 1: ch 26, sc into 2nd ch from hook and sc across into the back bumps. (25)
Bind off and leave a tail for
joining.
Belt buckle (yellow)
Row 1: ch 3, sc into 2nd ch from hook and sc across (2)
Row 2: ch 1, sc across (2)
Bind off and weave in ends. Sew the buckle onto the middle of the belt. You can use sewing thread to stitch the buckle in place, otherwise use a yarn tail but only stitch into the back loops of the buckle in order to maintain a neat square shape.
Eye patch (grey)
1. Start by leaving a long tail.
2.
Into a mr (sc, 3 dc, sc). Pull ring tight, but don’t sl st to close the ring as you normally would. Draw your yarn
through the loop on your hook to bind off, leave a long tail. The long tails on
either side of the eye patch are used to tie the eye patch to your Jolly Pirate.
Skull Cap (red)
Round 1: 6 sc into mr (6)
Round 2: 2 sc in each st around (12)
Round 3: (sc in next st, 2 sc in next) repeat around (18)
Round 4: (sc in next 2 st, 2 sc in next) repeat around (24)
Round 5: 2 sc in next st, (sc in next 3 st, 2 sc in next) repeat around (31)
Round 6 – 8: sc around (31)
Round 9: sc2tog, sc in next 29 st (30)
Round 10: sc around (30)
Now make the skull cap details, two little ‘ribbons’ which stick out the side of the skull cap. To make the first ribbon: ch 4, and working back down the ch, sl st into 2nd ch from hook, sc in next st, dc in next st, sl st back into base of chain. Repeat to make the second ribbon. Bind off and weave in the ends.
Assembly
1. Using the yarn tail, stitch the head onto the body, making sure that the safety eye is slightly off centre. You can place a pin where the eye patch will go to help you align the head correctly.
2. Stitch the arms onto either side of the body, just below the head.
3. With the boot buckles facing forwards, stitch the legs in place.
4. Pin the buckle around the Jolly Pirate’s waist (over the color change from brown to blue), with the buckle at the front and the joining seam at the back. Stitch in place using sewing thread or a yarn tail, working only into the back loops of belt to hide your stitches.
5. Pin the eye patch in place, approximately 3 stitches from the safety eye, and stitch in place using cream sewing thread (not the yarn tails!). Wrap the yarn tails firmly around the back of the Jolly Pirate’s head and tie together with a knot or bow. Snip off any excess yarn tail.
6. Stitch the nose in place below the eye and eye patch.
7. Using 2 strands of black sewing thread, stitch on the Jolly Pirate’s mouth.
8. Fit the skull cap onto the Jolly Pirate’s head.
9. Embark on an epic adventure.

Hope you enjoyed this pattern! Feel free to check out more of my free and premium designs over on the Patterns & Tutorials Page.
Until next time, yours in craft.
Caitie x


He is truly adorable! And the pics are awesome!