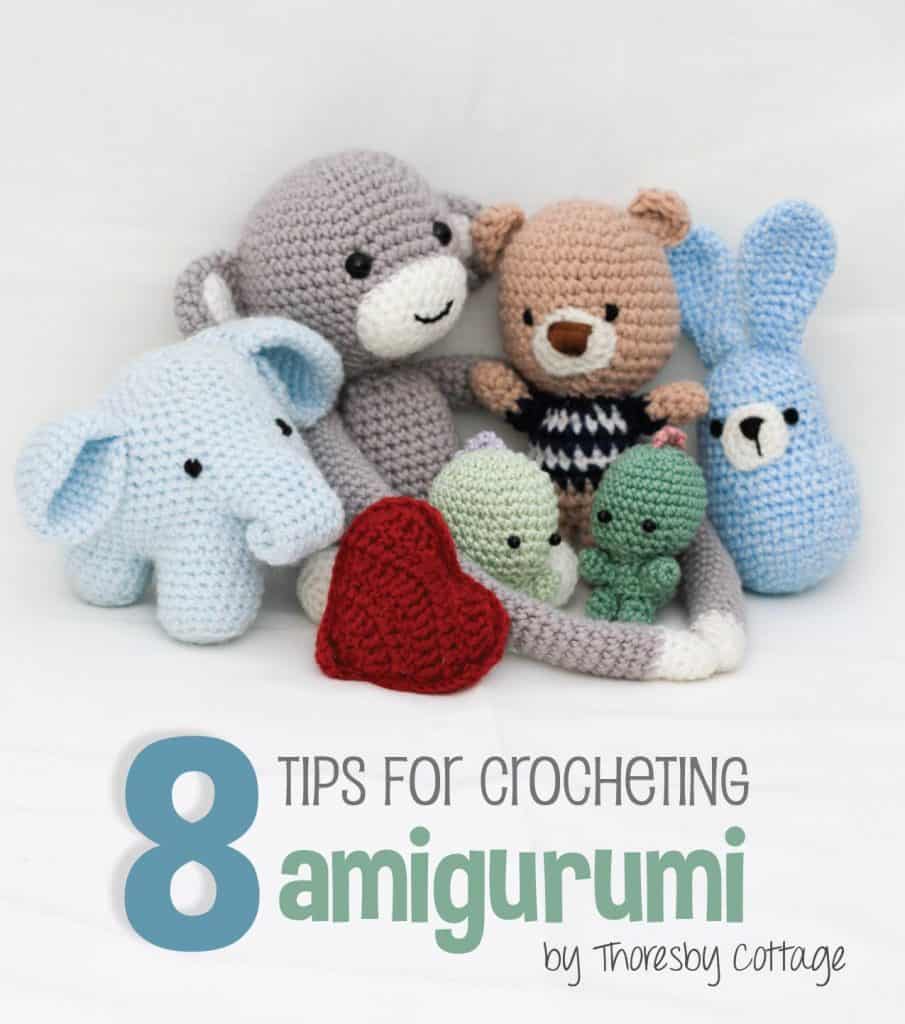
So you want to start crocheting adorable amigurumi but not quite sure where to start? Or, you have been crocheting amigurumi for a while but want to take your designs up a notch? Here are 8 amigurumi tips to help improve your amigurumi projects!


1. Master the magic ring
The first of my amigurumi tips has a magic touch to it… The magic ring is essential to crocheting amigurumi and to working in the round as it allows you to cinch your stitches together really tightly so that no stuffing escapes. Learn how to do it!
I promise that it is not as daunting as it seems. It may feel a little fiddly at first, but once you’ve got it you’ll be well on your way to your first amigurumi! You can see a quick photo tutorial that I put together here. Or watch the video below:
2. Learn to crochet in the round
Once you’ve mastered the magic ring, you are ready to crochet in the round. Using this technique allows you to create all the shapes necessary to build your amigurumi.
Crocheting in the round is very simple as the only crochet stitch that you need to know to get going is single crochet as well as basic increasing and decreasing. I prefer to crochet in continuous rounds (i.e. in a spiral) but some patterns may require you to close the round before you move onto the next one.
3. Watch your tension
The third of my amigurumi tips is all about tension. When making amigurumi, it is best to work the rounds nice and tightly (but not too tight!) so that the stuffing doesn’t show. For once having a tight tension is actually a good thing!
Make sure to use a small enough hook (it’s ok if the hook is smaller than the suggested size for your wool – rules are there to be broken, right?). This might take a bit of playing around and trying out different hooks, but I promise you that it is worth it.
4. Use stitch markers
Stitch markers are so useful when working in the round and allow you to work quickly without having to count every stitch as you go. There are many types of stitch markers available, but often things from around the house will work just fine, such as bobby pins or a paper clip. I find having a few on hand most useful.
5. Build character
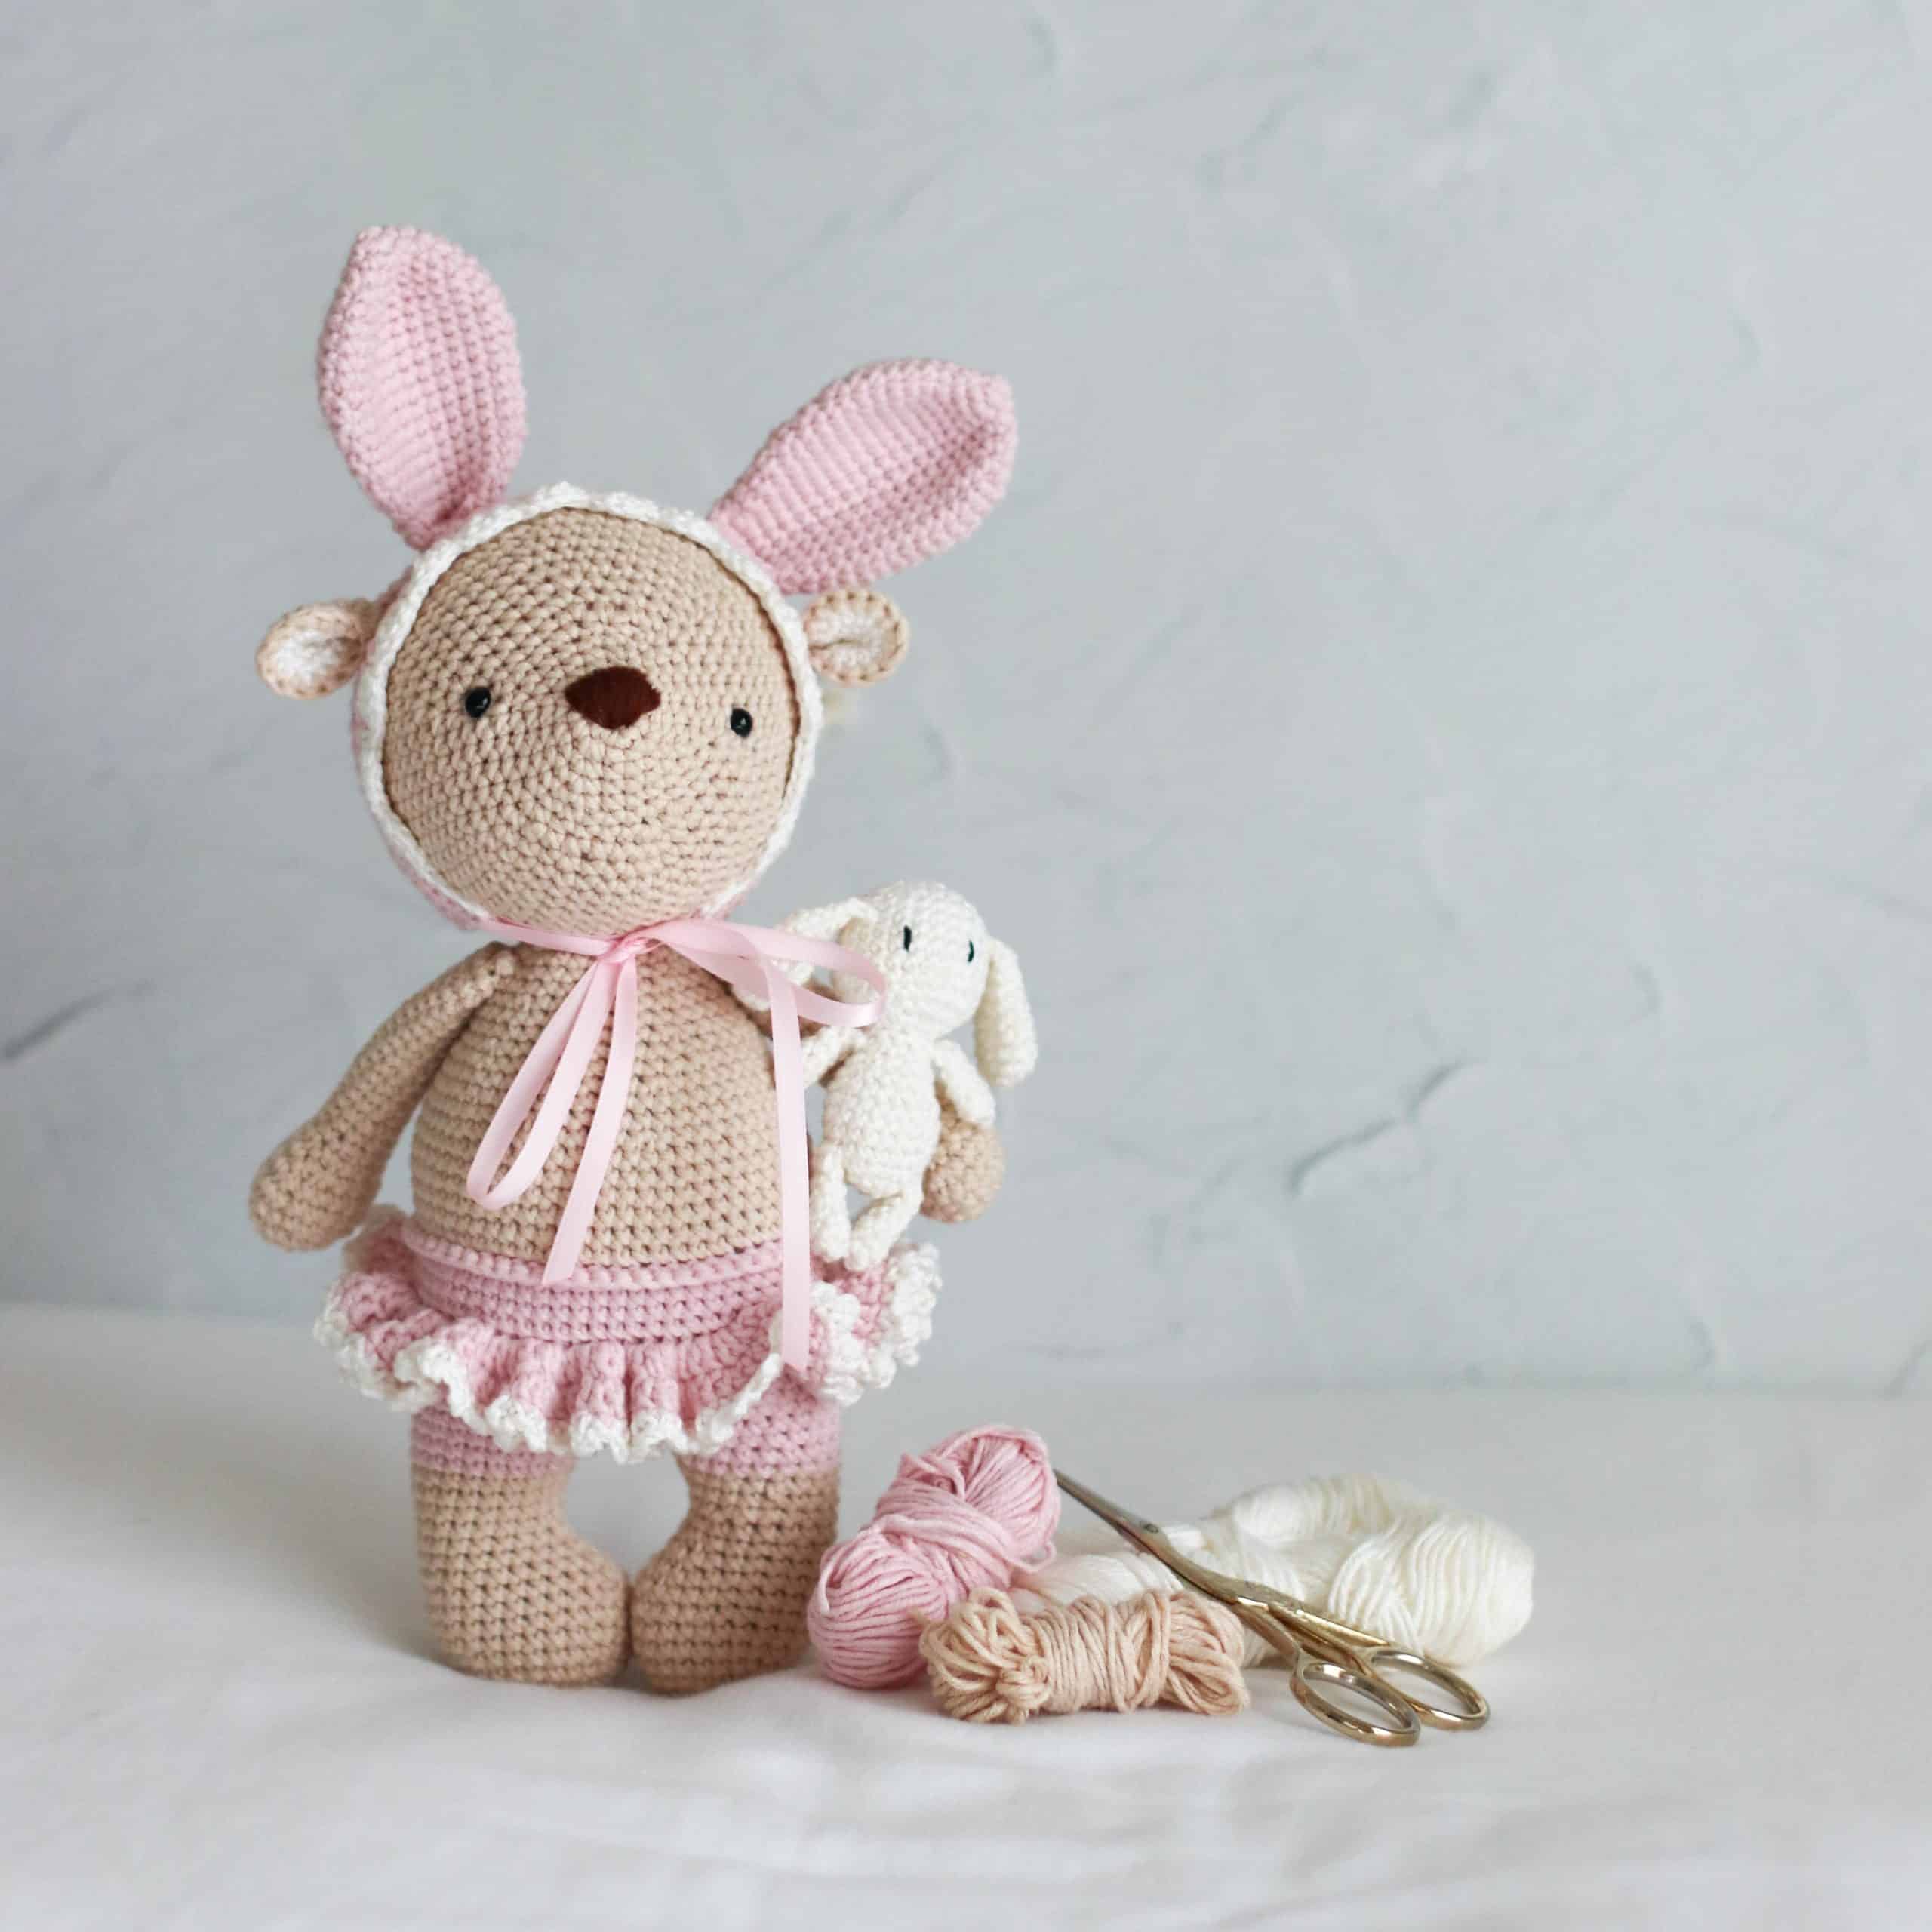
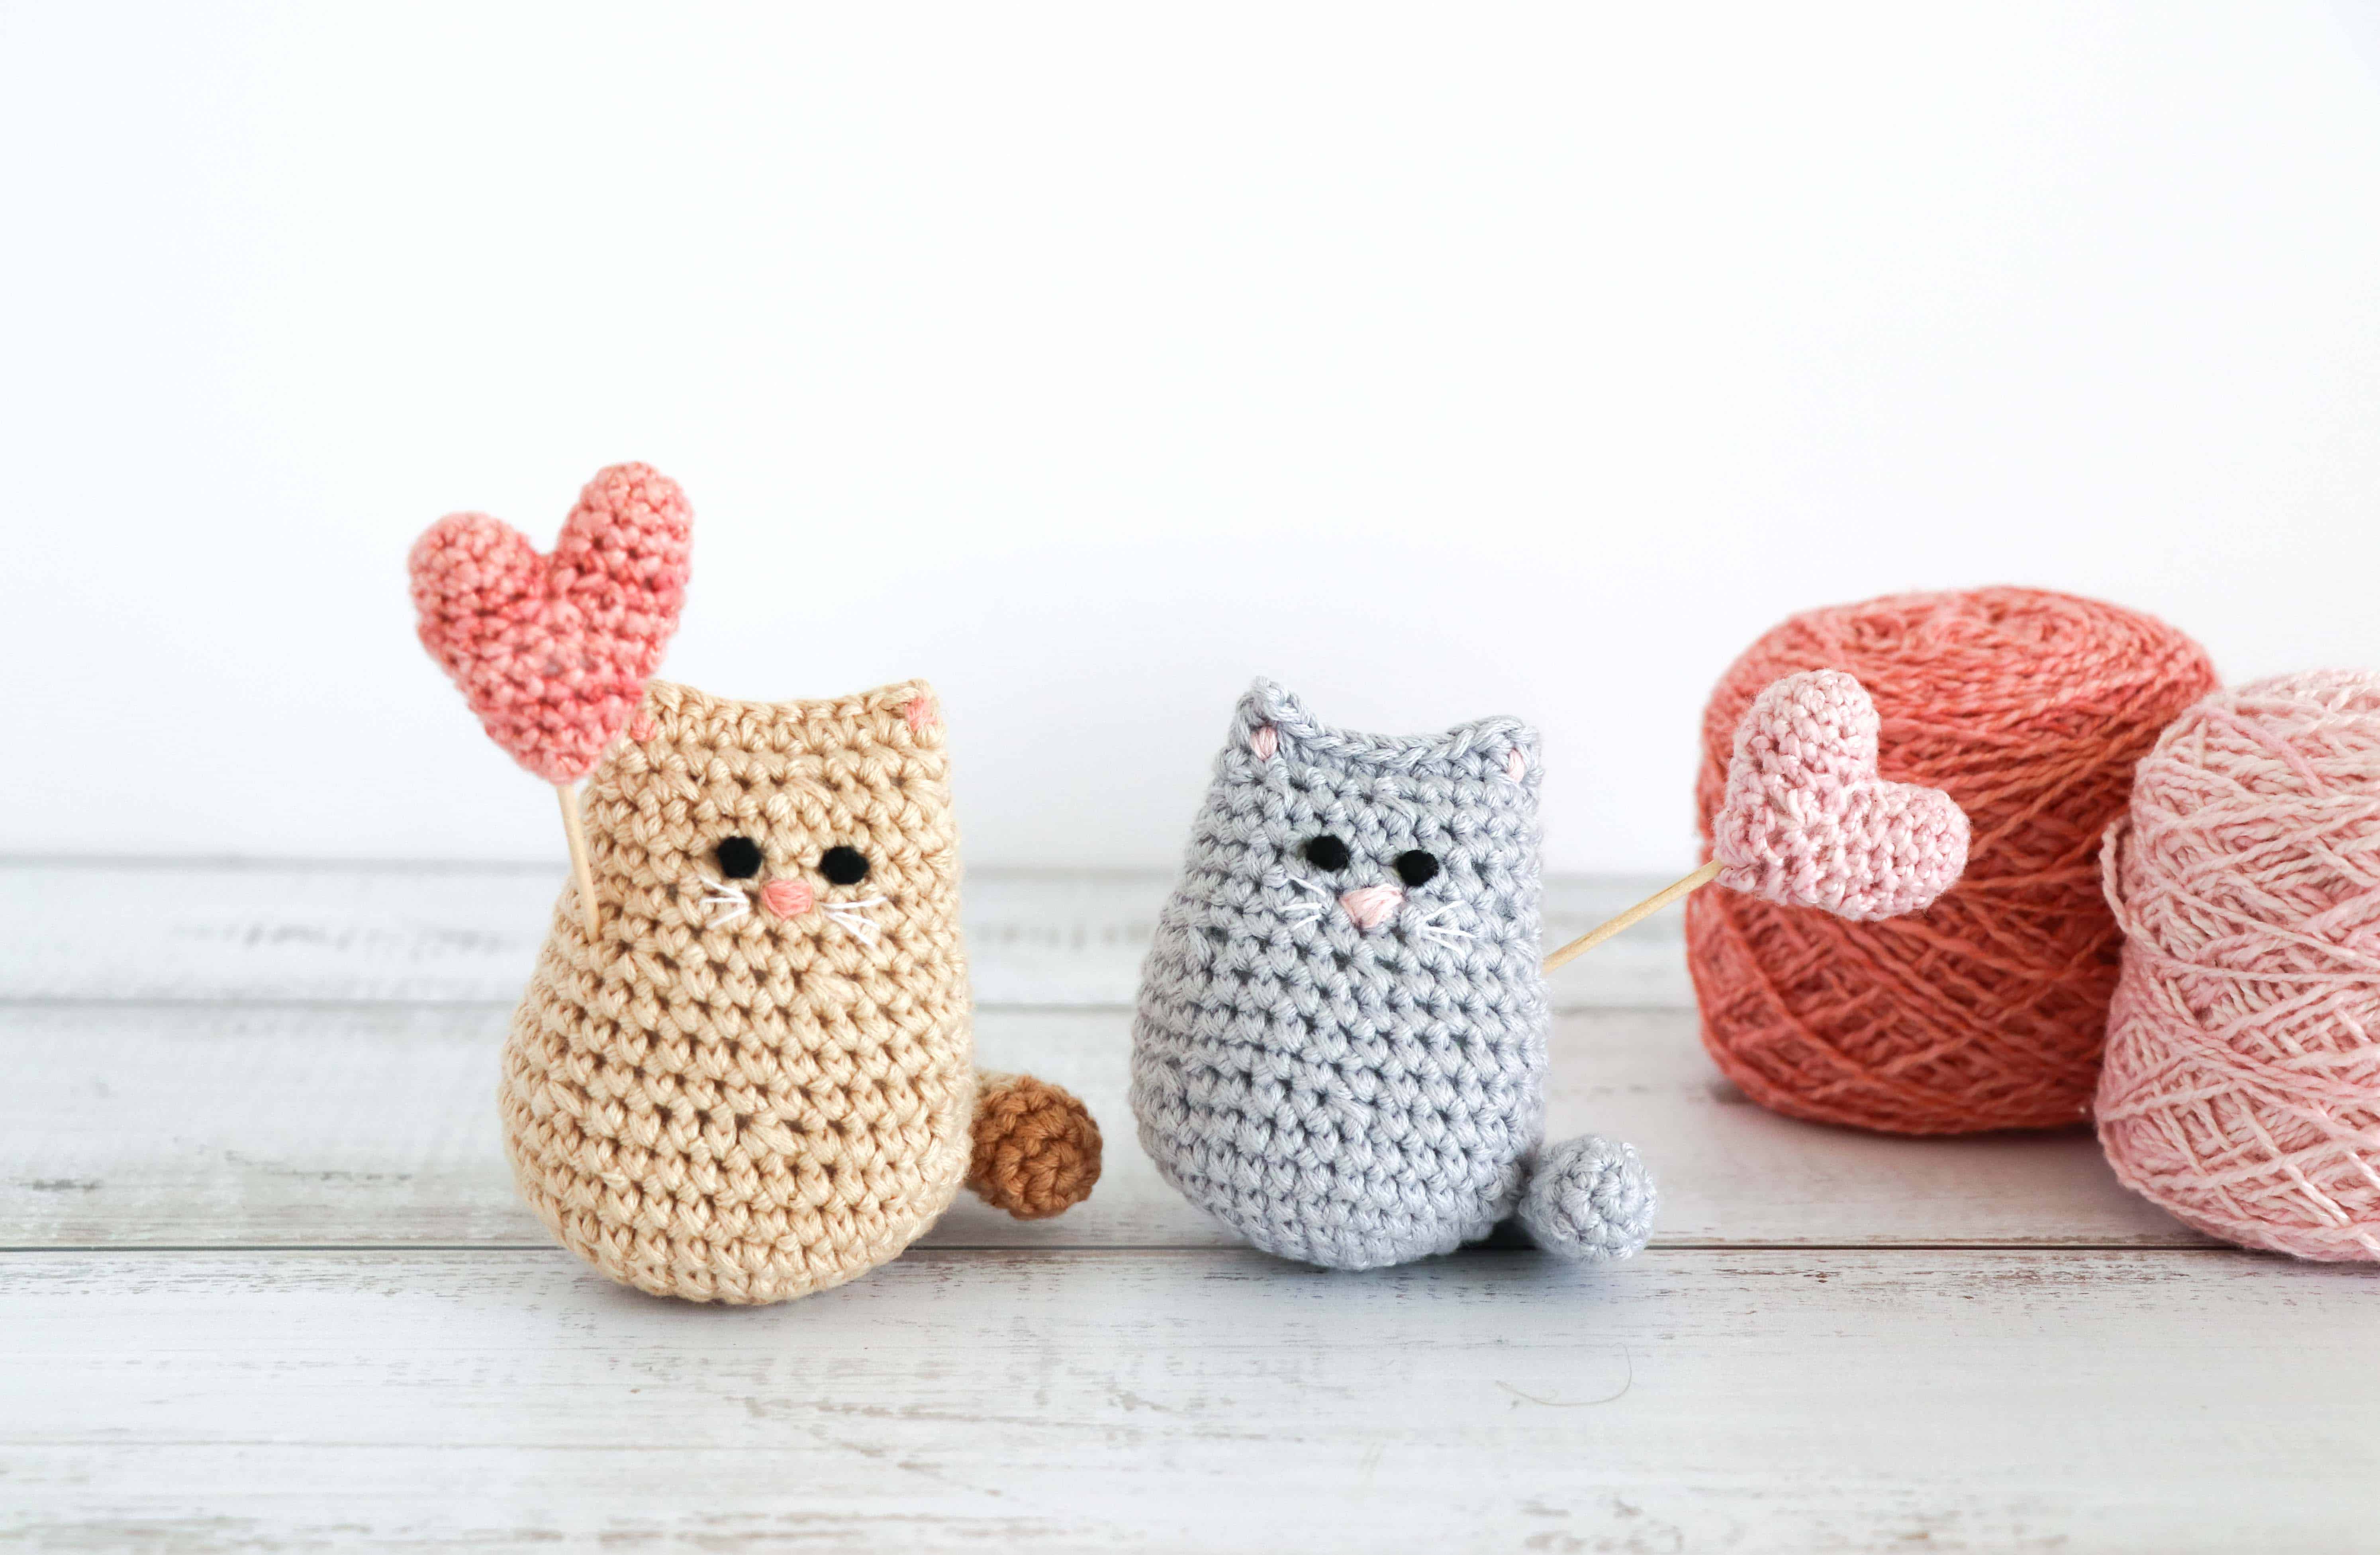
The placement of your amigurumi’s eyes and other facial features make SUCH a difference to the cute factor of your little creation. Play around with different placements before you commit. You can also go crazy and add all sorts of features like eye lashes and blush, which really bring your animal to life. Don’t be shy with using other materials too – like felt and ribbon. Why not make little clothes or add a scarf? The options are endless here!
You can use safety eyes (plastic eyes that clip in place) but an embroidered knot works just as well and is more baby safe. You can see how I do my knots in the video below
6. Stuff well and often
I’m always amazed at how much stuffing is needed to stuff an amigurumi. Make sure you stuff firmly and evenly as you go so that your amigurumi retains it’s shape – don’t be stingy! I always like to add a bit more stuffing just before I close up. Try to avoid stuffing in big clumps as this will show though and your creation may look distorted.
You need to stuff firmly, but do not overstuff your amigurumi.
7. Leave long tails
There is a fair amount of joining that you need to do when making amigurumi, so to save some time, leave tails that are long enough to join your seams.
The benefits of using yarn tails to join your seams:
- The yarn tail is already well secured at one end and won’t come undone
- The yarn tail will match the color of your project perfectly (no subtle mismatches because of different dye lots)
- Reduces waste
My favourite yarn needles to use for seaming are the Clover Chibi yarn needles. They have a bent tip which makes sewing into the hard to reach seams much, much easier! I like to use the needles from the orange tube as they are the smallest and are great for small amigurumi, but there are larger needles available if you prefer.
8. Pins
My least favourite part of crocheting amigurumi is the assembly. I find it fiddly and time consuming – all the more reason to get it right the first time! I strongly suggest that you use pins to hold your amigurumi in place.
Every time I ignore this amigurumi tip I end up stitching my creation together and it’s slightly crooked, and it has to be redone. So not worth it! Just use the pins. The type of pin also makes a difference here too. Make sure to use a pin with a large head (preferably in a contrast color, like these ones) so that you don’t lose it somewhere inside your amigurumi! That would be terrible…
That’s it for my amigurumi tips for now. Have a look at my Etsy shop and the downloads page for some easy to follow, beginner-friendly amigurumi patterns. Need help understanding the abbreviations and symbols for Thoresby Cottage patterns? Have a look at my crochet pattern abbreviations list.
Happy crocheting!


26 thoughts on “8 amigurumi tips | how to improve your amigurumi”