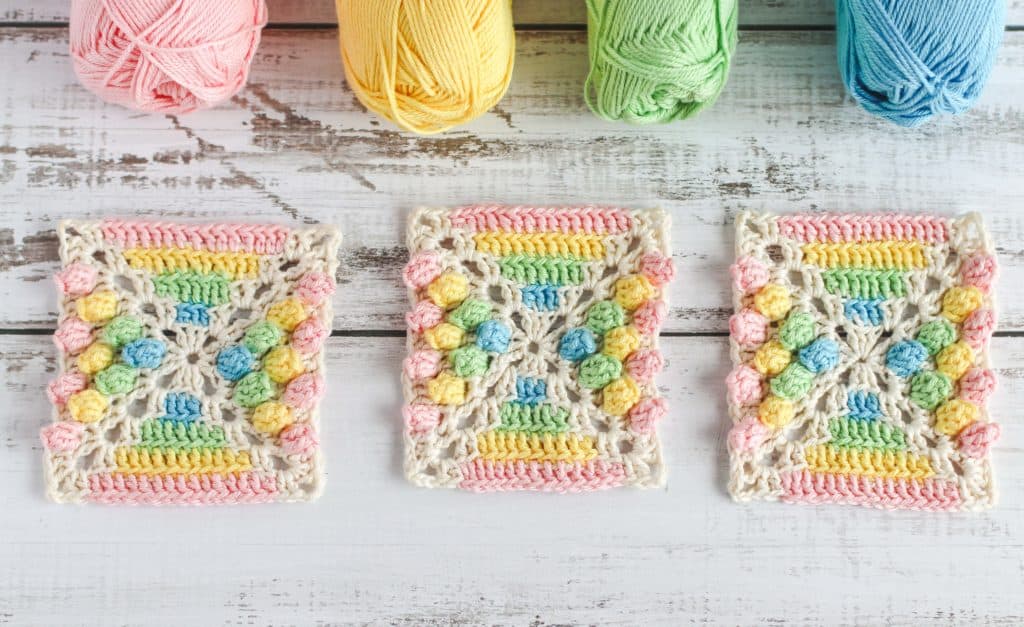
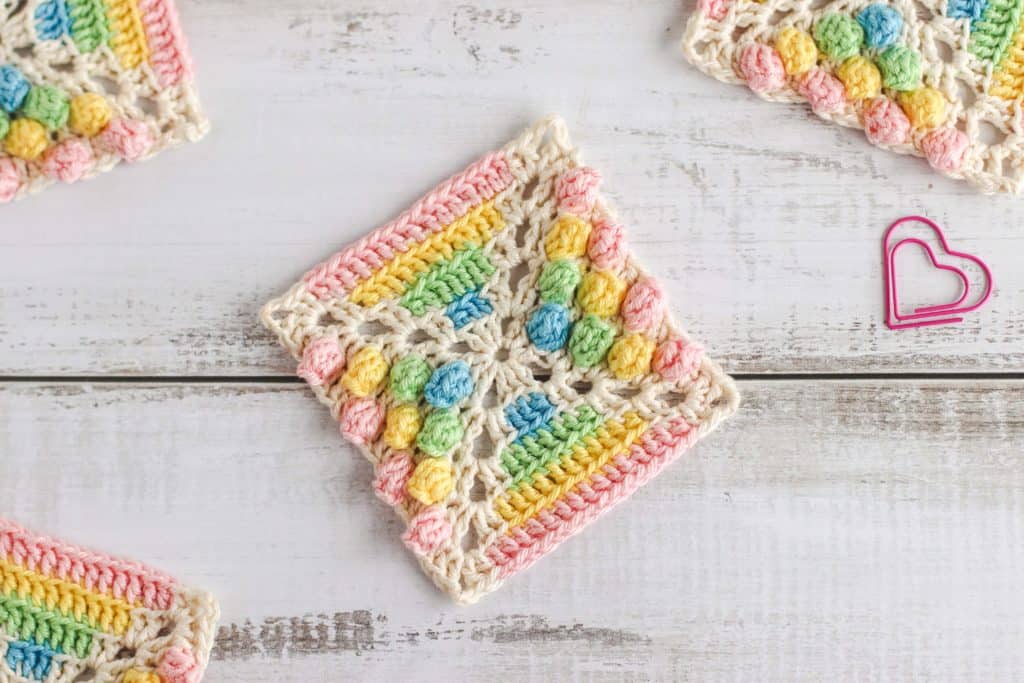
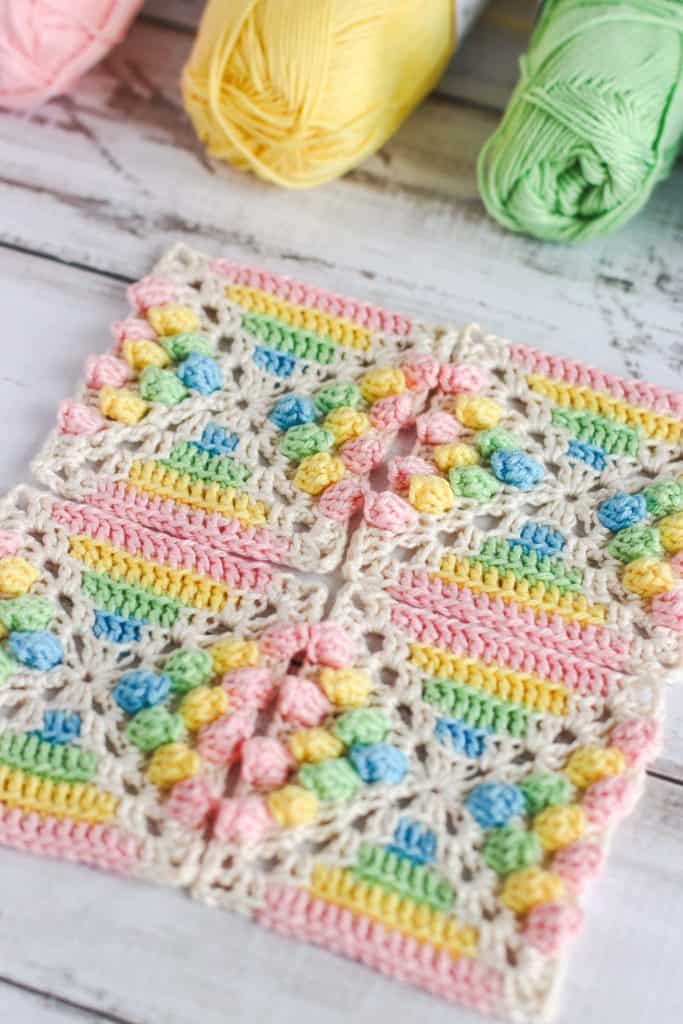
I had some yarn left over from another project and decided to design a new little rainbow granny square. I’m so happy with how the Rainbow Gumdrop crochet square pattern turned out!
This sweet little square can be used for so many different things. From blankets to pouches and lots in between. I’d love to see how this rainbow granny square looks in other colors too, so please do share your makes with me (either tag me on Instagram or share it with me on Facebook).
This pattern is all about texture and color, and makes use of some fun stitches to create the overall effect. Enjoy!


Rainbow granny square requirements:
DK (light worsted) cotton yarn in cream plus 4 other colors
I used Yarn and Colors Must Have in the following colors: Cream, Golden Glow, Pastel Pink, Nordic blue, Lettuce
2. 75mm crochet hook
Yarn needle
Rainbow granny square pattern notes
- This pattern uses US crochet terminology
- This rainbow granny square is suitable for beginners
- Finished size: 9 cm x 9 cm, after blocking
- Need help with the magic ring? View my magic ring tutorial.
- View my recommendations for my favourite tools and supplies on Amazon
- Need extra help? Consider purchasing the low cost, printable PDF pattern, filled with lots of extra tips, photographs and a chart.
>> PIN NOW, MAKE LATER <<
How to work the corners
The corners of this pattern are all worked in the same way. In cream, work [2 dc – ch 3 – 2 dc] into the 3 ch sp from the previous round. In the case of the first corner of a round, the first dc is replaced with a ch 3.
How to change color
In color one, work a dc until there are 2 loops on the hook (yo, insert hook into stitch, yo and pull up a loop, yo and pull through 2 loops). Then drop color one and pull a loop of color two through the 2 loops on your hook to complete the dc. Continue working in color two.
Special stitches
Popcorn stitch: work 5 dc into the same stitch. Remove your hook from the last dc and insert it, from front to back, into the top of the first dc of the popcorn stitch. Insert the hook into the loop from the last dc and pull it through to make the popcorn stitch puff. Change to the next color by doing a chain st.
Back loop double crochet (blo-dc): This is a regular double crochet that is worked only into the back loop.

Rainbow Gumdrop Crochet Square pattern
Start with cream
R1: Into a magic ring, ch 6 {counts as dc + ch 3}, [3 dc, ch 3] repeat 2 more times, 2 dc. Slst into the 3rd ch of initial ch 3. Slst into ch-sp. Pull the ring closed (12 dc, 4 x ch 3)
R2: ch 3 {counts as dc}, *work the corner, change to color 1, blo-dc in the next 3 st, change back to cream. Work the corner, dc into the next st, change to color 1, popcorn stitch, change to cream with a ch st, dc in next st. Repeat from * Slst into the 3rd ch of initial ch 3, slst into the next st, slst into the ch-sp. (26 dc, 2 popcorns, 14 ch)
R3: ch 3 {counts as dc}, *work the corner, change to color 2, blo-dc in the next 7 st, change back to cream. Work the corner. Work the row of popcorn stitches as follows: dc into the next st, change to color 2, popcorn stitch, change to cream with a ch st, dc in next 3 st, change to color 2, popcorn stitch, change to cream with a ch st, dc in next st. Repeat from * Slst into the 3rd ch of initial ch 3, slst into the next st, slst into the ch-sp. (40 dc, 4 popcorns, 16 ch)
R4: ch 3 {counts as dc}, *work the corner, change to color 3, blo-dc in the next 11 st, change back to cream. Work the corner. Work the row of popcorn stitches as follows: dc into the next st, change to color 3, popcorn stitch, change to cream with a ch st, dc in next 3 st, change to color 3, popcorn stitch, change to cream with a ch st, dc in next 3 st, popcorn stitch, change to cream with a ch st, dc in next st. Repeat from * Slst into the 3rd ch of initial ch 3, slst into the next st, slst into the ch-sp. (54 dc, 6 popcorns, 18 ch)
R5: ch 3 {counts as dc}, *work the corner, change to color 4, blo-dc in the next 15 st, change back to cream. Work the corner. Work the row of popcorn stitches as follows: dc into the next st, (change to color 4, popcorn stitch, change to cream with a ch st, dc in next 3 st) repeat 2 more times. Change to color 4, popcorn stitch, change to cream with a ch st, dc in next st. Repeat from * Slst into the 3rd ch of initial ch 3, slst into the next st, slst into the ch-sp and bind off. (62 dc, 8 popcorns, 20 ch)
Weave in ends and block square. Unsure how to block a square? Follow my easy blocking tutorial.


How many balls of each color did you use and what was the size of the finished project please?
The square is 9cm x 9cm when using the recommended yarn and hook (light worsted cotton and 2.75mm crochet hook). I used less than 1 ball of each color, so it is a great scraps buster!
At the end of Rd 1, the final stitch count reads (9 dc, 12 ch). But should we not have 12 dc, also? Not 9? If each “group” has an equal number of dc and chs, then the final stitch count should be equal as well, no? I just want to be sure I’m doing it correctly. 😘🖤🦇
You are doing the right thing. I’ve updated the text so that it is more clear 🙂
Could you just carry on and make one huge blanket /square?
You can! Although one thing to note is that the side with the puffs may become slightly wider the larger your piece is, so if you want it to be a square you may need to add a few stitches onto the sides with no puffs to even it out.
Beautiful square
I absolutely love this square! Is it possible for you to show me the back or a video of how you change the colors?
So glad you like the pattern, and thank you for reaching out. I used this technique for changing colors (https://thoresbycottage.com/2017/07/21/how-to-change-color-in-crochet/). You can either hold the yarn in the back and work over it (depending on the yarn, the colors can show through a bit), or you can drop the yarn to the back as “floats”. It really depends on what the project is for. Happy to share a picture with you if you need, please drop me a message through the contact form so I can share it with you!
Happy stitching x