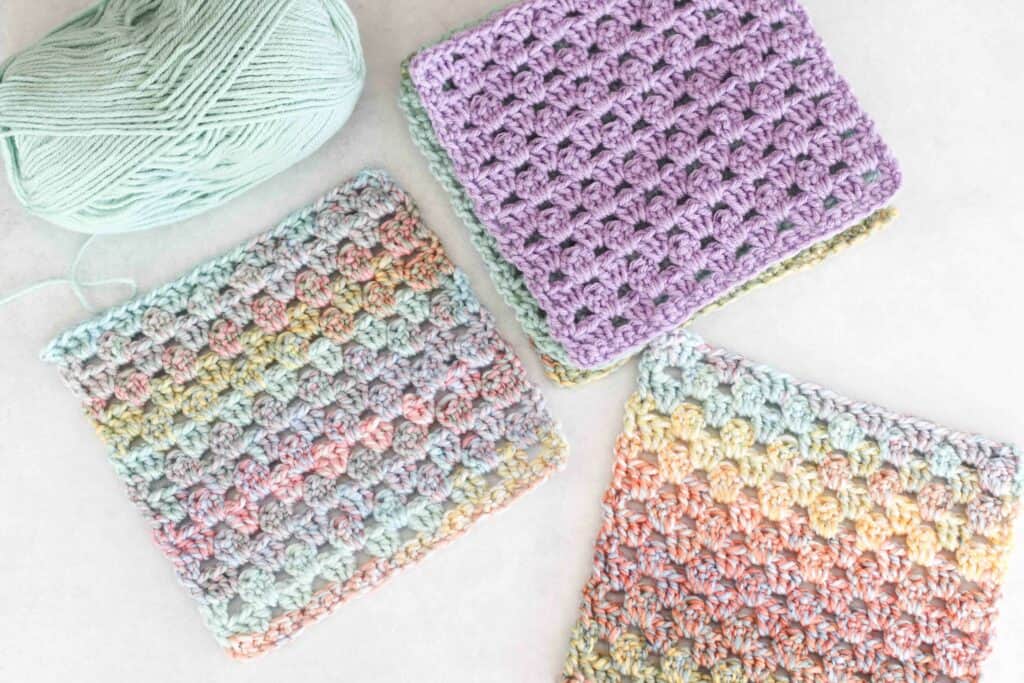
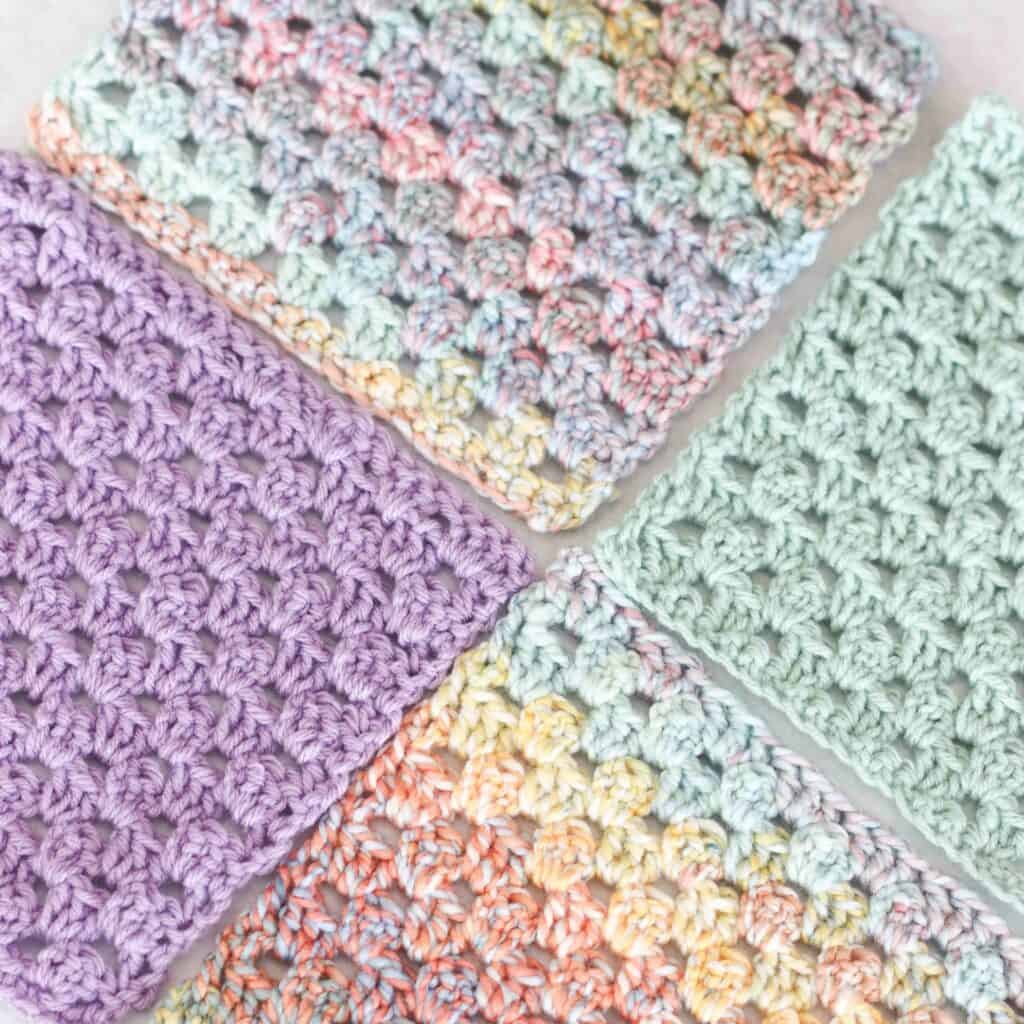
It’s almost time for Granny Square Day! I love this annual celebration of the humble granny square and will be celebrating with a new, simple granny square pattern.
Many of the granny squares that I design can become quite complex and intricate. And while I love complex and intricate, sometimes it’s nice to dial things back a little and enjoy something simpler.
So today I’m going to show you to make a simple granny square, using the classic granny square stitch. But instead of working from the centre outwards, we are going to work the square in rows, back and forth.
This simple granny square pattern is excellent for making wearables, such as scarves, or home decor items. It is also wonderful for using up scraps of yarn.

What yarn is good for granny squares?
One of the things that I love about granny squares is that you can use just about any yarn to make them! But remember that the type of yarn that you choose will change the final look and feel of the project, as well as the durability.
For example, cotton is great for intricate granny squares as you can clearly see the stitches, although it can be a little stiff sometimes and heavier than acrylic.
Acrylic yarn is generally lighter in weight and can be washed easily, but it does tend to pill and can sometimes be a bit squeaky to work with.
Wool is wonderfully warm and can drape nicely, but sometimes it is trickier to wash.
Regardless of what yarn you choose, it is a good idea to work a small square in the yarn you’d like to use, as a test swatch.
TOP TIP: While this pattern is great for yarn scraps, try not to mix different yarn weights within the same square as this will make your granny square look lumpy and uneven.

How to change the size of the granny square?
One of the things that I love about this simple granny square pattern is how easily it can be adjusted.
To change the size of this square, simply work enough chains for the size of the square that you want. Count the chains and make sure that you have a multiple of 3 (i.e. 6, 9, 12, 18 etc). Any multiple of 3 will work! Then add 2 more chains for turning.
Simple granny square pattern
Requirements
This design can be used with any weight yarn and any appropriately sized crochet hook. To achieve the same dimensions as the sample that I created, you will need to use the following materials:
6mm / size J crochet hook
Yarn needle
Aran weight yarn (I used Kismet yarn; 67 blankets aran in the color Stardust*)
*Kismet 67 blankets: 300g (10.6oz), 555m (607yd), 100% acrylic
TOP TIP: This pattern works well with variegated yarn, or plain coloured yarn, or even a combination of the two!

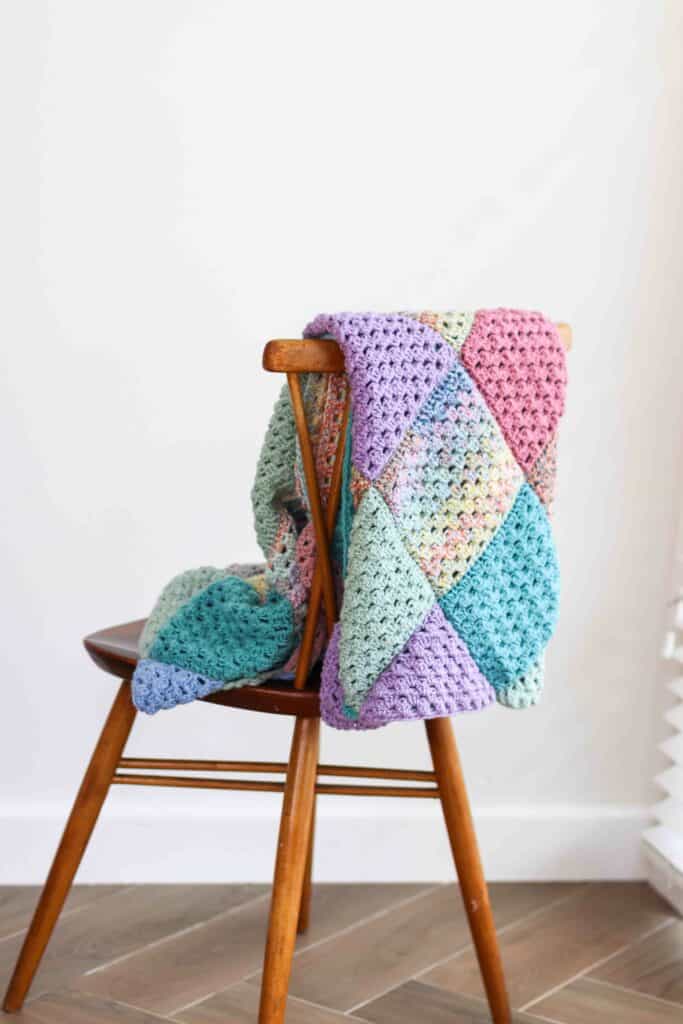
Turn your squares into a blanket!
Included exclusively in the ‘print at home’, advert free pattern PDF
- Written pattern, photo tutorials + charts
- Finishing + seaming intructions
- Color palette suggestions
- “Design your own” coloring page
- Tips + checklists for planning your blanket
Simple granny square pattern notes
- Finished size: 18cm square using the hook size and yarn weight suggested
- This pattern uses US terminology (see pattern abbreviations)
- Looking for more granny squares? Head over to my library of crochet patterns
- View my recommendations for my favourite tools and supplies on Amazon
- Purchase a low cost, printer friendly PDF (including a chart, pictures and extra tips) of this pattern in my Etsy store.
R1: ch 26, sk 2 and sc across. Sc into the back bumps (see video below) for a neater finish (24)
R2: ch 2 (counts as a st), turn, dc in same st, *sk 2, 3 dc into next st. Rep from * 6 more times, sk 2, dc into turning ch (24)
R3: ch 2 (counts as a st), turn, dc into same st, *sk dc cluster and work 3 dc into space between two clusters, rep from * 6 more times. Sk 1 st, dc into turning ch.
R4 – 16: rep row 3 to complete square. Fasten off and weave in ends.
How to crochet into the back bumps
More classic granny square patterns!
>>Hashtag Granny Square Pattern
>>Crochet starburst granny square pattern

How do you seem together the Simple Granny squares?
There are many ways to seam the squares together. The simplest is to simply whip stitch the two together. My personal favourite is the slip stitch join as that is very neat. You can also work crochet stitches between the squares.