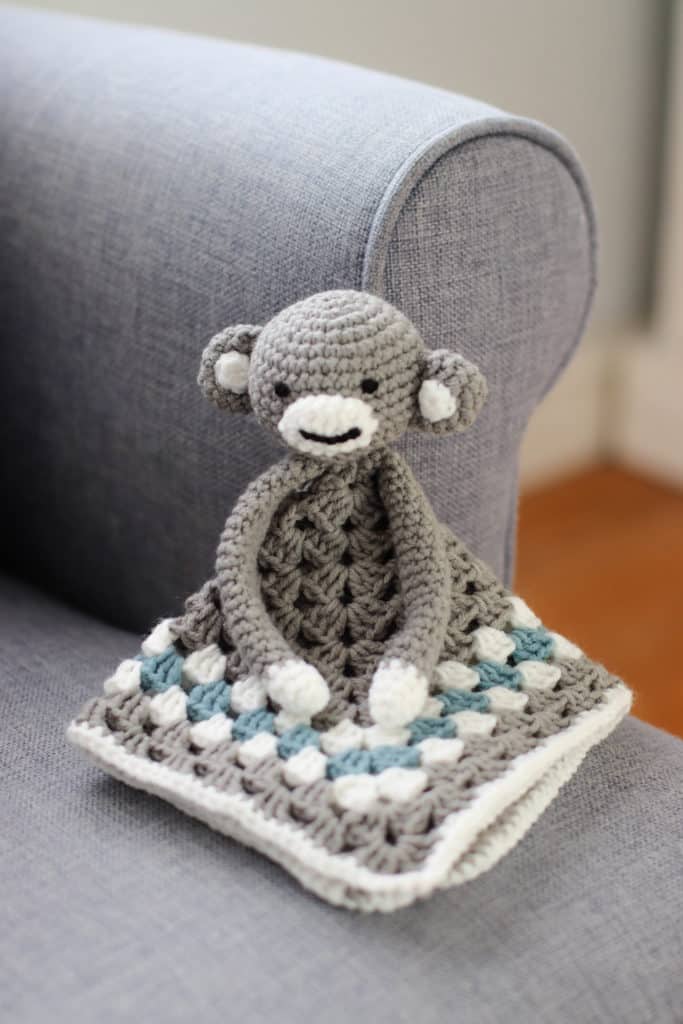
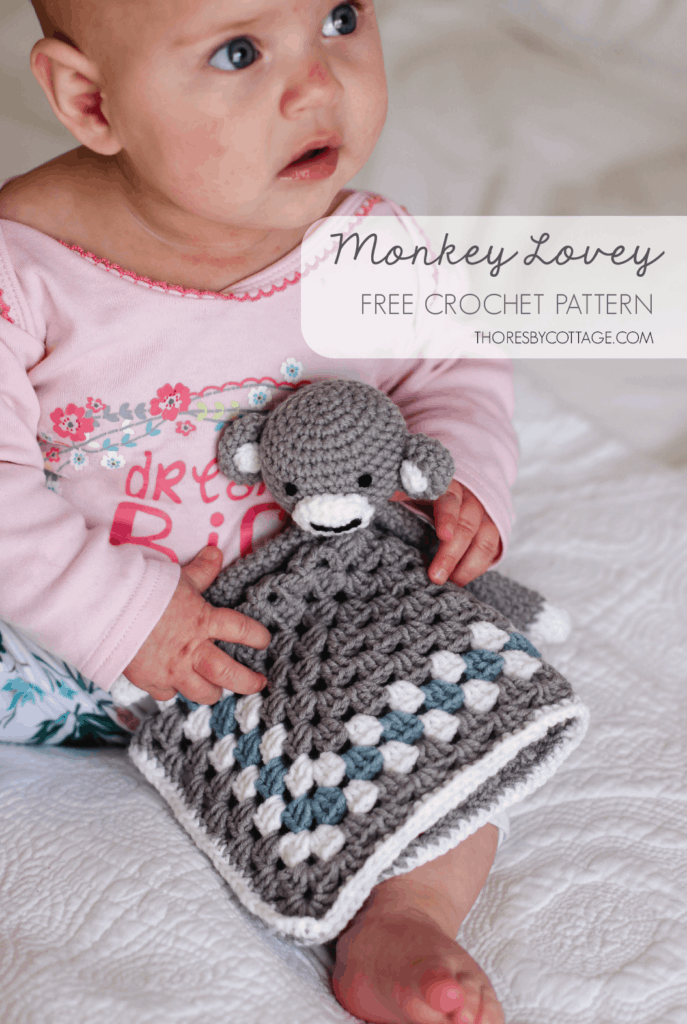
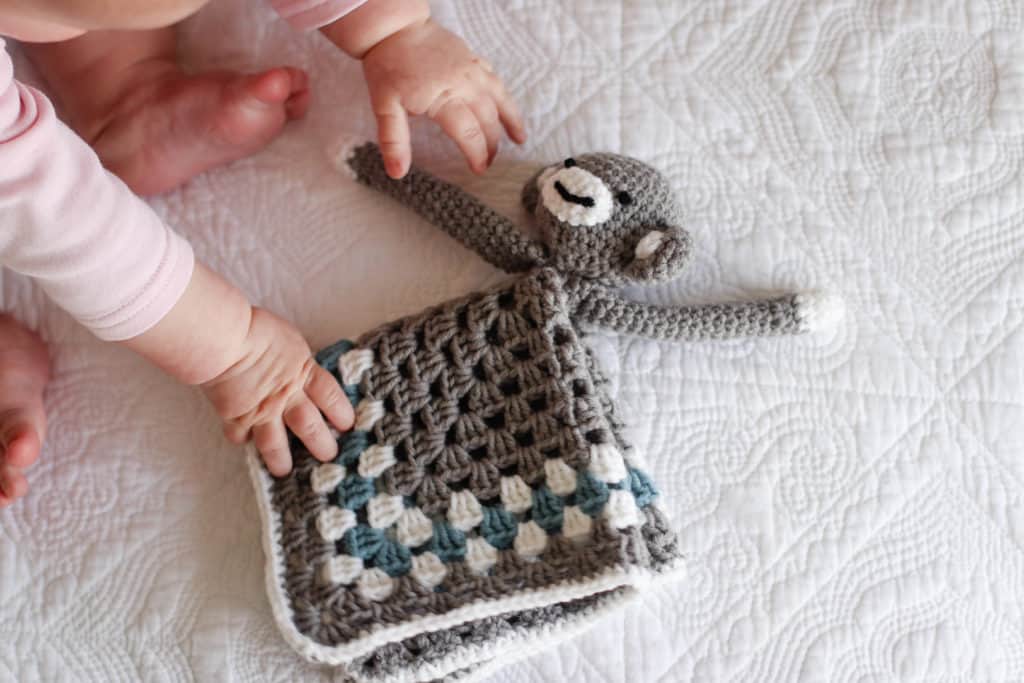
I’m in a season of trying to finish things off. And one of the things I’ve finally managed to finish is this sweet crochet monkey lovey pattern! I plan to write up an advert-free PDF that will include more detailed steps as well as a chart. But for now, here is the written pattern.
This crochet lovey was designed with my monkey curtain tie back in mind. The pair of monkeys would make a gorgeous baby shower gift! I really enjoyed using the combination of the classic granny square and elements of amigurumi. If you are new to amigurumi, then do not fret! Have a look at this article I put together for tips on crocheting amigurumi.

Crochet monkey lovey requirements:
DK/ Light worsted yarn in the following colors:
Grey (e.g. Elle Pure Gold*, Silver 056)
White (e.g. Elle Pure Gold, Lilly 033)
Blue (e.g. Elle Pure Gold, Mist 203)
Scrap black yarn / embroidery thread
Crochet hook (F / 3.75 mm)
Stuffing
Safety eyes (optional)
Yarn needle
*Elle Pure Gold is a local South African brand that you may not have access to. I’ve listed some of my suggestions for yarn substitutions below.
PIN NOW, MAKE LATER!

Notes:
- This pattern is worked in continuous rounds. Do not slip stitch to join the rounds unless instructed to do so.
- This pattern uses US crochet terms (here)
- To purchase an low-cost, ad-free, printable version of this pattern (including a chart!) from my Etsy store, click here.
- Don’t know how to do the magic ring? Head over to my tutorial here
Finished dimensions:
- Granny square laid flat: 28 cm x 28 cm
- From top of head to bottom of “body” is 25 cm
- Arms stretch 22 cm across

Crochet Monkey Lovey pattern
Granny square
Start with grey yarn
Foundation ring: ch 5 and join with a sl st to the 5th ch from hook to form a ring
(Tip: If you prefer following a crochet chart, click here for the low cost, ad free PDF which includes a chart and plenty of pictures!)
Rnd 1: ch 3 to start the round. This ch 3 acts as the first dc of a dc cluster/shell (for this round and the rest of the pattern). Into the foundation ring, work 2 dc to complete the first ‘shell’ (ch 3 + 2 dc). Continue working into the ring as follows; *ch 3, 3 dc. Repeat from * two more times. Ch 3 and join with a slst into the 3rd ch of the first ch 3 to close the rnd.
(4 x 3 dc shell, 4 x ch 3 sp)
Rnd 2: ch 3 (counts as a dc) (** note: this dc is the LAST dc of the entire round. So, you need to add another ch to link this shell to the first shell). ch 1 (4 chains in total). *Into the next ch-3-sp, work a corner (3 dc, ch 3, 3 dc, ch 1), repeat from * around to the last ch-3-sp. In the last 3 ch sp work (3 dc, 3 ch, 2 dc) – remember the ch 3 at the beginning of this round? That forms the 3rd dc of this last shell. Slst into the 3rd ch to complete the round.
(8 x 3 dc shells, 4 x ch 3 sp, 4 x ch 1 sp)
Rnd 3: ch 3 (counts as dc), into the same ch-1-sp, work (2 dc, 1 ch) to form the first shell. Into the first corner *work (3 dc, ch 3, 3 dc, ch 1) and then into the ch-1-sp work (3 dc, ch 1). Repeat from * around, omitting the last (3 dc, ch 1). Slst into the 3rd ch of the beginning ch to complete the round.
(12 x dc shells, 4 x ch-3-sp, 8 x ch 1)
Repeat Rnd 2 and 3 until you have 8 rounds (including the foundation ring). Making sure to work (3 dc, 3 ch, 3 dc, 1 ch) in each corner (ch-3-sp) and working a single shell (3 dc, 1 ch) into each ch-1-sp. Note that with each round, you will be increasing the size of your square, and so you will be working more shells between the corners. Once you have completed 8 rounds, slst to join the rounds. Bind off, weave in ends.
Rnd 9: Switch to white. Join the white yarn to any corner (ch-3-sp) of the square. (ch 3, 2 dc, ch 3, 3 dc, ch 1) to form the first corner. (3 dc, ch 1) in each 1 ch sp and (3 dc, ch 3, 3 dc, ch 1) in each corner around. Sl st into the first ch to close the round. Bind off and weave in ends.
(36 x dc shells, 4 x ch-3-sp, 32 x ch 1)
Rnd 10: Switch to blue yarn. Join in any corner (ch-3-sp). Work first corner (ch 3, 2 dc, ch 3, 3 dc, ch 1). (3 dc, ch1) in each ch-1-sp and (3 dc, ch 3, 3 dc, ch 1) in each corner around. Slst into the first ch to close the round. Bind off and weave in ends.
(40 x dc shells, 4 x ch-3-sp, 36 c ch 1)
Rnd 11: Switch to white yarn. Join the white yarn to any corner (ch-3-sp) of the square. (ch 3, 2 dc, 3 ch, 3 dc, ch 1) to form the first corner. (3 dc, ch 1) in each ch-1-sp and (3 dc, 3 ch, 3 dc, ch 1) in each corner around. Slst into the first ch to close the round. Bind off and weave in ends. (44 x dc shells, 4 x ch-3-sp, 40 x ch 1)
Rnd 12 – 13: Switch to grey yarn. Join the grey yarn to any corner (ch-3-sp) of the square. (ch 3, 2 dc, 3 ch, 3 dc, ch 1) to form the first corner. (3 dc, ch 1) in each ch-1-sp and (3 dc, 3 ch, 3 dc, ch 1) in each corner around. Slst into the first ch to close the round. Work a second round in grey. Bind off and leave a tail to weave in.
(48 x dc shells in rnd 12, 52 x dc shells in rnd 13)
Rnd 14: Switch to white yarn. Join the white yarn anywhere and sc all the way around the square into each dc and ch. (make sure to go into each ch st in the corners, these can be fiddly). Slst into the first st and bind off. (216 sc)
Head
Starting in grey yarn
Rnd 1: Mr 6 sc (6)
Rnd 2: 2 sc in each st (12)
Rnd 3: *sc in next st, 2 sc in next. Repeat from * around (18)
Rnd 4: *sc in next 2 st, 2 sc in next st. Repeat from * around (24)
Rnd 5: *2 sc in next st, sc in next 3 st. Repeat from * around (30)
Rnd 6: *sc in next 4 st, 2 sc in next st. Repeat from * around (36)
Rnd 7 – 11: sc around (36)
Rnd 12: *sc in next 4 st, sc2tog. Repeat from * around (30)
Rnd 13: *sc2tog, sc in next 3 st. Repeat from * around (24)
Stuff
Rnd 14: *sc in next 2 st, sc2tog. Repeat from * around (18)
Rnd 15: *sc2tog, sc in next st. Repeat from * around (12)
Last chance to add any stuffing!
Rnd 16: sc2tog around (6)
Fasten off and weave in ends
Muzzle
In white yarn;
Rnd 1: Mr 4 sc (4)
Rnd 2: 2 sc in each st (8)
Rnd 3 – 6: sc around (8)
Rnd 7: sc2tog (4)
Fasten off and weave in ends. No need to stuff.
Note: Rnd 7 can be quite fiddly! If you are struggling, rather sew up the end using a yarn needle.
Ear outer (x 2)
In grey yarn;
Rnd 1: Mr 6 sc (6)
Rnd 2: 2 sc in each st (12)
Rnd 3 – 5: sc around (12)
Fasten off, leave a tail for joining.
Ear inner (x 2)
In white;
Rnd 1: Mr 5 sc (5)
Fasten off and leave a tail for joining
Arms (x 2)
Starting in white;
Rnd 1: Mr 4 sc (4)
Rnd 2: 2 sc in each st (8)
Rnd 3 – 4: sc around (8)
Rnd 5: change to grey and sc around (8)
Rnd 6 – 25: sc around (8)
Fasten off, leave a tail for joining. No need to stuff.
Assemble your crochet monkey lovey
- Using black embroidery thread / yarn, embroider a mouth onto the muzzle.
- Stitch the muzzle in place on the head
- Stitch the ear inners onto the ear outer, and attach to either side of the head
- Embroider eyes (using a french knot)
- Stitch the head onto the centre of the granny square
- Attach the arms on either side of the head.
I hope you have enjoyed this sweet crochet monkey lovey pattern.
I have a number of other crochet monkey themed projects, including a rattle, curtain tie back and granny square.
MONKEY RATTLE PATTERN // MONKEY SQUARE PATTERN // MONKEY TIE BACK PATTERN
If you are looking for more free patterns, then head over to my PATTERNS PAGE to have a look!
That’s all for now.
Yours in craft,
Caitie x


Hi! About how many skeins of yarn does this use?
Hello! This uses less than 1 x 50g ball of each color. Happy stitching!
What row would you add safely eyes?
Add them between round 7 and 8, 5 to 6 stitches apart. Hope that helps!
Hello Caitie, I love this FREE pattern I wanted to ask you what does Mr mean? As in HEAD Rnd 1: Mr 6 sc (6) All I can think of is Mr = Main round. Thank you, Diane
Hello! Thank you for your message. MR is short for magic ring (adjustable ring). Hope that helps 🙂