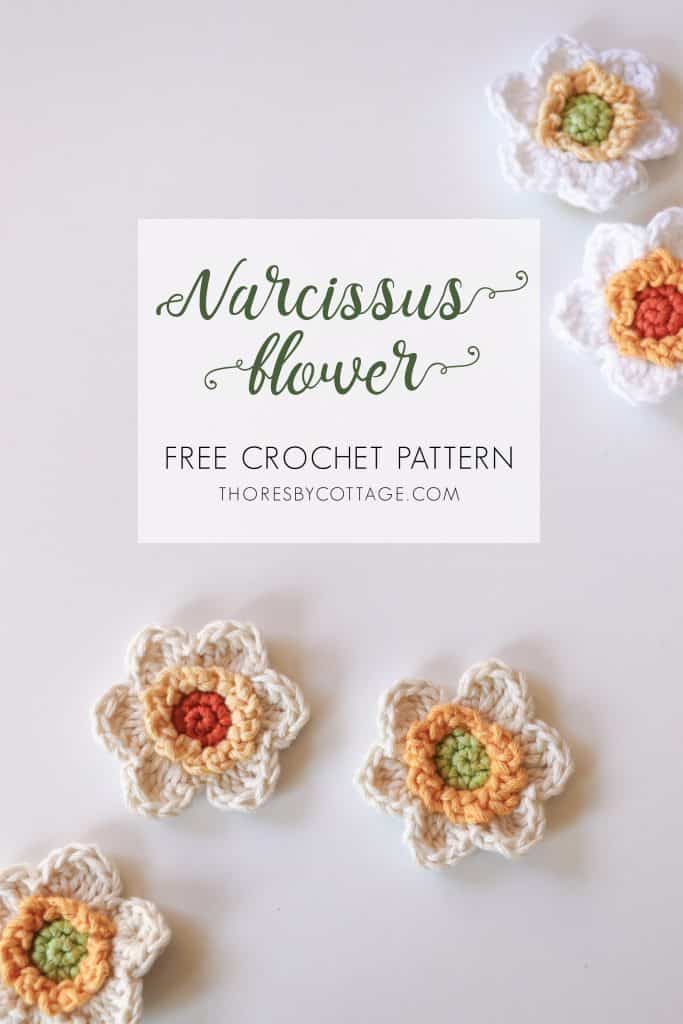
I love flowers and so I’m excited to share this free Narcissus crochet pattern with you! Here’s the back story behind this pattern. I was given some Narcissus bulbs for my birthday a number of years ago. They flowered for a few years and then just stopped. I thought the bulbs had died or got munched by something, and so left them in their pots and promptly forgot about them. When we moved house, we lugged along all the pots that we had at our old house and placed them in various spots in the garden of our new house.
Now, because of the drought as well as the arrival of the littlest member of our family, the garden in our new house has been somewhat neglected. We’ve been here in our new house a few years and my bulbs have never sprouted, so I was just gobsmacked when my husband walked in with the most beautiful bunch of narcissus harvested from the garden! These bulbs which hadn’t seen the sun for several years decided that now was the time to burst forth into bloom. What a treat!
I used Vinni’s cotton yarn for these flowers. It has a beautiful matte texture and the colors are very natural. In the images below, I used the following colors (Natural or White for the main petals, Sunshine or Baby Yellow for the ruffles, and Avocado or Burnt Orange for the centres). Let’s get on with the pattern shall we!
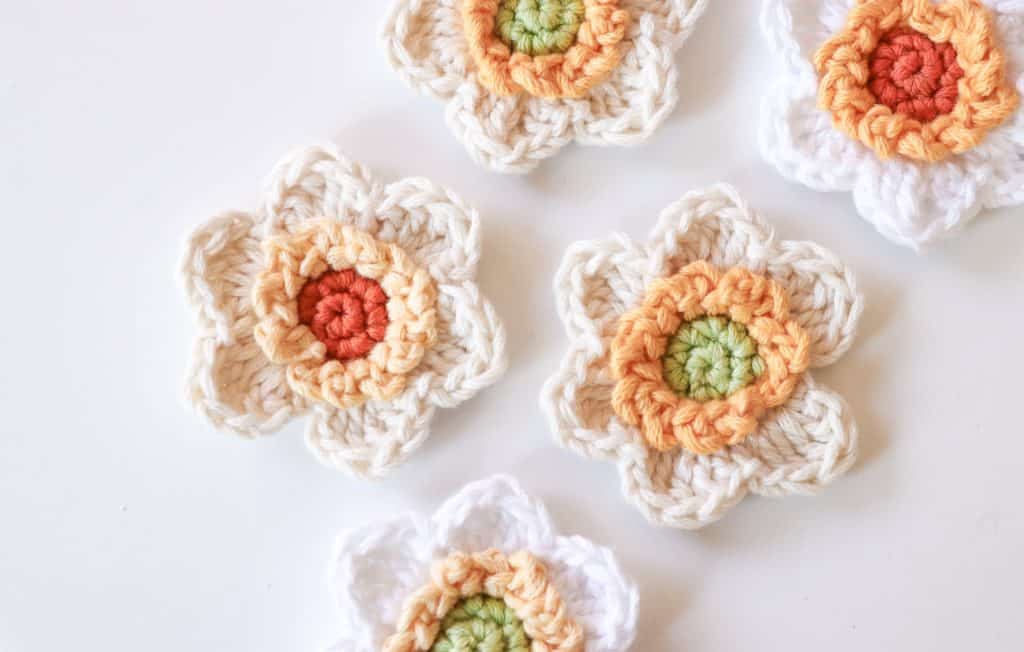
Requirements
2.75mm crochet hook
Double knit (light worsted) crochet cotton in the following colours:
Light green (or orange, for the centre)
Yellow (ruffle)
Cream/White (outer petals)
I use Vinnis yarn but any crochet cotton will do.
Notes:
This pattern is written using US crochet terms. If you are unfamiliar with any of the abbreviations, please visit the crochet terms page.
It’s also worth looking at my tutorial for the magic ring if you are unfamiliar with how to make one.
Some parts of this pattern are worked in continuous rounds. Don’t slip stitch to close the ring unless instructed to do so!
Free Narcissus crochet pattern
R1. In green, mr 6 sc (6)
R2. 2 sc in each st, slst to close ring (12)
R3. Join yellow yarn and slst around, slst to close ring (12)
R4. (ch 3, slst into fl of next st) repeat around and bind off
R5. Join cream yarn. Working into bl of rnd 3, ch 1 *sc in next st, 2 sc in next*, repeat from * around. Slst to close ring (18)
Make sure that you work with your flower facing forwards, otherwise the petals will be back to front!
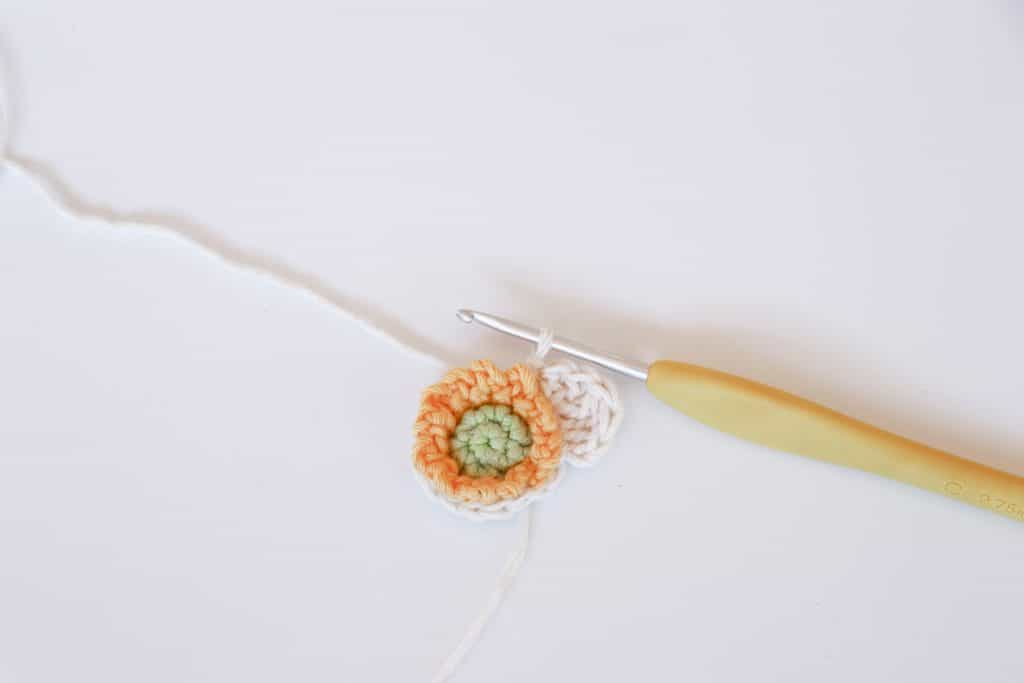
R6. ch 2 (counts as 1st dc). The petals are worked over 3 sts. *Into the first st (2 dc, tr). Into the next st (tr, 2 dc), sl st into last st*. Repeat from * around to create 6 petals. Slst into rnd 5 to close off.
Pattern photo tutorial
R1. In green, mr 6 sc (6)
R2. 2 sc in each st, slst to close ring (12)
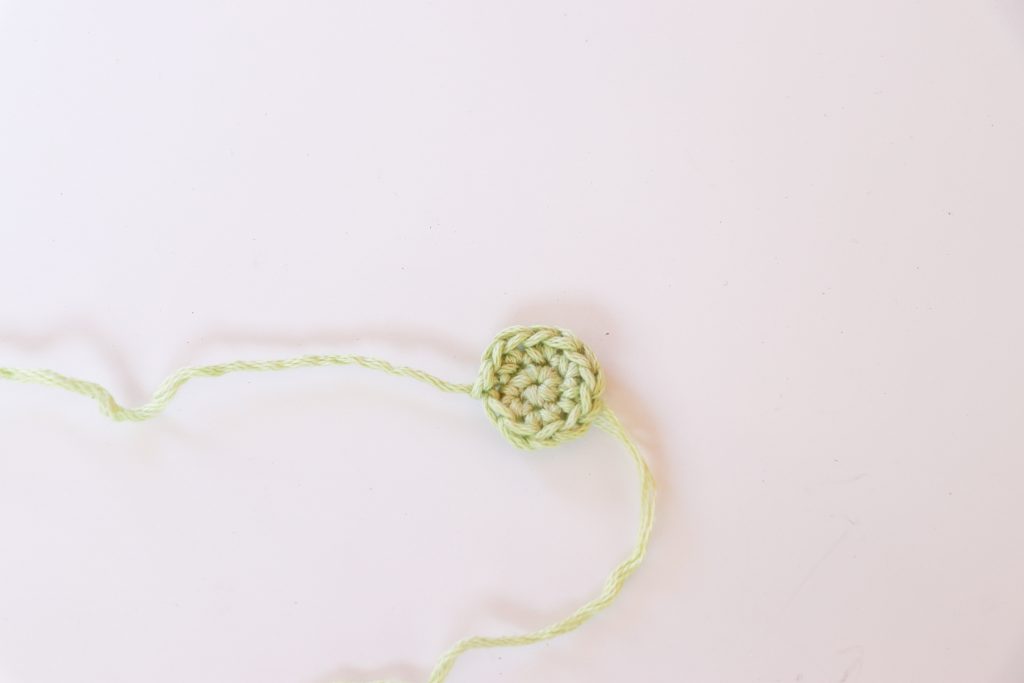
R3. Join yellow yarn and slst around, slst to close ring (12)
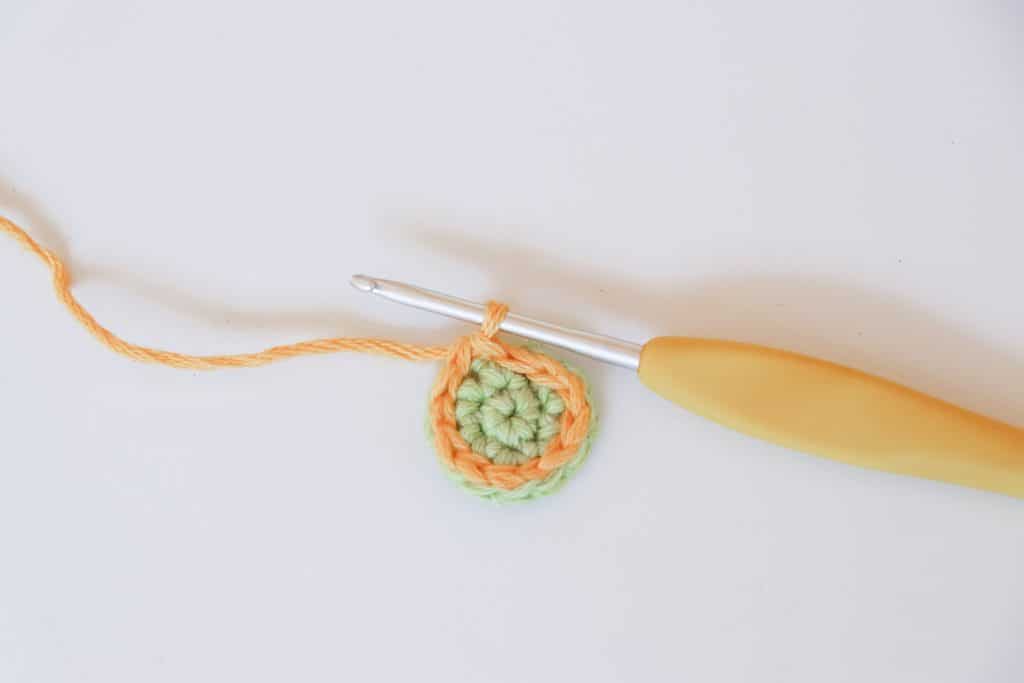
R4. (ch 3, slst into fl of next st) repeat around and bind off
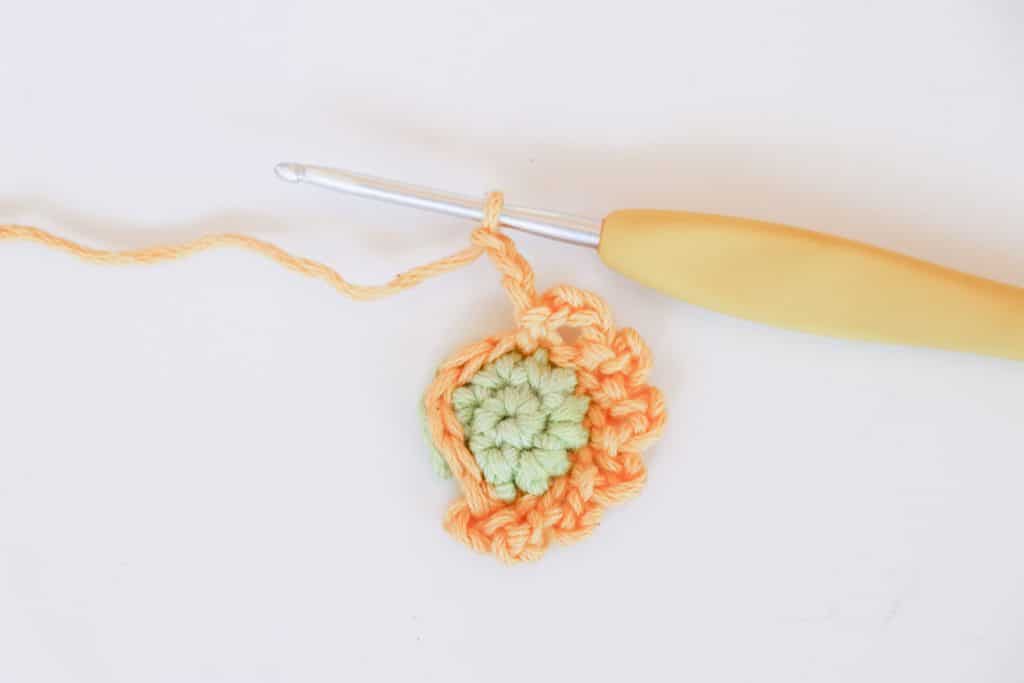
R5. Join cream yarn. Working into bl of rnd 3, ch 1 *sc in next st, 2 sc in next*, repeat from * around (18)
Make sure that you work with your flower facing forwards, otherwise the petals will be back to front!
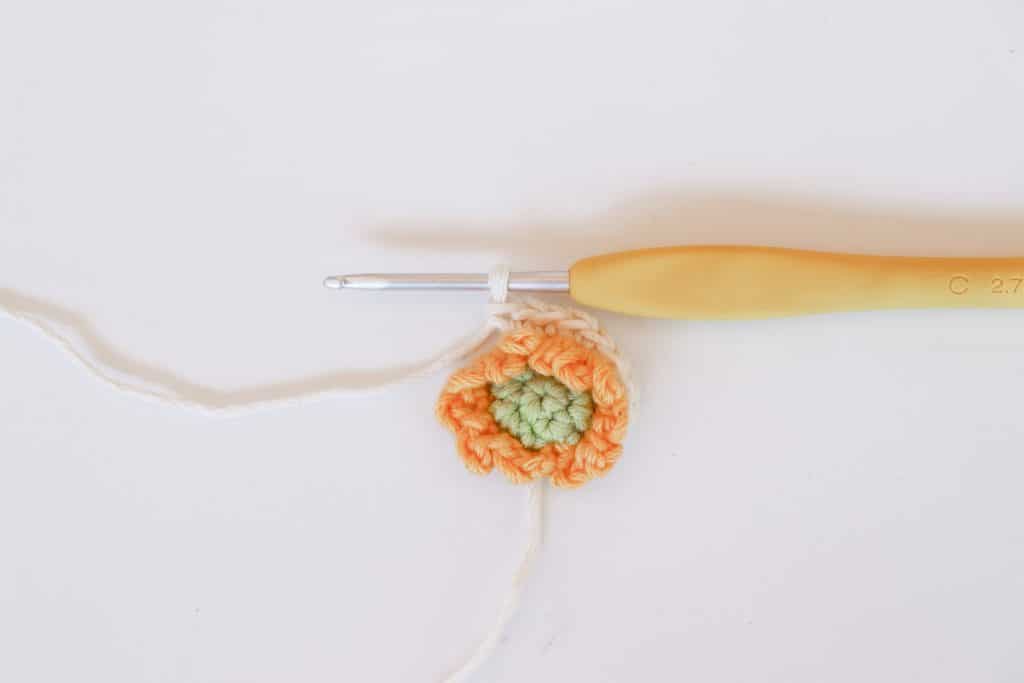
R6. ch 2 (counts as 1st dc). The petals are worked over 3 sts. Into the first st (2 dc, tr). Into the next st (tr, 2 dc), sl st into last st. Repeat around to create 6 petals. Slst into rnd 5 to close off.
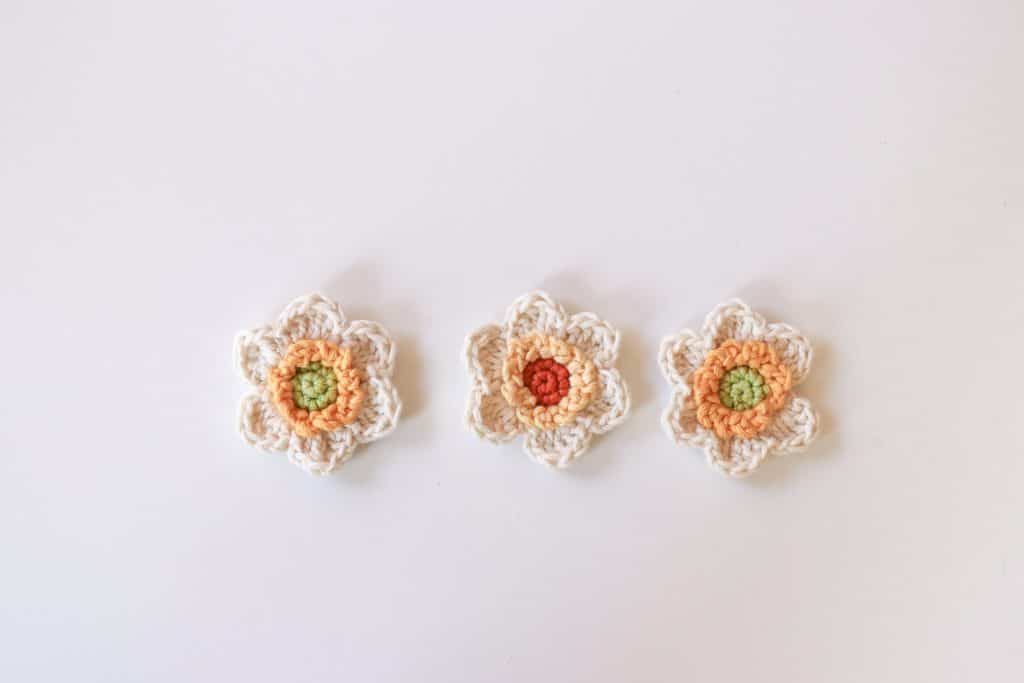
I’d love to see the flowers that you make, and the color combinations that you choose, so please do share them with me on Instagram (by tagging @thoresbycottage) or on Facebook.
More flower patterns!
Happy stitching!
Yours in craft,
Caitie x

Love the flower. I especially like the first two layers of the flower the texture they create.
So glad to hear that you like the flower! 🙂