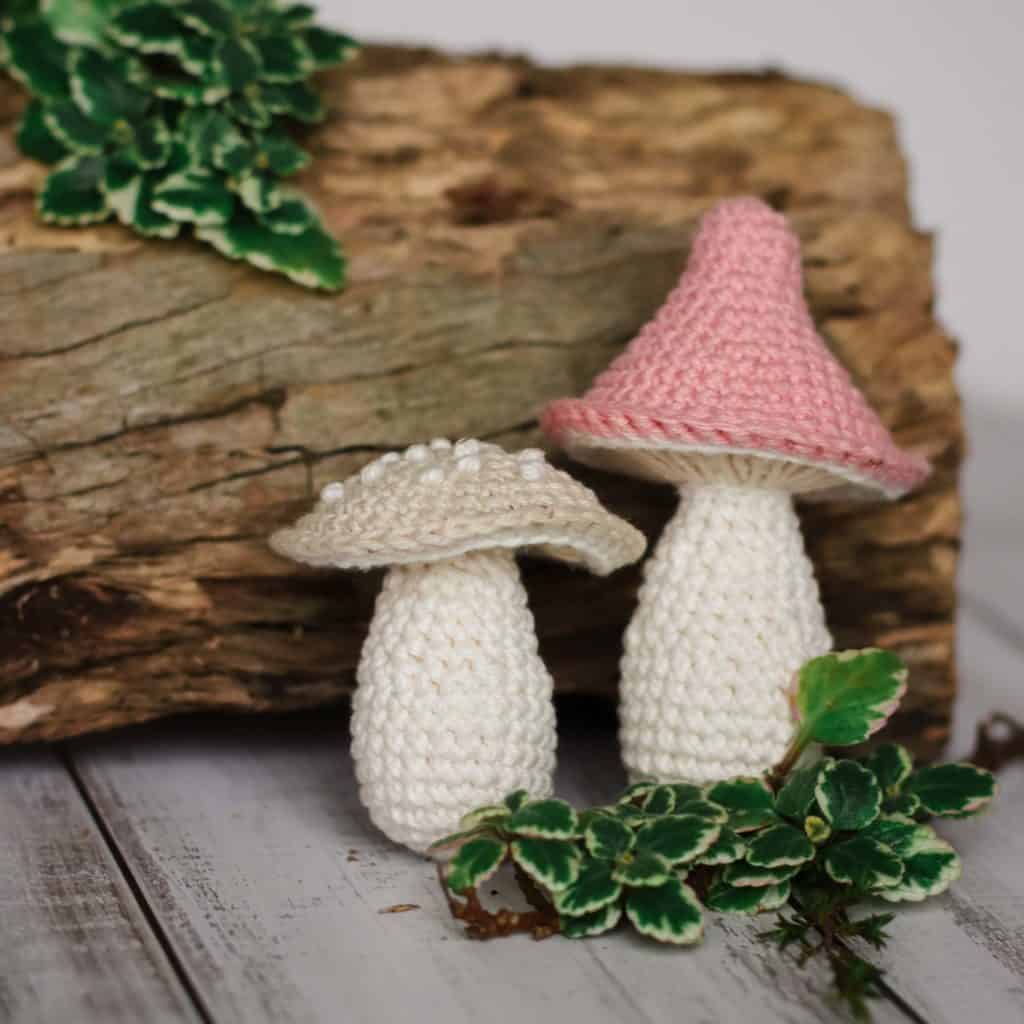
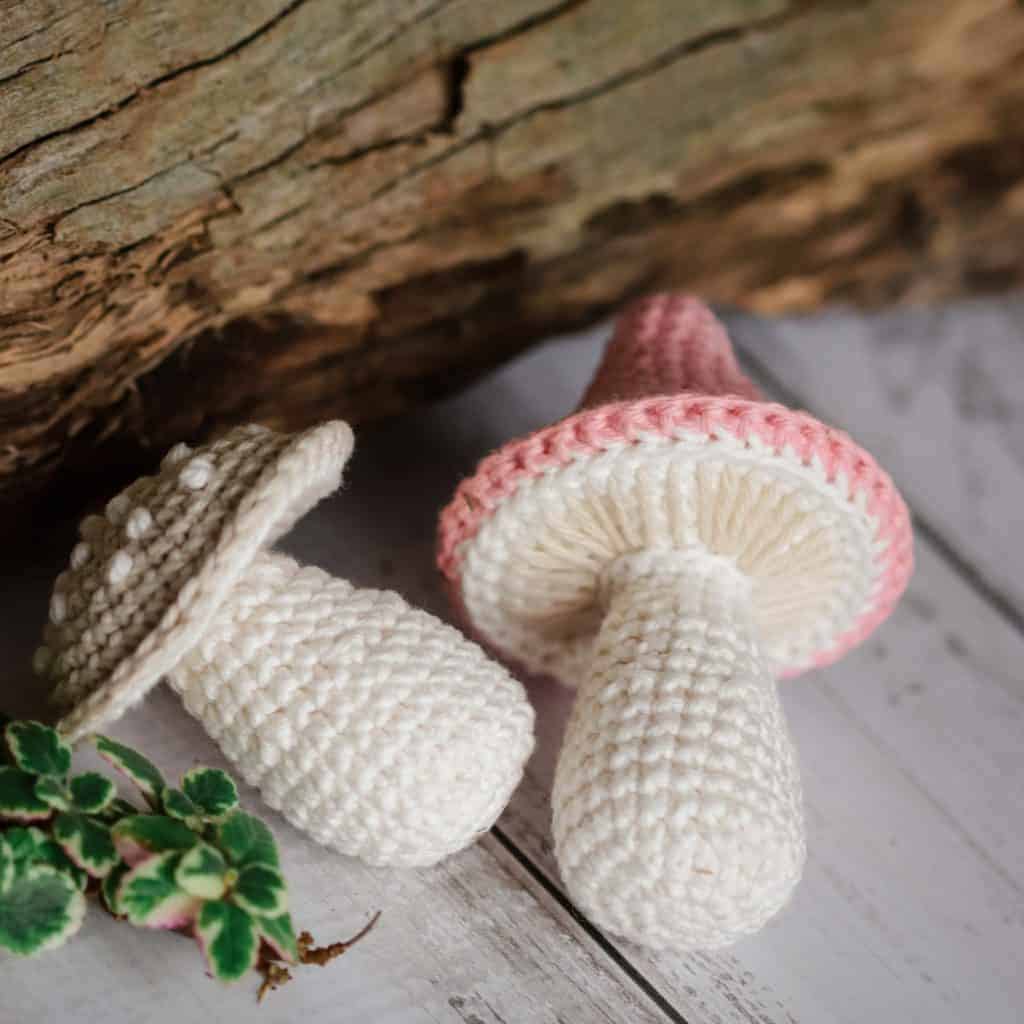
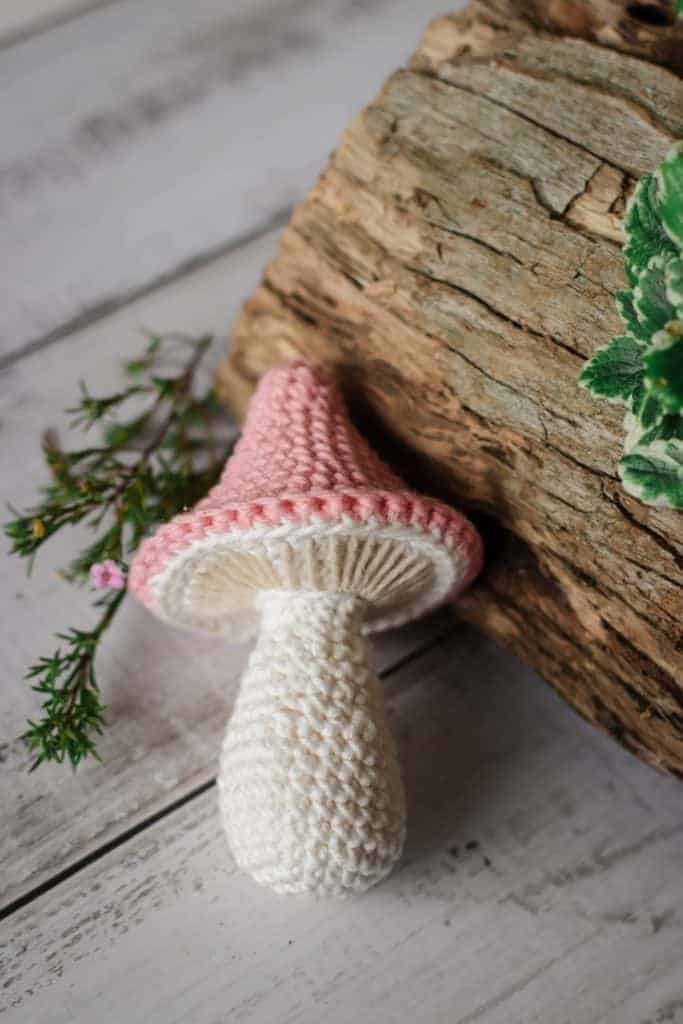
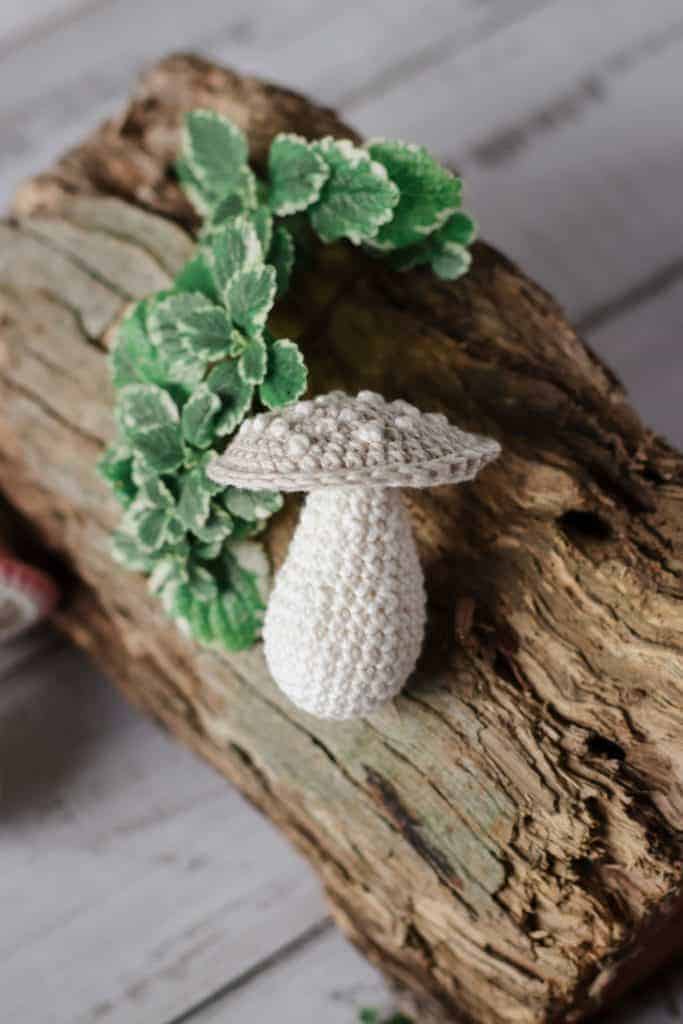
I love all things woodland, and so couldn’t resist designing a crochet mushroom pattern. These mushrooms would make a lovely gift for your forest-loving friends, or hung on a Christmas or Easter tree. You could even add a small rattle insert and it would fit in perfectly with a woodland themed nursery.
There are 2 different shapes of cap included in this crochet mushroom pattern; a traditional pointed cap as well as a flatter cap with embroidered details.
While this pattern is available for free here on thoresbycottage.com, a PDF version is also available (low cost and print friendly!) which includes extra details and lots of photographs to help you along the way.
Have fun with the colors and textures of this pattern!

Requirements
2.75mm / size C crochet hook
Yarn needle
Embroidery needle
Stitch marker
Stuffing
*DK (light worsted) yarn in the following colors:
Cream (Paintbox Yarn Light Champagne)
Beige (Paintbox Yarn Vanilla Cream)
Pink (Paintbox Yarn Blush Pink)
*Paintbox Yarn Cotton DK: 100% cotton, 50 g (1.7 oz) / 125 (137 yd)
NOTES
- This crochet mushroom pattern is worked mostly in continuous rounds. Do not slip stitch to join the round unless instructed to do so.
- Finished size: 7cm (flat cap mushroom) and 10cm (pointed cap mushroom)
- This pattern uses US terminology (see abbreviations)
- Don’t know how to do the magic ring? Head over to my magic ring tutorial
- A low cost, printer friendly, advert free PDF can be purchased here.

Crochet Mushroom Pattern
Stalk
Using Light Champagne
Rnd 1: 6 sc into a mr (6)
Rnd 2: 2 sc in each st around (12)
Rnd 3: *sc, 2 sc in next st; rep from * around (18)
Rnd 4: *sc, sc, 2 sc in next st; rep from * around (24)
Rnd 5 – 9: sc in each st around (24)
Rnd 10: *sc, sc, sc2tog; rep from * around (18)
Rnd 11 – 13: sc in each st around (18)
Stuff firmly but do not over stuff
Rnd 14: *sc, sc2tog; rep from * around (12)
Rnd 15 – 17: sc around (12)
Add more stuffing if needed
Rnd 18: 2 sc in BLO of each st around (24)
Rnd 19: *sc, 2 sc in next st; rep from * around (36)
Rnd 20 – 22: sc in each st around (36)
Slst to finish, fasten off and weave in ends
Add details:
Using Vanilla Cream, embroider long stitches all around the stalk. Fasten off and weave in ends.
If you struggling with this part, I’d suggest having a look at my low cost, printer friendly version of this pattern (here) which includes detailed steps and photographs of all the tricky bits of this pattern!
Pointed crochet mushroom cap
Using Blush Pink
Rnd 1: 6 sc into a mr (6)
Rnd 2: 2 sc in each st around (12)
Rnd 3 – 5: sc in each st around (12)
Rnd 6: *sc, 2 sc in next st; rep from * around (18)
Rnd 7: sc in each st around (18)
Rnd 8: *sc, sc, 2 sc in next st; rep from * around (24)
Rnd 9: sc in each st around (24)
Rnd 10: *sc in next 3 st, 2 sc in next st; rep from * around (30)
Rnd 11: *sc in next 4 st, 2 sc in next st; rep from * around (36)
Rnd 12 – 14: sc in each st around (36)
Do not fasten off!
Flat mushroom cap
Using Vanilla Cream
Rnd 1: 6 sc into a mr (6)
Rnd 2: 2 sc in each st around (12)
Rnd 3: *sc, 2 sc in next st; rep from * around (18)
Rnd 4: *sc, sc, 2 sc in next st; rep from * around (24)
Rnd 5: *sc in next 3 st, 2 sc in next st; rep from * around (30)
Rnd 6: *sc in next 4 st, 2 sc in next st; rep from * around (36)
Rnd 7 – 8: sc in each st around (36)
Do not fasten off. Place a stitch marker in the working loop so that you do not drop any stitches.
Add details:
Embroider small dots (a bullion or French knot, see video below for tutorial) over the cap. Try to keep them a little uneven looking as this looks more natural! Fasten off and continue to the assembly.


Assembly
To add the crochet mushroom cap to the stalk, work through both the cap loops and only the front loop of the stalk. Use the working yarn from the cap to single crochet around both the cap and the stalk at the same time (through the loops described above). Work 26 sc, pause and lightly stuff the cap (only for the cone shaped cap), continue to work the last 10 sc to close. Fasten off and weave in any remaining ends.
I hope you enjoyed this amigurumi mushroom crochet pattern!
Happy stitching.
Yours in crafting,
Caitie

These are soooo cute! My daughter is getting paid at school for her crochet and it it so cute to see these. I can’t wait to show her!
Thanks
I’ve just made some lovely mushrooms using some of this pattern and adding my own little tweak….its a shame I can’t share the photo but they’ve come out lovely.
I made it and its cute, but when I was single crocheting to attach the cap to the stem, there were more stitches to go through in the stem than there were in the cap? maybe I did something wrong?
Hmm, there should be the same number of stitches so I suspect that something has gone wrong with your stitch counting. Sometimes where you slst at the end of a round can look like an extra stitch?