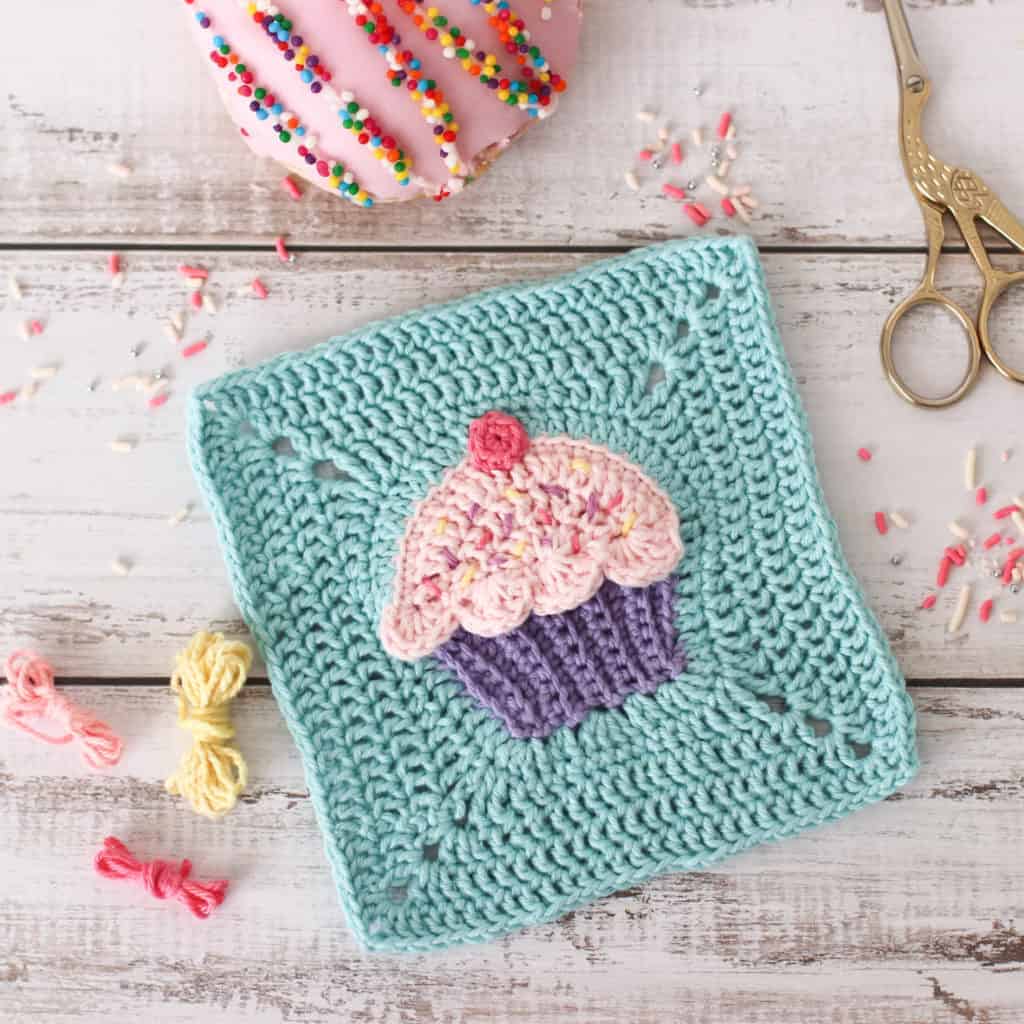
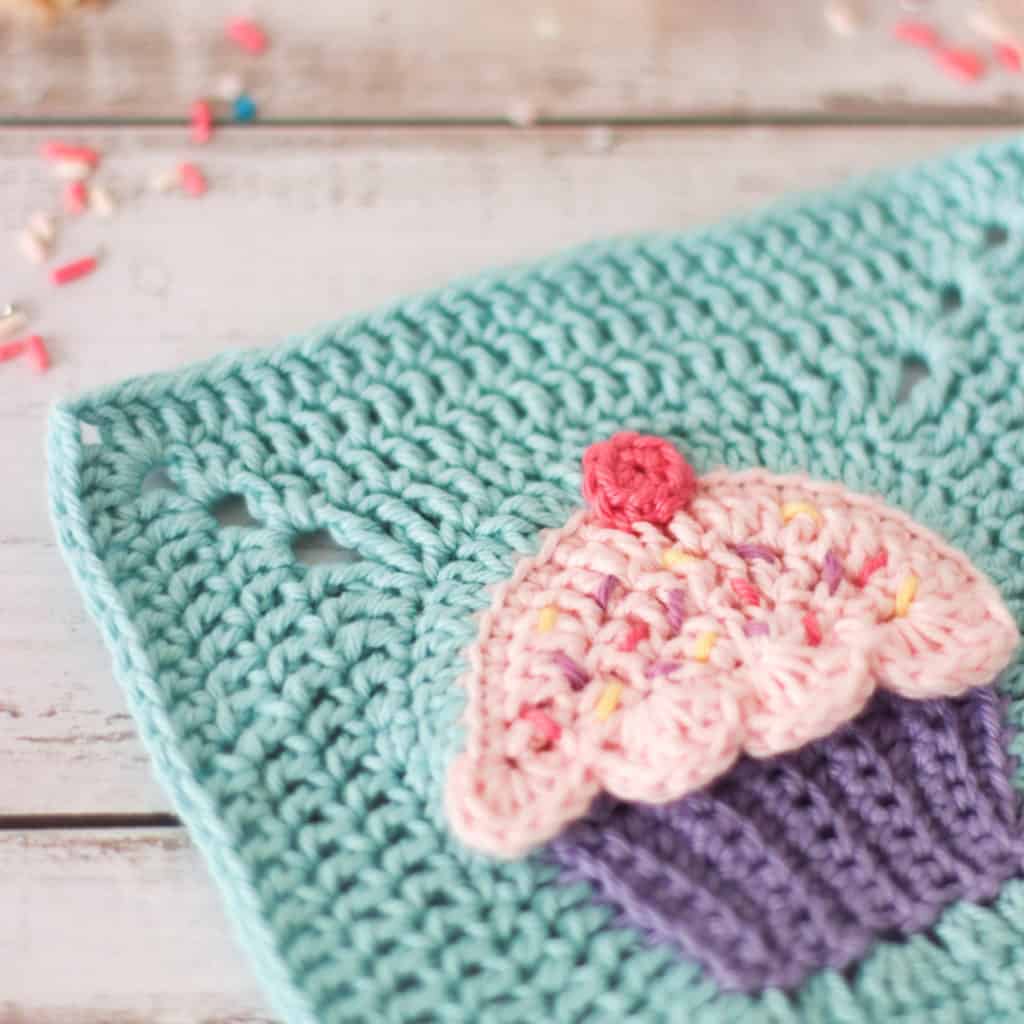
It is my birthday month and so it is time to celebrate! Here is a free crochet cupcake pattern. This cupcake granny square was first published in a book that I collaborated on called 3D Granny Squares: 100 crochet patterns for pop-up granny squares. (You can read more about the book here). This sweet little motif is perfect for that celebration project!

Requirements
2.75mm / size C crochet hook
Yarn needle
Sewing needle
DK (light worsted)* yarn in the following colors:
Light Pink (Paintbox Yarn Candy floss Pink)
Purple (Paintbox Yarn Pale Lilac)
Teal (Paintbox Yarn Washed Teal)
Bright Pink (Paintbox Yarn Bubblegum Pink)
Yellow (Paintbox Yarn Daffodil Yellow)
*Paintbox Yarn Cotton DK: 50g (1.75oz), 125m (137yds), 100% cotton, 8 ply.
Have a look here for some suggestions of supplies for this project.
Less than 1 ball per color of Paintbox Yarn Cotton DK is required per square.
NOTES
- This crochet cupcake pattern is worked mostly in continuous rounds. Do not slip stitch to join the round unless instructed to do so.
- Finished size: 13cm square using the hook and yarn suggested.
- This pattern uses US terminology (see abbreviations here)
- Don’t know how to do the magic ring? Head over to my tutorial here
- A low cost, printer friendly, advert free PDF (which includes charts and lots of pictures!) can be purchased here.

Free Crochet Cupcake Pattern | Granny Square Cupcake
FIRST MAKE THE ICING
Rnd 1: Starting with Candy floss Pink, mr 6 sc, slst to close the rnd (6)
Rnd 2: ch 3 (counts as a dc), 3 dc in next 5 st, 2 dc in last st, slst into 3rd ch of initial ch 3 to close the rnd (18)
Rnd 3: ch 3 (counts as a dc), dc into next st. * Dc in next st, 2 dc in next st. Repeat from * 8 times. Slst into 3rd ch of initial ch 3 to close the rnd (26)
Rnd 4: ch 3 (counts as a dc). * 2 dc in next st, 2 dc in next st, dc in next st. Repeat from * 8 times. 3 dc into the last st, slst into 3rd ch of initial ch 3 to close the rnd. (44)
Rnd 5: Fold the circle in half and sc through both layers. Do not fasten off. (22)
Add the scallop detail
Step 1: Ch 1, turn the half circle so that the next stitch that you work is into the flat part of the half circle. Working across the flat edge, 5 dc into the outer edge of rnd 4, slst into the outer edge of rnd 3 (1st scallop)
Step 2: 6 dc into the outer edge of rnd 2, slst into rnd 1 (2nd scallop)
Step 3: 6 dc into the outer edge of rnd 1, slst into outer edge of rnd 2 (3rd scallop)
Step 4: 6 dc into rnd 3, slst into the outer edge of rnd 4 (4th scallop)
Step 5: Fasten off and weave in ends
If you need further assistance with this tricky part, look no further than the printable PDF tutorial, which includes detailed pictures for each step, here.
Cupcake liner
Row 1: In Pale Lilac, ch 9. Working back along the ch, sk 1 st and sc in each (8)
Row 2: Ch 1, turn. Work into BLO for the whole row; slst into the next st, sc into the next 4 st, hdc into the next 2 st, dc into the last st (8)
Row 3: Ch 1, turn, sc into BLO across (8)
Row 4 – 9: Repeat R 2 and R 3.
Row 10: Rep row 2. Fasten off and leave a tail.
Using the yarn tail, stitch the liner in place at the back of the cupcake. Make sure to join the liner to the flat edge of the icing semi circle, not to the scallops
Squaring off
Rnd 1: With the right side of cupcake facing, join Washed Teal to right hand side of the icing, joining into the 1st st of the semi circle and not the scallops. (i.e. the outer edge of rnd 5, on the right hand side of the icing). This round is worked entirely in BLO. Join yarn in BLO with a standing dc (or ch 3), *2 dc in next st, dc in next st, rep from * 9 more times, dc in next st. (32 dc around the icing.)
Continue stitching BLO around the case as follows: 8 dc down the side of the case, 4 dc into the 1st ch at the bottom, 2 dc in the next (between the ridges), 4 dc in the next, 2 dc in the next, 4 dc in the last ch, dc in each st up opposite side of case, invisible join, fasten off and weave in ends (64)
Rnd 2: Rejoin Washed Teal in 1st dc of the dc cluster at the bottom left of the cupcake liner, with a standing tr or ch 3 (counts as tr), ch 2 and tr into the same st, *tr into the next st, dc into the next 2 sts, hdc into the next 2 sts, sc into the next 5 sts, hdc into the next 2 sts, dc into the next 2 sts, tr into the next st, into the same st (tr + ch 2 + tr), repeat from * 3 more times, omitting (tr + ch 2 + tr) in the last rep, slst to close rnd. (68, 4 x ch-2-sp)
Rnd 3: slst into ch-2-sp. Into ch-2-sp, ch 3 (counts as a dc) dc + ch 2 + 2 dc, *dc into the next 17 sts, into the ch-2-sp (2 dc + ch 2 + 2 dc), rep from * 3 more times, omitting the (2 dc + ch 2 + 2 dc) in the last rep, slst to close rnd. (84, 4 x ch-2-sp)
Rnd 4: ch 3 (counts as a dc), dc in the next st, *into the ch-2-sp (2 dc + ch 2 + 2 dc), dc into the next 21 sts, rep from * 3 more times, leaving out the last 2 dc in the last rep, slst into the 3rd ch of the initial ch 3 to close. (100, 4 x ch-2-sp)
Rnd 5: ch 3 (counts as dc), dc in the next 3 sts, *into ch-2-sp (2 dc + ch 2 + 2 dc), dc in the next 25 st, rep from * 3 more times, omitting the last 4 dc in the last rep, invisible join, fasten off and weave in ends. (116, 4 x ch-2-sp)
Cherry
In Bubblegum Pink, 8 sc into a mr. Fasten off and weave in ends.
Assembly and details
- Stitch the cherry in place.
- Add some small whip stitches in Bubblegum Pink, Pale Lilac and Daffodil Yellow for sprinkles.
- Weave in any remaining ends and block square (follow my easy blocking tutorial).
More granny square patterns!
If you enjoyed this free crochet cupcake pattern, why not check out my other granny square patterns!
That’s all for now.
Yours in craft,
Caitie x


I ordered the book. Thanks!
Fantastic! I hope you enjoy it. Let me know if you have any questions. Happy stitching!