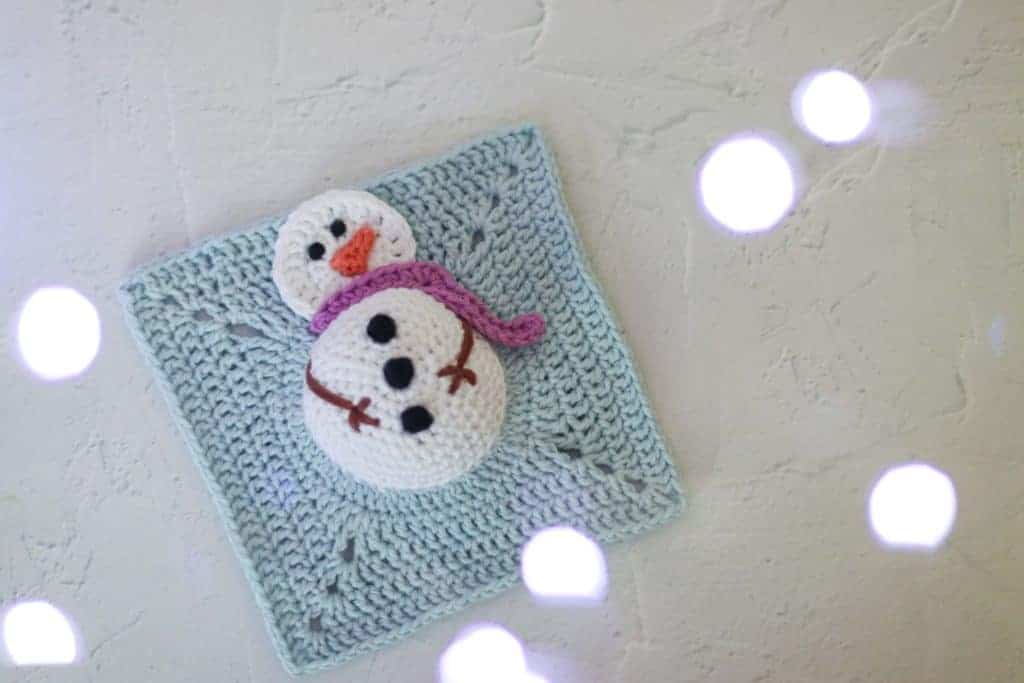
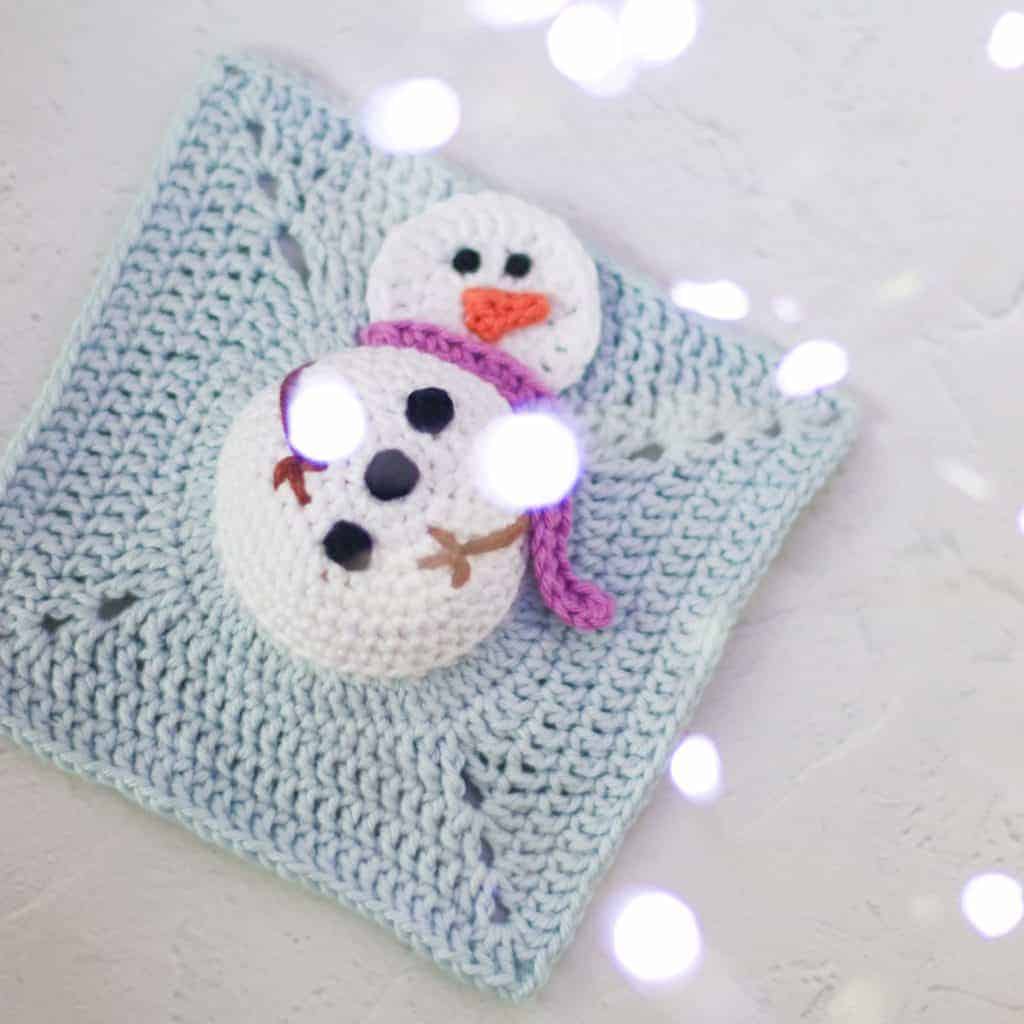
Who doesn’t love a crochet snowman? We don’t get much (any!) snow here in South Africa. In fact, I’ve only been in snow a handful of times. But I still adore snowmen!
As a child, one of our Christmas traditions was to watch or listen to the classic story of The Snowman. This charming short film is entirely wordless, but through music and animation a snowman comes to life and takes a young boy on an adventure. My Christmas granny square is inspired by the lovable snowman of my childhood.
This would look gorgeous in a shadow box or as a tea towel topper for some festive decor.

Christmas Granny Square | Crochet Snowman Pattern
Materials
C / 2.75mm crochet hook
Yarn needle
Embroidery needle
Stitch marker
Stuffing
*DK (light worsted) cotton yarn in the following colors:
Light blue (Paintbox Yarn Duck egg blue)
White (Paintbox Yarn Paper white)
Black
Purple (Paintbox Yarn Tea Rose)
Orange (Paintbox Yarn Vintage Pink)
Brown (Paintbox Yarn Coffee Bean)
*Paintbox Yarn Cotton DK: 100% cotton, 50 g (1.7 oz) / 125 (137 yd)
NOTES
- Finished size: 13cm square
- This pattern uses US terminology (view US conversion chart and abbreviations)
- If you are looking for a plain square to use alongside this square, consider either the Solid Granny Square or the Polka Dot Square.
- Don’t know how to do the magic ring? Head over to my magic ring tutorial.
- A low cost, printer-friendly version (including extra photographs and a chart!) can be found here
- Compatible with other 3D granny squares by Thoresby Cottage
Base square
Rnd 1: Starting with Paper White, mr 6 sc, slst to close the rnd (6)
Rnd 2: ch 3 (counts as a dc), 3 dc in next 5 st, 2 dc in last st, slst into 3rd ch of initial ch 3 to close the rnd (18)
Rnd 3: ch 3 (counts as a dc), dc into next st. *dc in next st, 2 dc in next st. Repeat from * 8 times, slst into 3rd ch of initial ch 3 to close the rnd (26)
Rnd 4: ch 3 (counts as a dc). *2 dc in next st, 2 dc in next st, dc in next st. Repeat from * 8 times, 3 dc into the last st, invisible join into 1st st of rnd to close (44)
Fasten off.
Rnd 5: Join Duck Egg Blue anywhere in the circle with a standing dc, work this entire round in BLO *2 dc in next 2 sts, dc in the next 2 sts. Repeat from * 10 times, dc in last 3 st, slst st into 1st st of rnd to close. (64)
Rnd 6: ch 6 (counts as tr + ch 2). tr into the same st, *tr into the next st, dc into the next 2 sts, hdc into the next 2 sts, sc into the next 5 sts, hdc into the next 2 sts, dc into the next 2 sts, tr into the next st, into the same st (tr + ch 2 + tr), repeat from * 3 more times, leaving out the (tr + ch 2 + tr) in the last repeat. Slst into the 4th ch of initial ch 6 to close. (68, 4 x ch-2-sp)
Rnd 7: slst into ch-2-sp. Into ch-2-sp, ch 3 (counts as a dc) dc + ch 2 + 2 dc, *dc into the next 17 sts, into the ch-2-sp (2 dc + ch 2 + 2 dc). Repeat from * 3 more times, leaving out the (2 dc + ch 2 + 2 dc) in the last repeat. Slst into first st of rnd to close (84, 4 x ch-2-sp)
Rnd 8: ch 3 (counts as a dc), dc in the next st, *into the ch-2-sp (2 dc + ch 2 + 2 dc), dc into the next 21 sts. Repeat from * 3 more times, leaving out the last 2 dc in the last repeat. Slst into the 3rd ch of the initial ch 3 to close. (100, 4 x ch-2-sp)
Rnd 9: ch 3 (counts as dc), dc in the next 3 sts, *into ch-2-sp (2 dc + ch 2 + 2 dc), dc in the next 25 st. Repeat from * 3 more times, leaving out the last 4 dc in the last repeat. Fasten off with an invisible join and weave in ends. (116, 4 x ch 3)
Fasten off and weave in ends.
Crochet Snowman’s tummy
Rnd 1: In Paper White, mr 6 sc, slst to close the rnd (6)
Rnd 2: 2 sc in each st, slst to close the rnd (12)
Rnd 3: *sc in next st, 2 sc in next st. Repeat from * around. Slst to close rnd (18)
Rnd 4: *2 sc in next st, sc in next 2 st. Repeat from * around. Slst to close (24)
Rnd 5: *sc in next 3 st, 2 sc in next st. Repeat from * around. Slst to close (30)
Rnd 6: * 2 sc in next st, sc in next 4 st. Repeat from * around. Slst to close rnd (36)
Rnd 7: * sc in next 5 st, 2 sc in next. Repeat from * around. Slst to close rnd (42)
Rnd 8 – 9: sc around (42) Fasten off and leave a long tail for joining.
Head
Rnd 1: Starting with Paper White, mr 6 sc, slst to close the rnd (6)
Rnd 2: ch 3 (counts as a dc), 3 dc in next 5 st, 2 dc in last st, slst into 3rd ch of initial ch 3 to close the rnd (18)
Rnd 3: ch 3 (counts as a dc), dc into same st. * Dc in next st, 2 dc in next st. Repeat from * 8 times, invisible join to close rnd (26) Fasten off and weave in ends
Scarf
Using Tea Rose
R1: Ch 18, sk 1
R2: 9 hdc, 4 hdc in same st, 7 hdc. Fasten off
Carrot nose
Using Vintage Pink: ch 4, sk 1 st, slst, sc, hdc fasten off
Buttons (x 3)
Using Black. 3 sc into a magic ring. Invisible join.

Assembly
- Position the crochet Snowman’s head onto his body (making sure that the head does not protrude outside of the square). Stitch down the neck/chin area and leave the rest of the head unstitched.
- Stitch the tummy to the base square using the yarn tail. Work through the front loop from the base and the back loop of the tummy. Make sure to stuff the tummy before you close up!
- Stitch the buttons onto the tummy, spaced evenly apart.
- Embroider arms using brown yarn. Stitch down the carrot nose. Embroider two black eyes above the nose.
- Sew the scarf to the snowman.
- Weave in any remaining ends and block square.
I hope you have enjoyed this crochet snowman Christmas granny square pattern. If you are looking for more festive crochet projects, why not make a crochet bunting garland, some Christmas baubles or an Itty Bitty Christmas Kitty?
More Christmas granny square patterns!
Yours in craft,
Caitie

😢 I thought the quickies ran from 9am to 9am the following morning. At least that’s how the others had been so far. It is a lovely square and I’ll check back here on your blog for it when I’m ready to make it up. Thanks for sharing it with us. Blessings.
I’ll make an exception this time and will open up the coupon again for a few more hours!
Cut pattern, but says the coupon code expired and it isn’t midnight yet. Do you know what timezone this expired in?
Hi Lori, the coupon is in EST. Sorry that you missed it! The pattern will remain free up on the blog though 🙂 what time zone are you in?
Thanks Caitie for the reply! I live in EST, but visiting family in CST right now. So if I would have been home would have been okay! But I saved it from your website and also joined your mailing list. Thank you!
I’ve opened up the freebie for a few more hours to cover all the time zones!
That was cute not cut! So sorry. Love snowmen
No worries! I didn’t even see the typo 🙂
Wow you make lovely items!! i looked at your site.
such a pity the code isn’t working for me
greetings
Ah, the code expired at midnight EST. Sorry that you missed out! The pattern will remain free on the blog though 🙂
I’ve opened up the freebie for a few more hours to cover all the time zones!