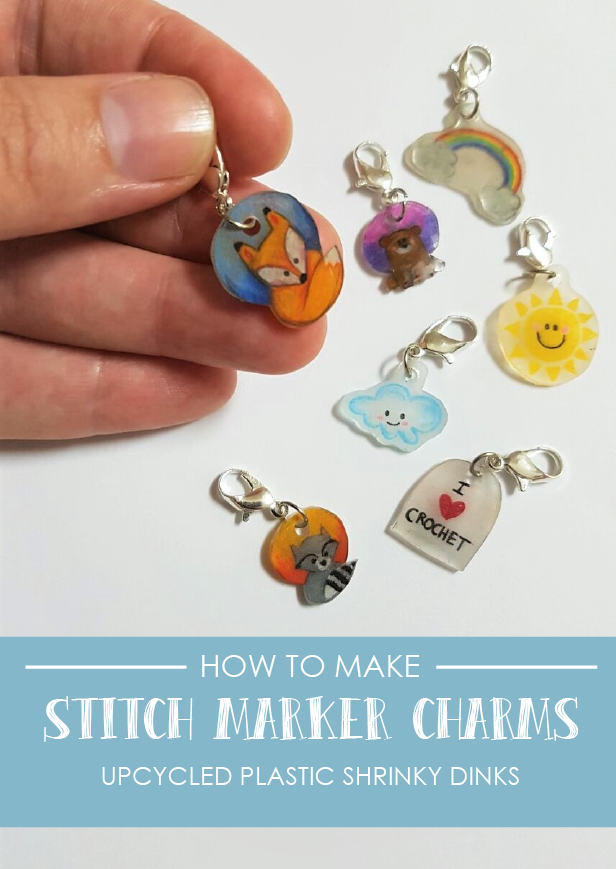
One of the things that I tend to harp on about when making amigurumi is the use of a stitch marker. They are so, so useful! When you are working in the round, as you do for amigurumi (see some more amigurumi tips), there is no obvious start or end to your row as you are working in a spiral.
I cannot tell you the number of times I’ve been working on a project, got halfway through a round and then needed to stop for some reason, only to come back to my crocheting and have no idea where I am. Stitch markers to the rescue! No more counting and recounting and recounting…
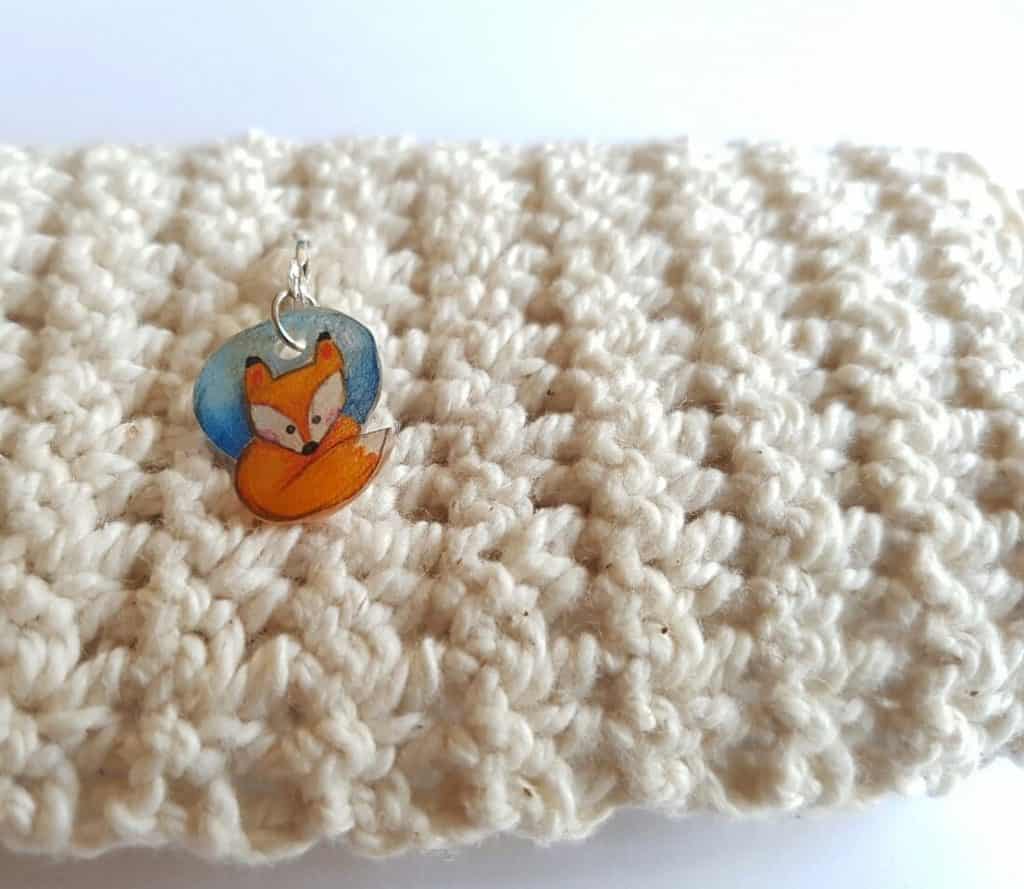
There are lots of different types of stitch markers, both the shop bought and the this-bobby-pin-should-do-the-trick kind, but I quite like doing something a little different, so why not have fun with these!
They would also make a lovely personlised gift for that knitter or crocheter who already has everything. And because these are made with upcycled plastic, you are doing your bit for the environment. Bonus!
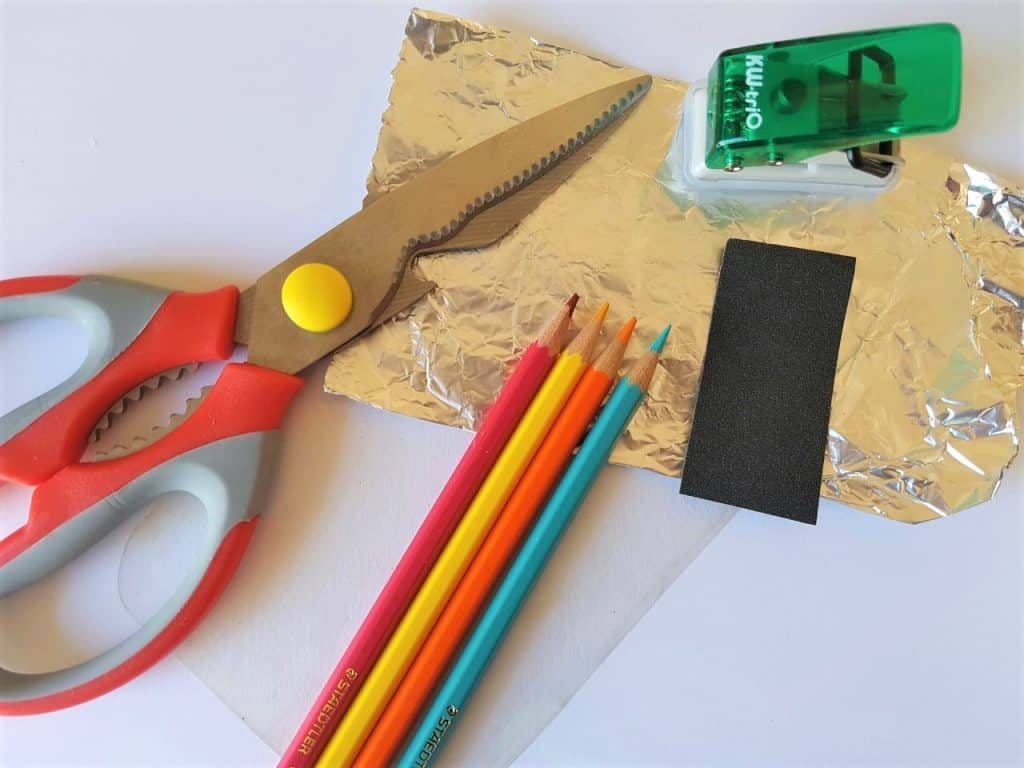
What you will need to make upcycled stitch markers
A plastic container marked number 6 (washed and dried!). It must be marked number 6 (look on the bottom of the container)*
Scissors
Sandpaper (fine grit)
Hole punch
Tin foil / baking paper
Pencil crayons
Lobster clasp with jump ring
Lacquer / varnish spray (optional)
*I’m finding that number 6 plastic is quite hard to find. If you are struggling to find it, you can also purchase heat shrink plastic sheets for this project.
How to make a stitch marker charm
- Cut out a nice, flat, clean piece of plastic.
- Using the sandpaper, gently sand the plastic in a circular motion until the surface is slightly rough and opaque.
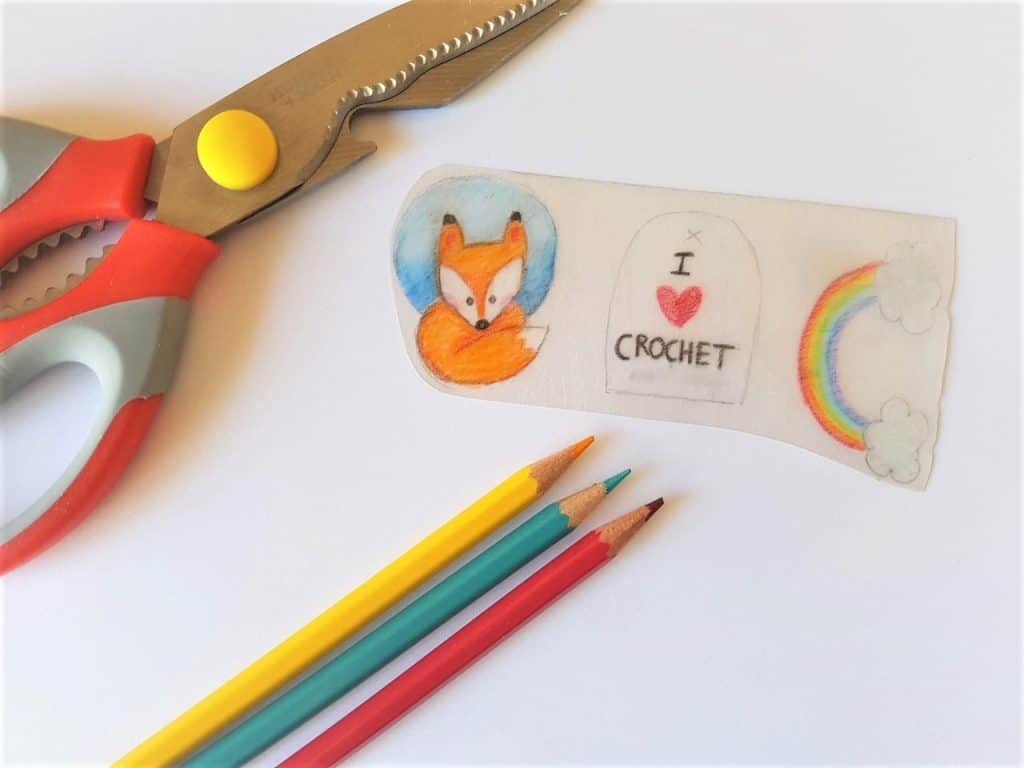
- Draw your design onto the rough side of the plastic using pencil crayons. If you are not confident with free-styling, then simply trace your design. You can also use Sharpies to draw your designs. If you do this, then you can omit the sanding step. The plastic shrinks to about a third of the original size, so don’t make your drawing too tiny!
- Cut out your design and punch a hole in the top.
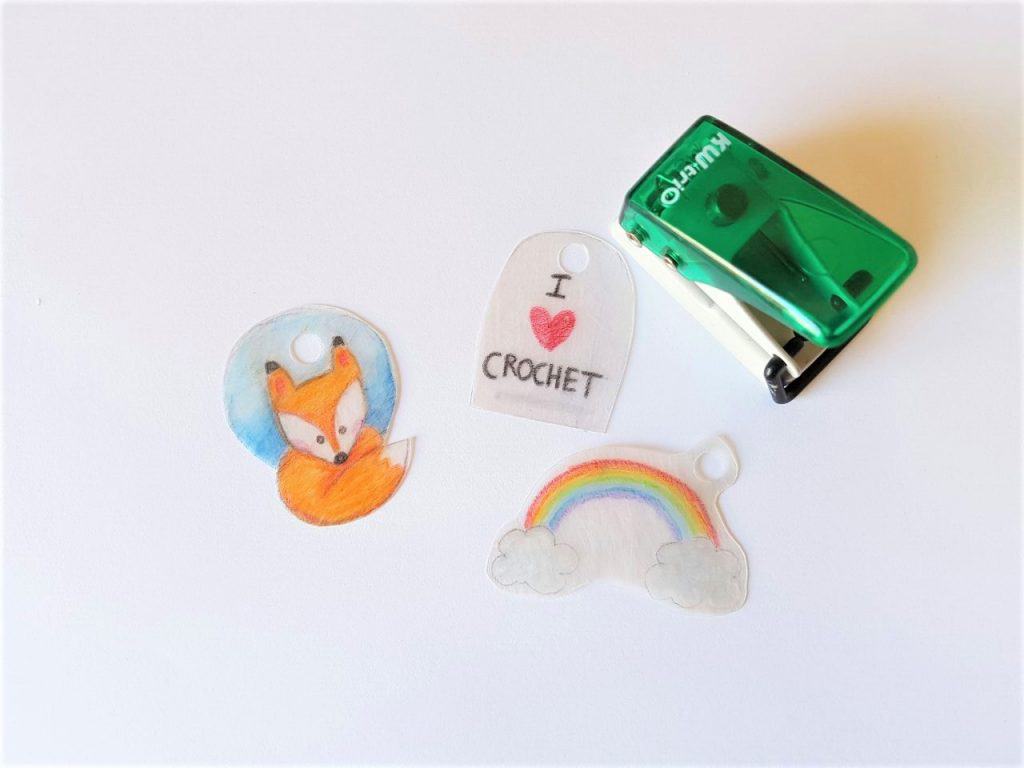
5. Place your charm on the piece of foil and into a preheated oven (180°C / 350°F) and watch it shrink! (it’ll take about 30 seconds to a minute or so). When you first put it in, it may start curling, but don’t worry, it should flatten out by the time it has finished shrinking.
6. Once your charm has shrunk, take it out of the oven and allow it to cool completely.
7. Finish it off by attaching the lobster clasp (it may be easier to do this with a pair of pliers) and a light spray of clear lacquer varnish (optional)
Tips
- You must use plastic that is marked as number 6. The other numbered plastics do not shrink very well.
- You can use clear or white plastic
- Sometimes, because of how the original plastic container is made, the plastic sheets may shrink unevenly. Make sure to do a test piece, and try and only use pieces of plastic that are nice and flat to begin with.
- I like to draw a small ‘x’ in the place where I want to punch a hole to make sure I punch in the right place
- If you are struggling to draw on the plastic with pencil crayons, go over the area again with the sandpaper until you can draw easily.
Thoresby Cottage is a participant in the Amazon Services LLC Associates Program, an affiliate advertising program designed to provide a means for sites to earn advertising fees by advertising and linking to Amazon.com.

This gives me an idea also of what to do with my grown child’s unused Shrinky Dink kits! LOL
This is a great idea! I’ve had much better results with markers than with colored pencils. Thank you!
This looks so easy! I must try it. Thanks for sharing.
They really are easy! And so much fun to make 🙂
What a great ideal. Thank you for sharing.