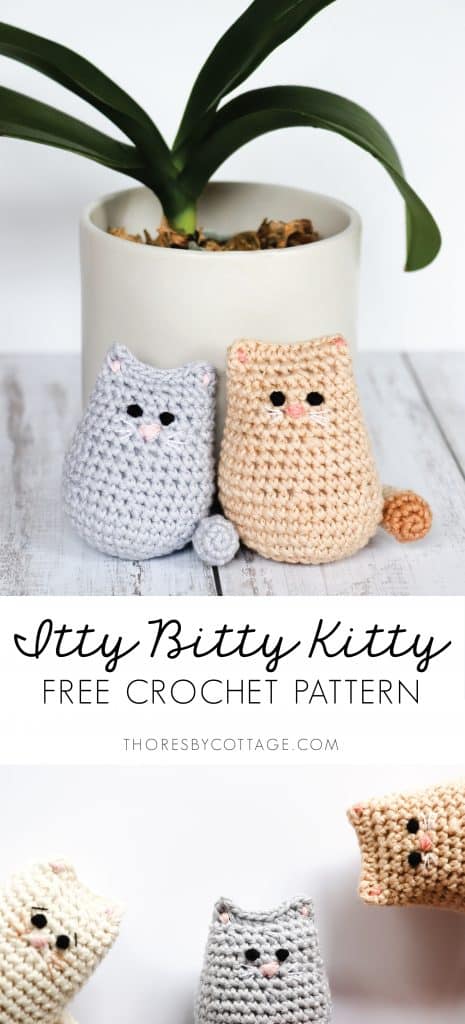
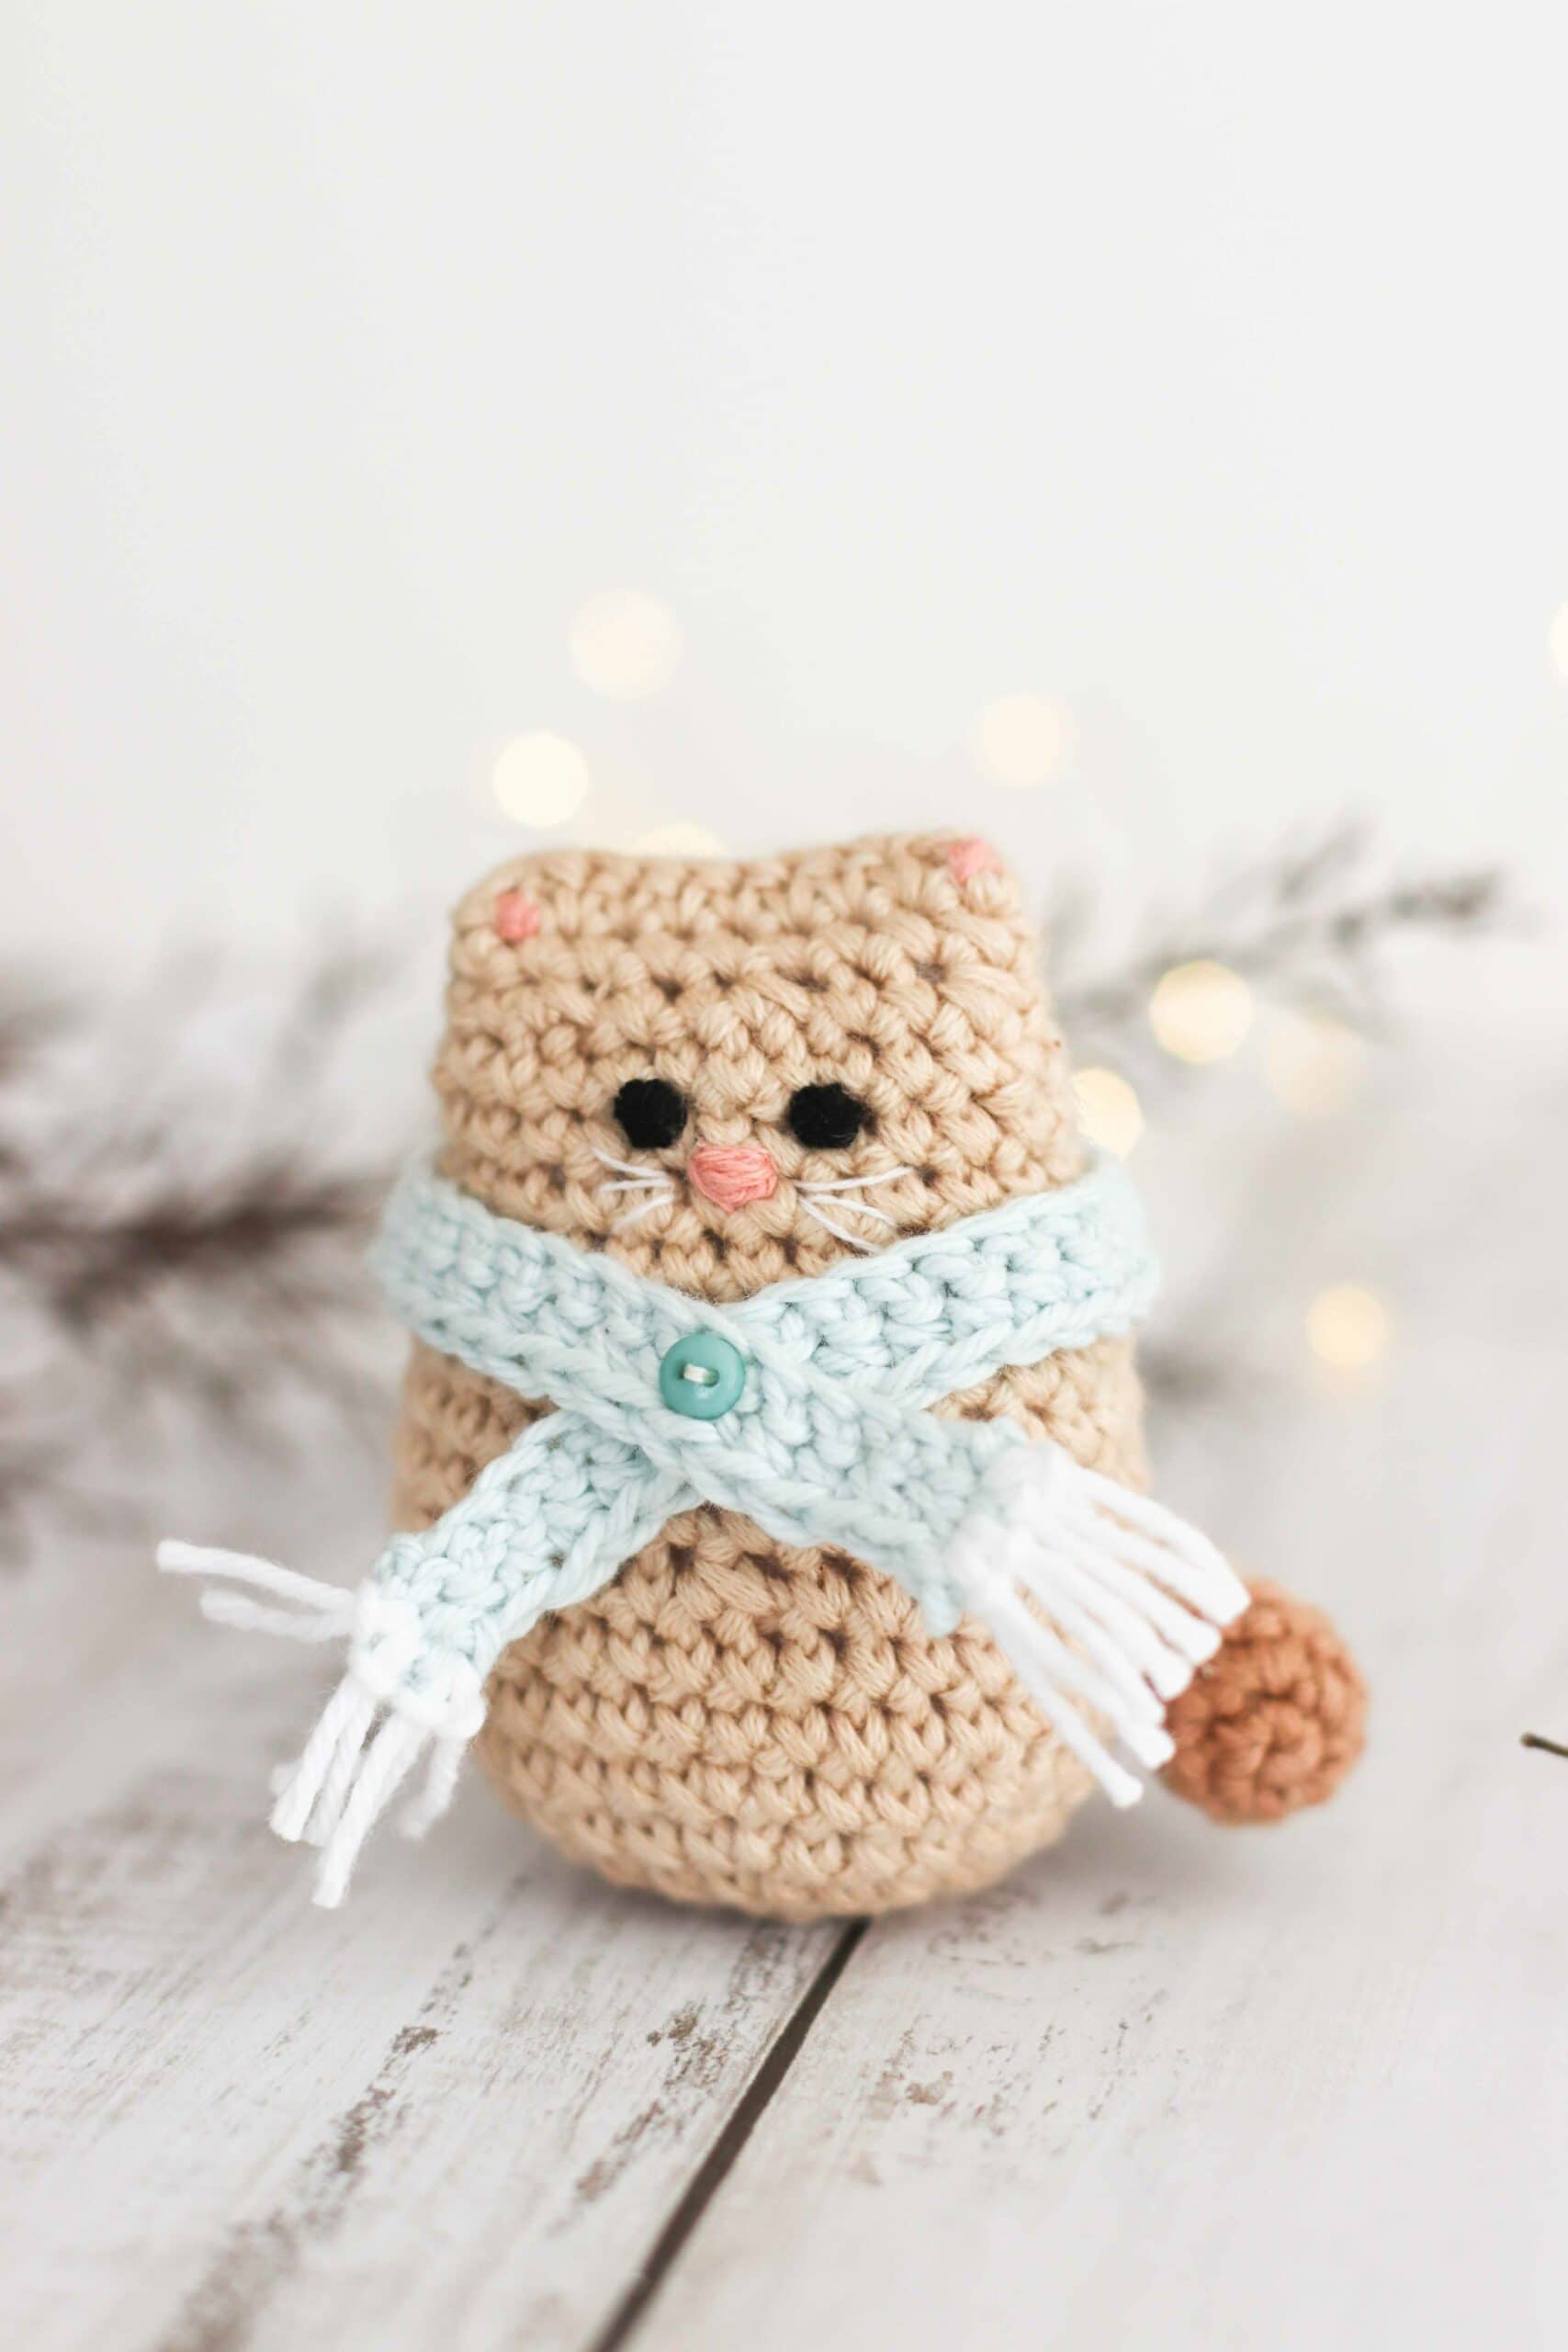
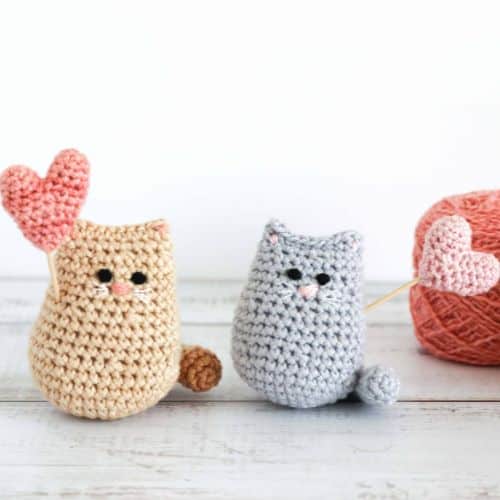
The itty bitty crochet kitty is the cutest little crochet cat pattern. It works up very quickly (great for beginners!) and would make the sweetest gift for any cat lover.
This kitty crochet project is perfect if you are looking to take a dive into making amigurumi. If you are new to amigurumi, head over to my tips for making amigurumi to ensure your project turns out perfectly.
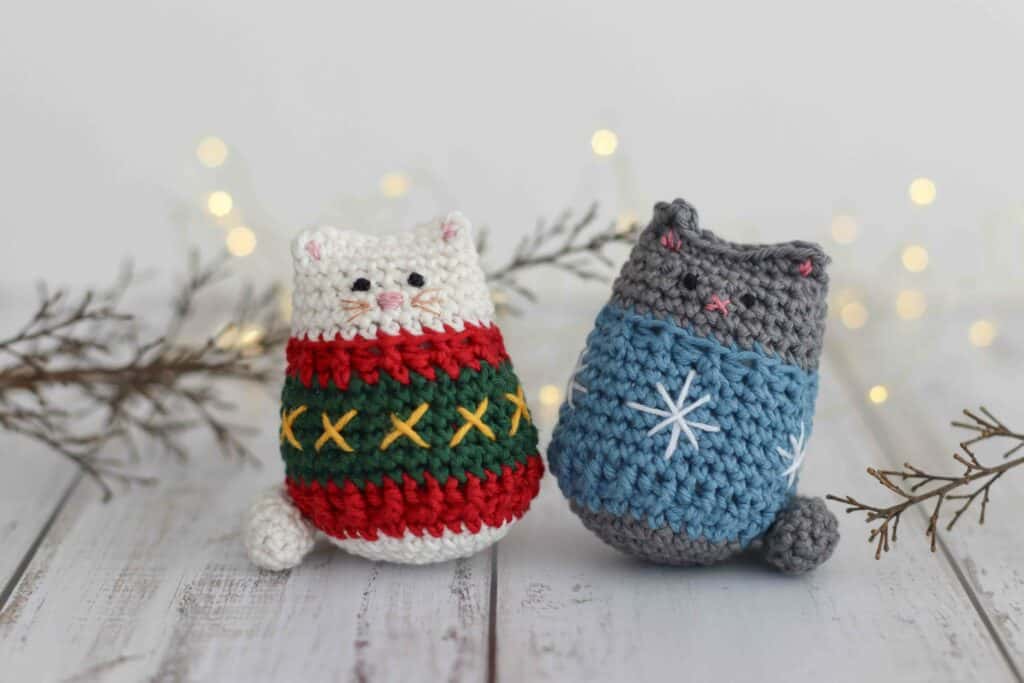
You can personalize your crochet kitty too by adding stripes or spots, changing up the colors or even using fluffy novelty yarn!
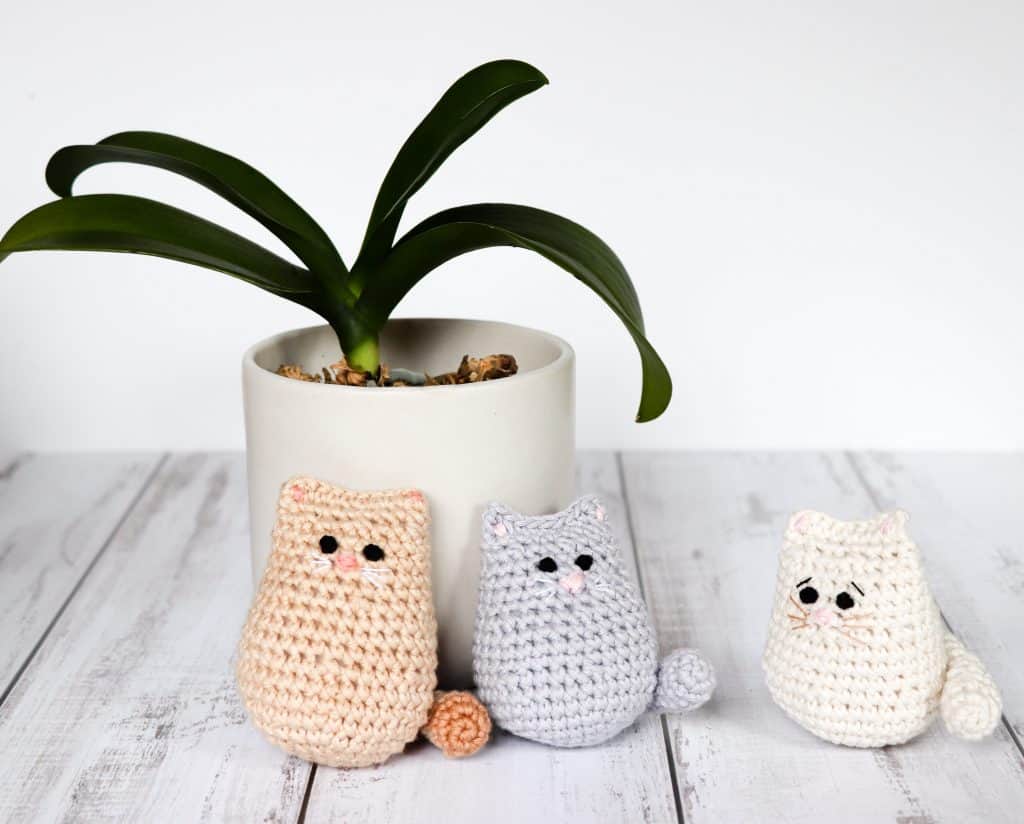
Crochet cat pattern requirements
DK/light worsted cotton* (Main body color as well as optional contrast color if adding stripes)
3.25mm crochet hook (larger cat)
2.75mm crochet hook (smaller cat)
Yarn needle
Stuffing
Embroidery cotton for sewing facial details (black, white, pink, tan)
Safety eyes (optional)
*Yarn suggestions
Vinni’s colors Nikkim: 50g (1.75oz), 119m (130yds), 100% cotton, double knit
Paintbox yarns Cotton DK: 50g (1.75oz), 125m (137yds), 100% cotton, 8 ply
La mia Mini Cottony: 25g (0.88oz), 60m (65yds), 100% cotton, double knit
Lion Brand 24/7 Cotton DK: 80g (2.8oz), 250m (273yds), 100% cotton
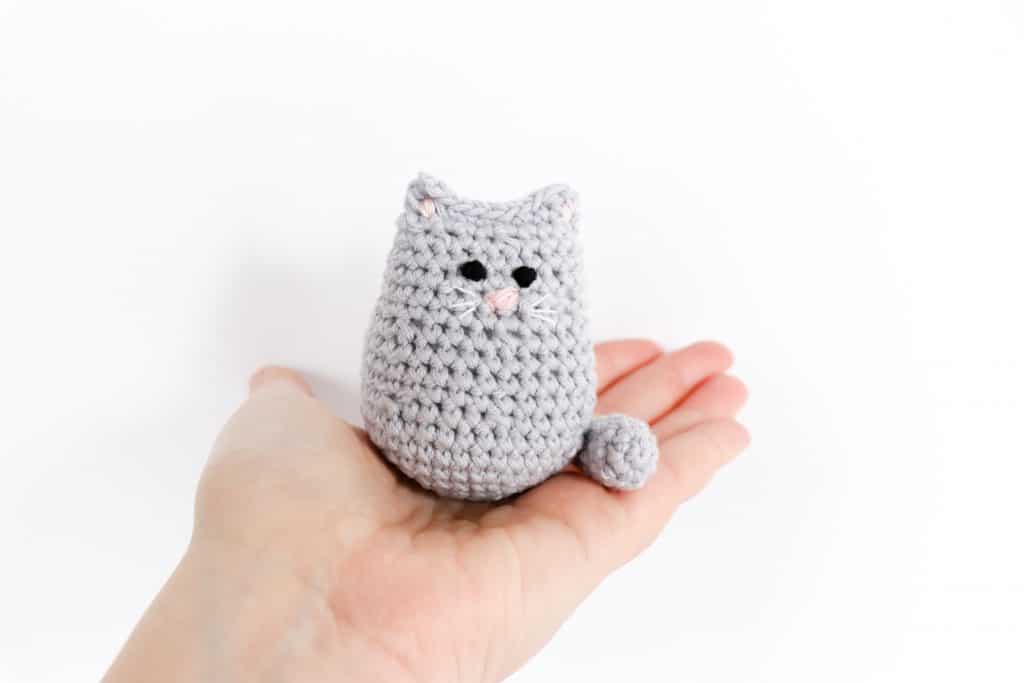
>> PIN NOW, MAKE LATER! <<
Notes:
- This crochet cat pattern is written using US crochet terms. If you are unfamiliar with any of the abbreviations, please visit the crochet terms page.
- Have a look at my tips for crocheting amigurumi before you start this project!
- It’s also worth looking at my tutorial for the magic ring if you are unfamiliar with how to make one.
- Some parts of this pattern are worked in continuous rounds. Don’t slip stitch to close the ring unless instructed to do so!
- A low cost, ad free, printable version of this pattern is available in my online stores.
Crochet Cat Pattern
Body
Rnd 1. Mr 6 sc (6)
Rnd 2. sc 2 in each (12)
Rnd 3. [sc in next st, 2 sc in next st] repeat around (18)
Rnd 4. [sc in next 2 sts, 2 sc in next st] repeat around (24)
Rnd 5. [sc in next 3 sts, 2 sc in next st] repeat around (30)
Rnd 6. [sc in next 4 sts, 2 sc in next st] repeat around (36)
Rnd 7 – 8. sc around (36)
Rnd 9. [sc in next 4 sts, sc2tog] repeat around (30)
Rnd 10 – 12. Sc around (30)
Rnd 13. [sc in next 3 sts, sc2tog] repeat around (24)
Rnd 14 – 17. sc around (24)
Rnd 18. [sc in next 2 sts, sc2tog] repeat around (18)
Rnd 19. sc around (18)
Stuff. (*If you are adding safety eyes, do so now!)
Rnd 20. Hold the top two edges together and crochet through both sides.
ch1, dc into the first st, sc into the next 7 sts, dc into the last st. Bind off and weave in ends.
Tail:
Rnd 1. Mr 5 sc (5)
Rnd 2. 2 sc in each (10)
Rnd 3. sc around (10)
Rnd 4. [sc2tog, sc in next 3], repeat (8)
Rnd 5 – 6. sc around (8)
Rnd 7. [sc2tog, sc in next 2] repeat (6)
Stuff the end of the tail lightly.
Rnd 8 – 15. sc around (6)
Bind off and leave a tail for joining. No need to add more stuffing!
If you want to add stripes, change color every 2 – 3 rounds.
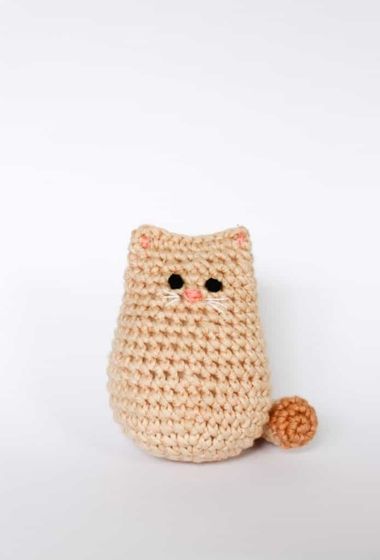
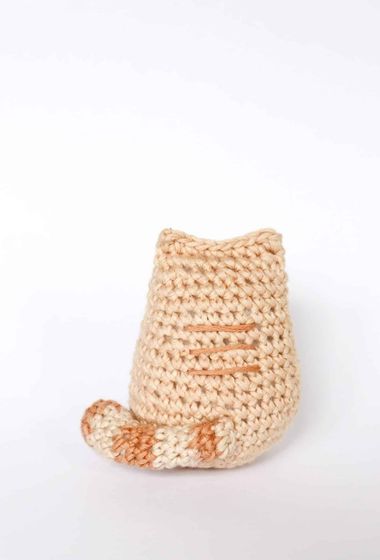
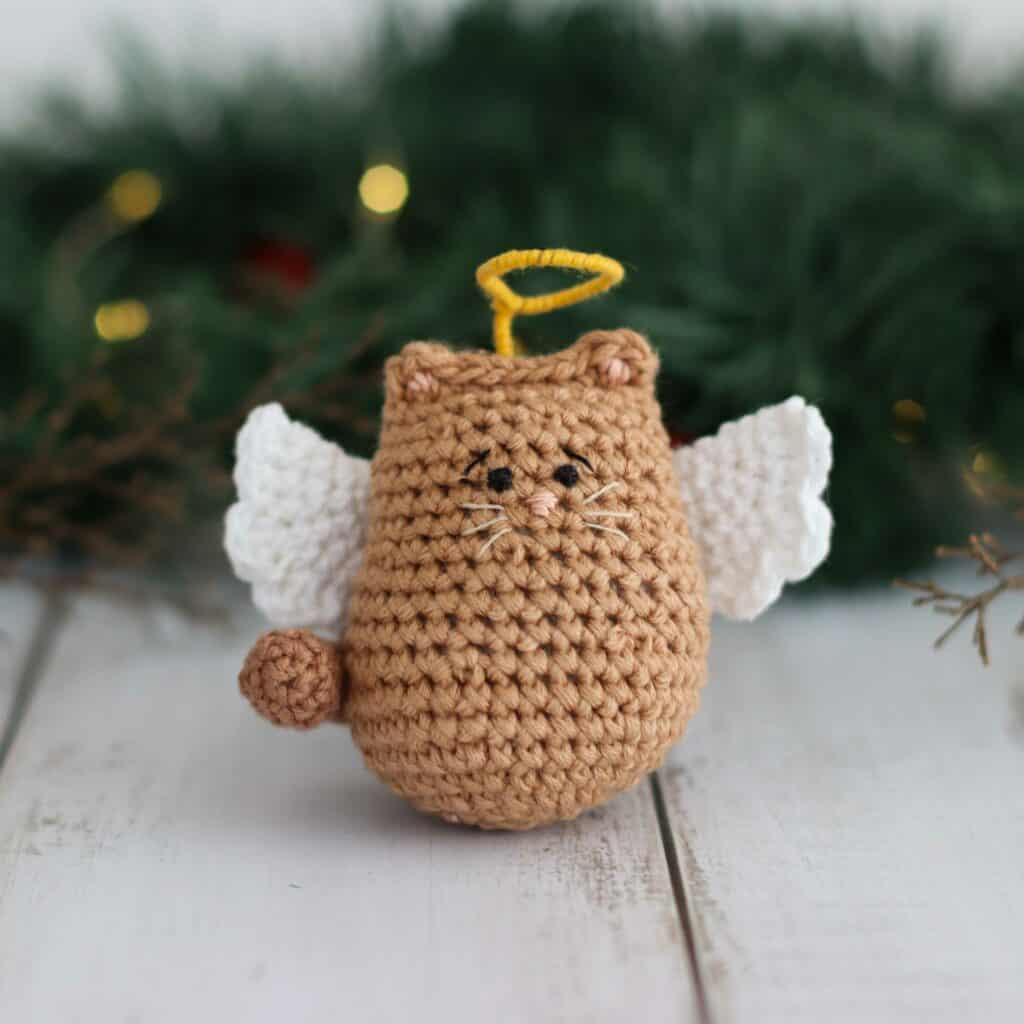
You can have great fun adding character to your little kitty!
The eyes are stitched in place first, approximately 1 – 2 stitches apart and 5 rows down from the top. Have a look at this tutorial for how to embroider eyes onto your kitty.
*You can also use safety eyes, but make sure to attach them before you do the final row!
Stitch the ear details and nose in pink. Add cute little whiskers in a softly contrasting color and stitch any other details (such as stripes on the back). Stitch the tail in place. Give your kitty lots of little cuddles!
More Itty Bitty Kitty patterns!
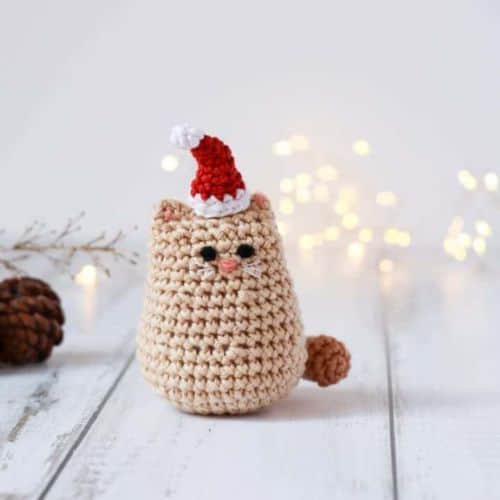
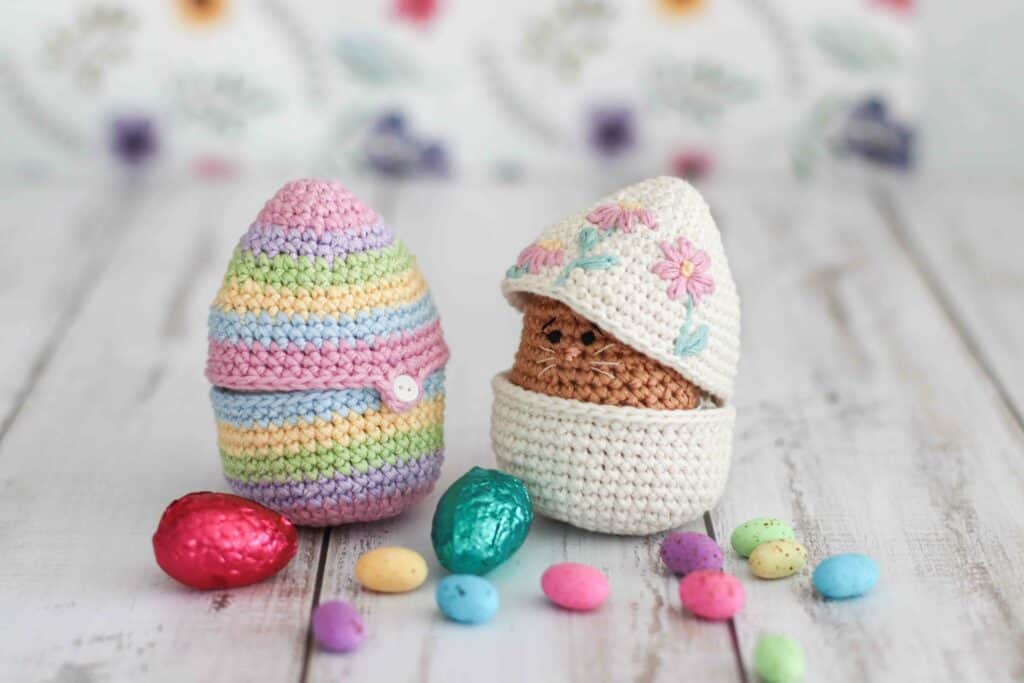
If you loved this Itty Bitty Kitty crochet cat pattern, why not check out my other free and premium patterns over on the patterns page (including an adorable Christmas hat for your kitty!). Happy stitching!
Yours in craft,
Caitie x

Very easy pattern to follow. My itty bitty kitty turned out cute!
Thank you for sharing your pattern!! These are adorable!
Adorbs!
Can you make this print friendly? Or am I missing something?
Glad you like the pattern! At the moment I haven’t put together a print friendly version of the pattern.
These kitties are so cute! My daughter is in love! 🙂
Lisa | Stitch In Progress
These are so adorable! I must make a few of them!
How darn cute are these!? I cannot wait to make a few for my kiddos!