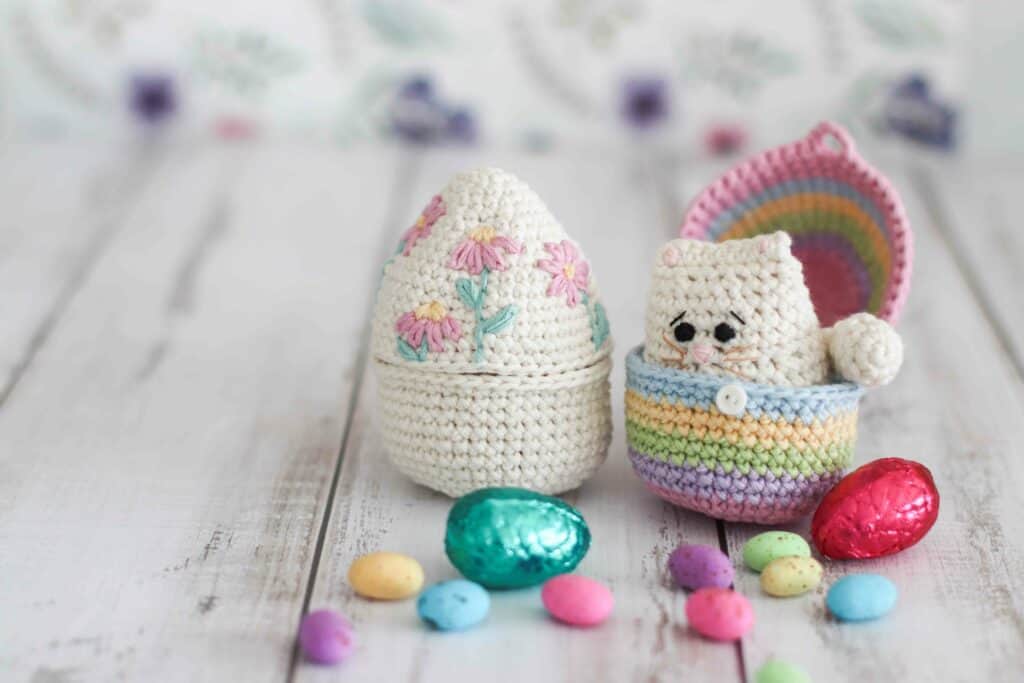
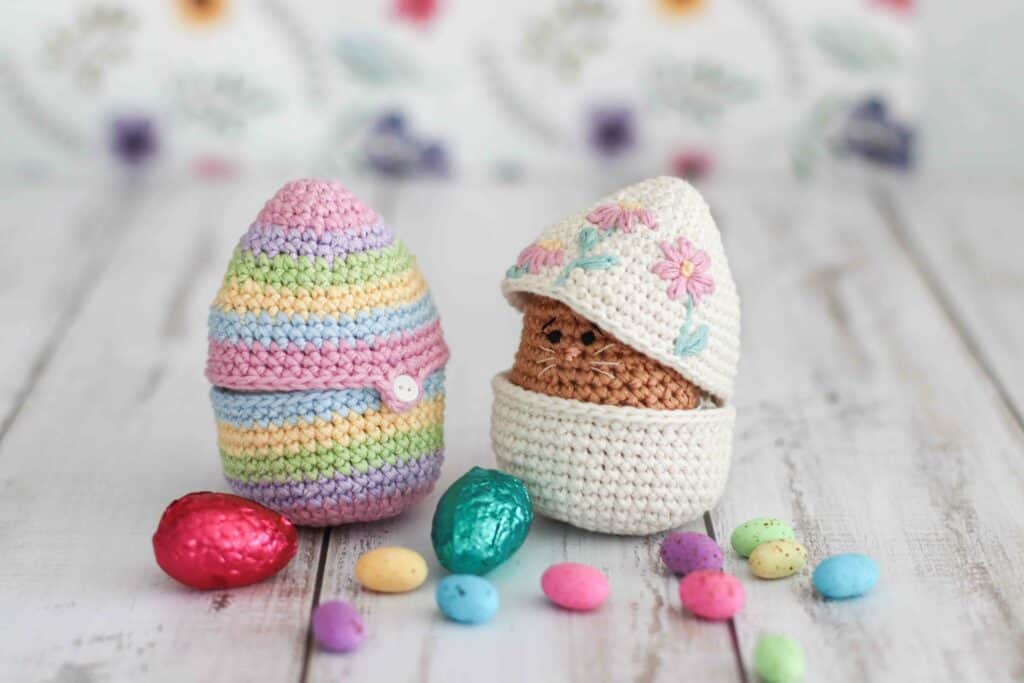
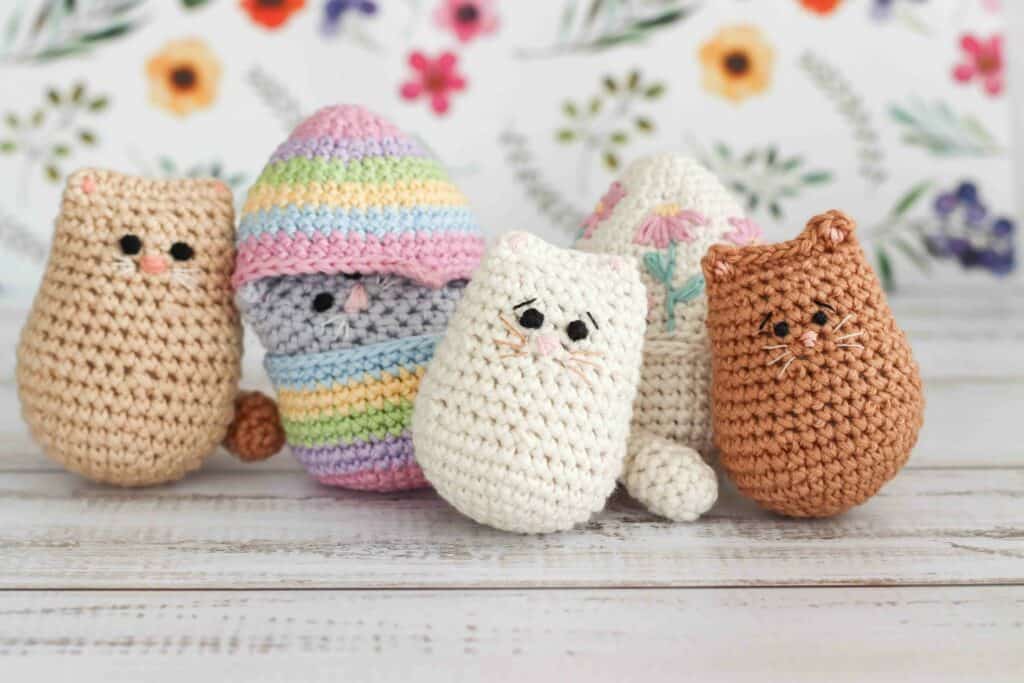
The seasons are changing and it’s the perfect time for an Easter kitty crochet pattern! This year I decided to give the much loved Itty Bitty Kitty another seasonal theme and I have designed an adorable crochet Easter egg. This super cute crochet Easter egg can open and close and it fits Itty Bitty Kitty perfectly. It would also be a lovely in an Easter basket, filled with sweet treats!
If you haven’t seen the other designs available for Itty Bitty Kitty, make sure to check out my favorites for Christmas and Valentines day.
I’m sure that many of you have already made an Itty Bitty Kitty, but if you haven’t, you can find the free pattern below.
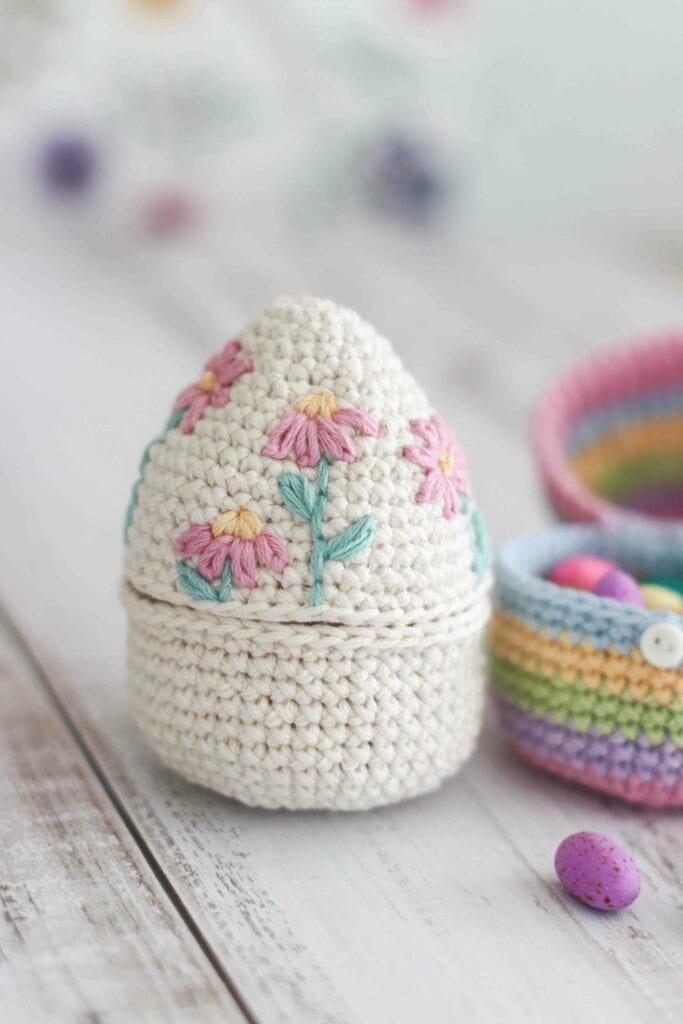
The crochet easter egg pattern for Itty Bitty Kitty has a few optional variations. Either you can work a plain egg and add some delicate floral embroidery. Or you can work the crochet easter egg pattern in a series of brightly coloured candy stripes. There is also the option to add a little loop and button closure.
I hope you enjoy this Easter kitty crochet pattern!

Easter kitty crochet pattern
Requirements
2.75mm / size C crochet hook
Yarn needle
Embroidery needle (optional)
Stitch marker (optional)
Small button (optional)
*DK (light worsted) yarn in the following colors:
Candy striped crochet Easter egg
Pink (Vinni’s colours: Purple pink)
Purple (Vinni’s colours: Pale lilac)
Green (Vinni’s colours: Avocado)
Yellow (Vinni’s colours: Baby yellow)
Blue (Vinni’s colours: Baby blue)
Plain crochet Easter egg
Cream (Vinni’s colors: Natural)
Pink (for embroidery)
Green (for embroidery)
Yellow (for embroidery)
*I used Vinni’s colors Nikkim DK: 100% cotton, 50g (1.7oz) / 119m (130yd)
This yarn can easily be substituted with Paintbox Yarn Cotton DK or another cotton DK weight yarn.
Easter crochet pattern notes
- This crochet Easter egg pattern is worked in continuous rounds. Do not slip stitch to join the round unless instructed to do so.
- Finished size: 10cm tall.
- This pattern uses US terminology (see pattern abbreviations)
- Don’t know how to do the magic ring? Head over to my magic ring tutorial
- Need help with the embroidery stitches? View my tutorials: Lazy daisy stitch and embroidered knots on crochet.

Crochet Easter egg pattern
Bottom half of Easter egg
Optional color changes:
Round 1 to 6: pink
Round 7 and 8: purple
Round 9 and 10: green
Round 11 and 12: yellow
Round 13 and 14: blue
Rnd 1: mr 7 sc (7)
Rnd 2: 2 sc in each st around (14)
Rnd 3: *sc, 2 sc in next st; repeat from * around (21)
Rnd 4: *sc, sc, 2 sc in next st; repeat from * around (28)
Rnd 5: *2 sc in next st, sc in next 3 sts; repeat from * around (35)
Rnd 6: *sc in next 4 st, 2 sc in next st; repeat from * around (42)
Rnd 7 to 14: sc around (42)
Fasten off and weave in ends.
Top of half of Easter egg
Optional color changes:
Round 1 to 5: pink
Round 6 and 7: purple
Round 8 and 9: green
Round 10 and 11: yellow
Round 12 and 13: blue
Round 14 to 16: pink
Rnd 1: mr 7 sc (7)
Rnd 2: 2 sc in each st around (14)
Rnd 3: sc around (14)
Rnd 4: *sc, 2 sc in next st; repeat from * around (21)
Rnd 5: sc around (21)
Rnd 6: *sc, sc, 2 sc in next st; repeat from * around (28)
Rnd 7: sc around (28)
Rnd 8: *2 sc in next st, sc in next 3 sts; repeat from * around (35)
Rnd 9: sc around (35)
Rnd 10: *sc in next 4 st, 2 sc in next st; repeat from * around (42)
Rnd 11 – 15: sc around (42)
Rnd 16: sc in next 21 sts, ch 4, sc in next st, sc in next 20 st (42 + chain sts)
Fasten off and weave in ends.
Note: adding the loop in round 16 is optional. If you want to omit the loop, then simply sc around.

Crochet Easter egg pattern assembly
- If you are going to decorate your egg with embroidery, I’d suggest doing so while the egg is in two separate pieces. I embroidered a few daisies using lazy daisy stitch for the petals and embroidered knots.
- Once the embroidery is complete, stitch the top and the bottom together with a few whip stitches. I worked this join over approximately 8 to 10 stitches. Work into the back loops for a neater finish.
- Attach a small button (optional) at the front of the bottom half of the egg.
- Pop your Itty Bitty Kitty into your egg for an Easter surprise!
Looking for more Easter crochet patterns?
- Easter bunny applique
- Crochet Easter Egg Granny Square
- Easter egg topper
- Mini Easter carrot applique
- Easter bunny wall hanging
- Easter bunny granny squares


Delightful. Thank you.
These patterns are beautiful!