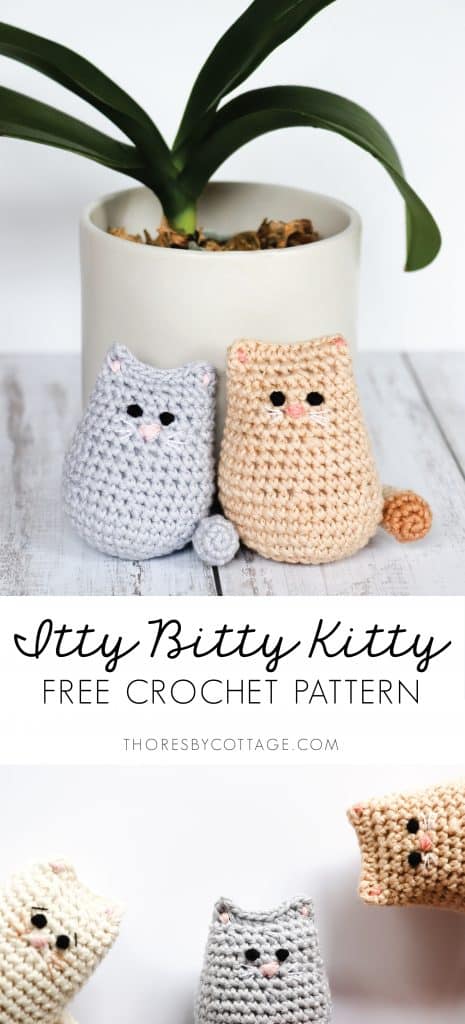
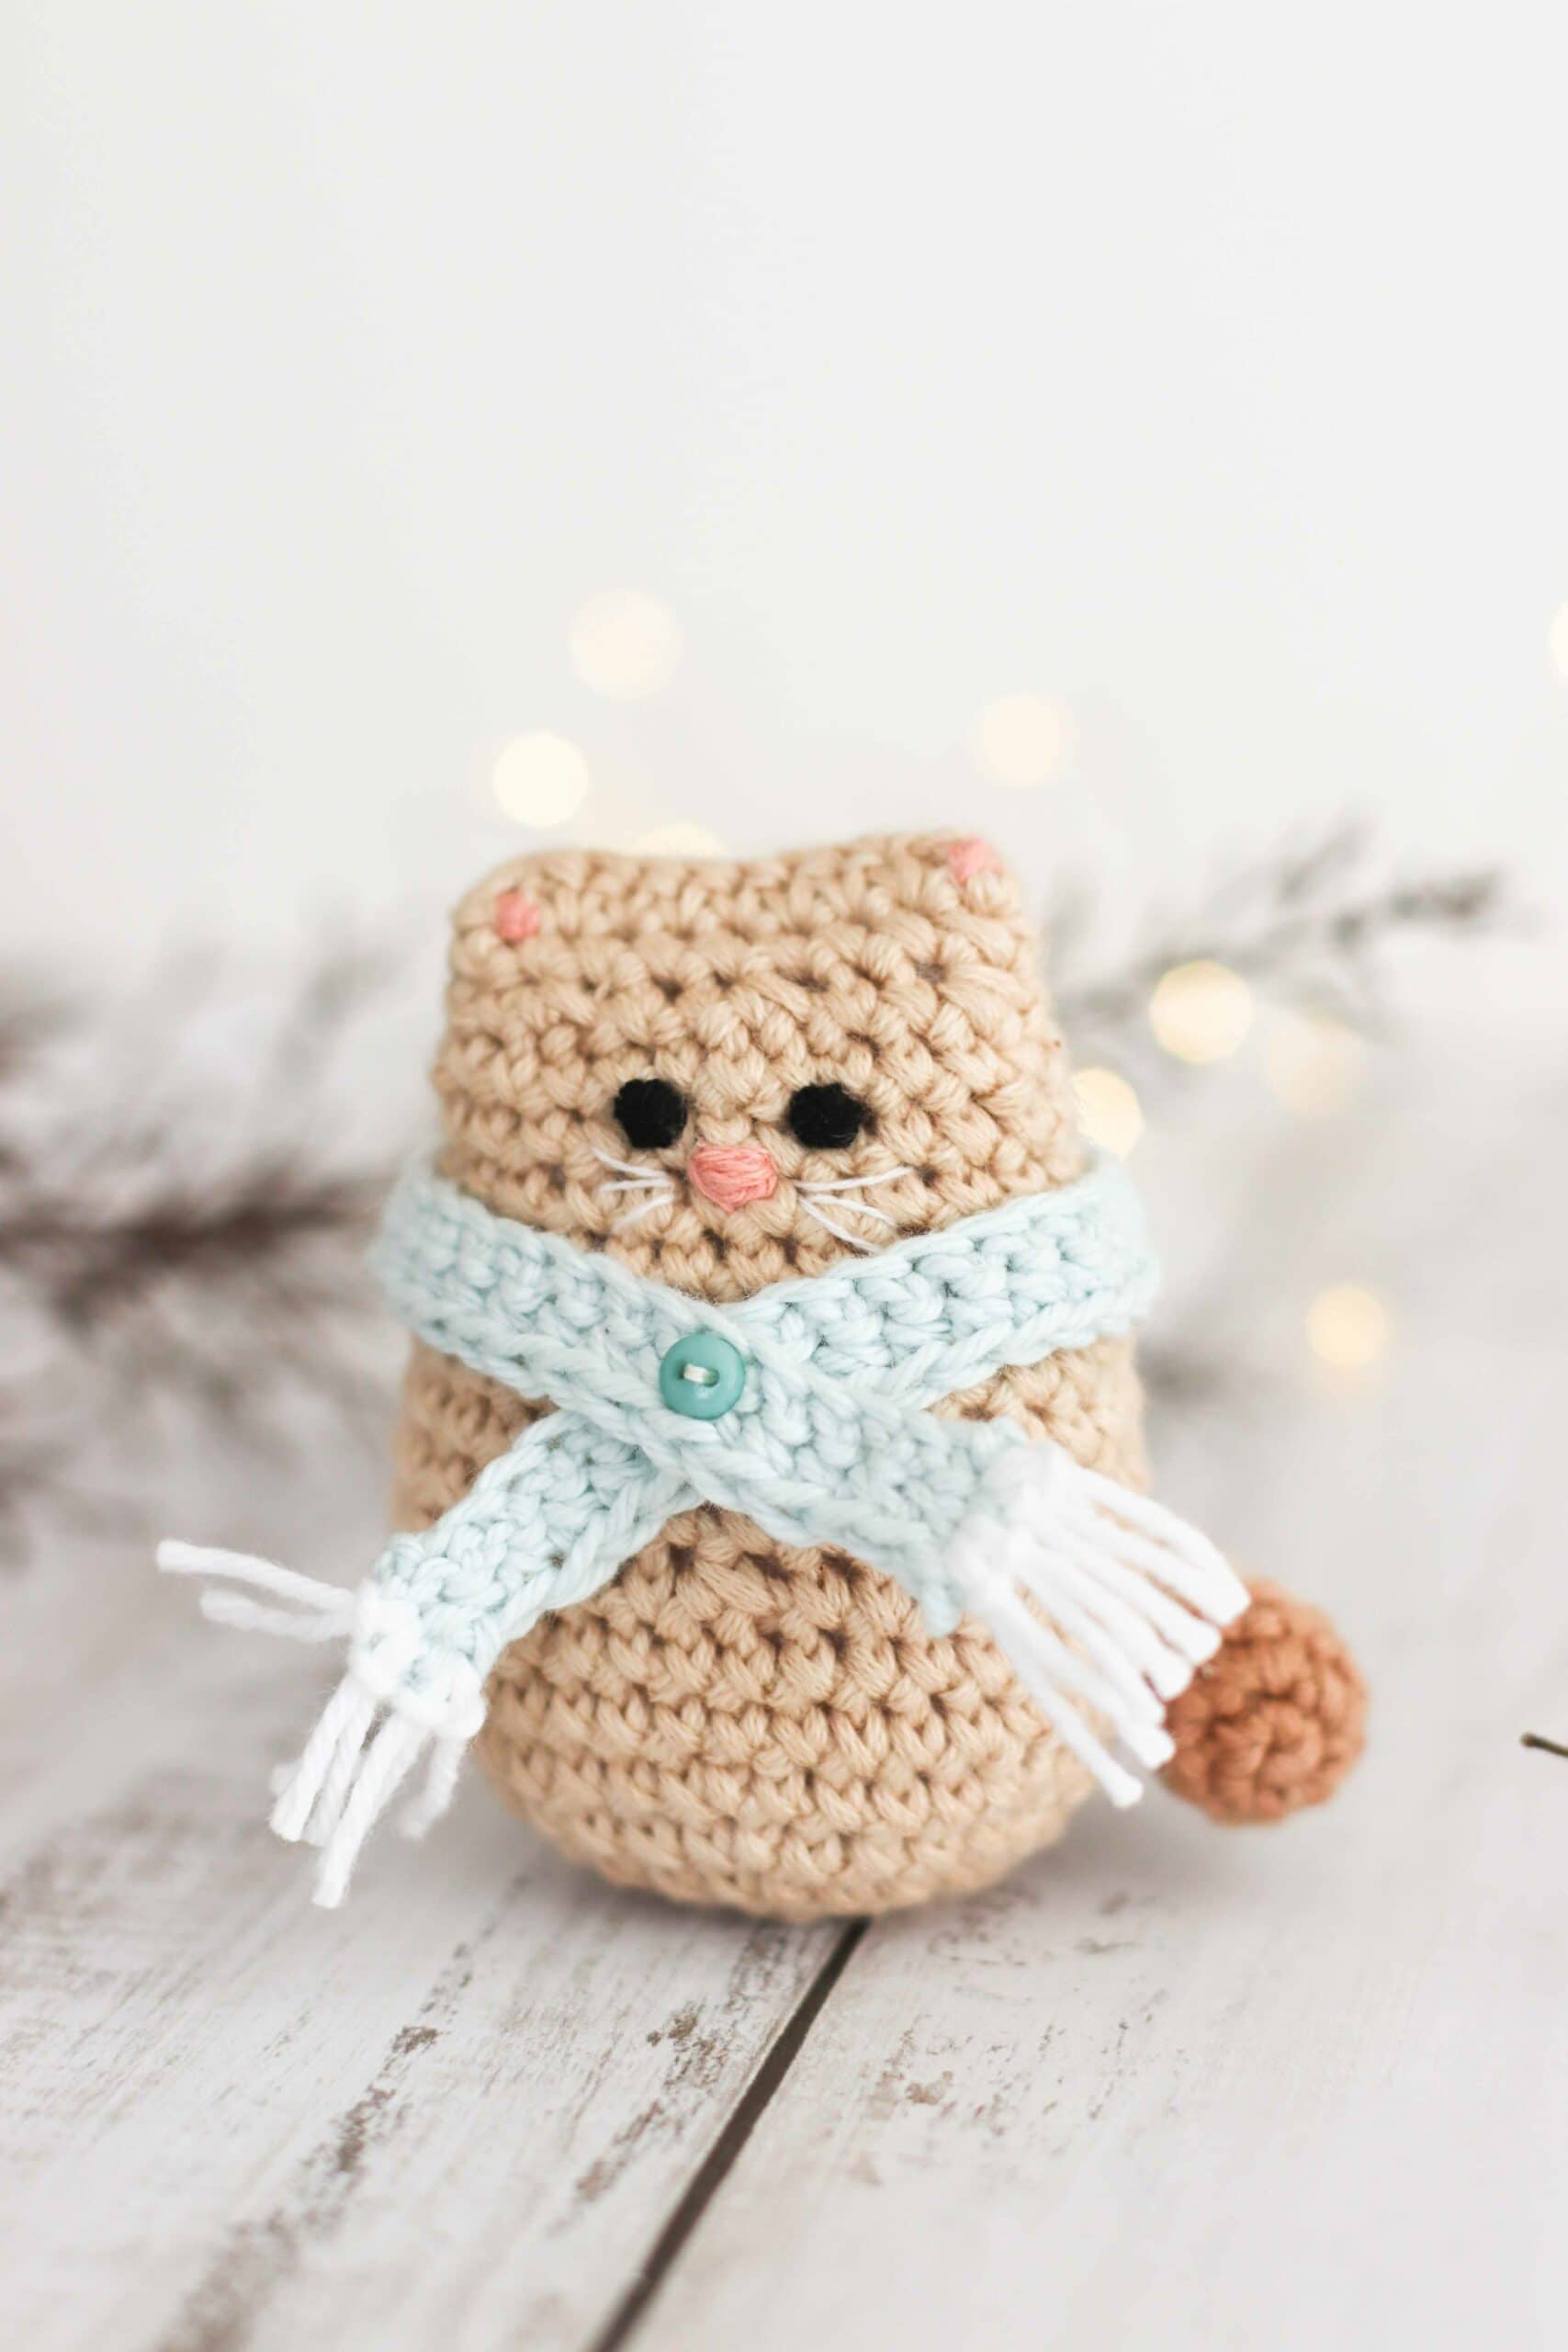
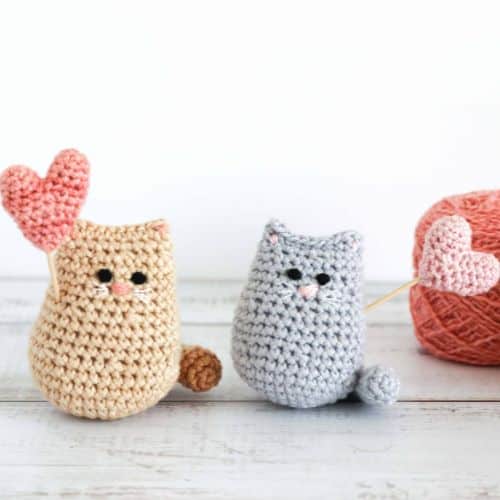
The itty bitty crochet kitty is the cutest little crochet cat pattern. It works up very quickly (great for beginners!) and would make the sweetest gift for any cat lover.
This kitty crochet project is perfect if you are looking to take a dive into making amigurumi. If you are new to amigurumi, head over to my tips for making amigurumi to ensure your project turns out perfectly.
You can personalize your crochet kitty too by adding stripes or spots, changing up the colors or even using fluffy novelty yarn!
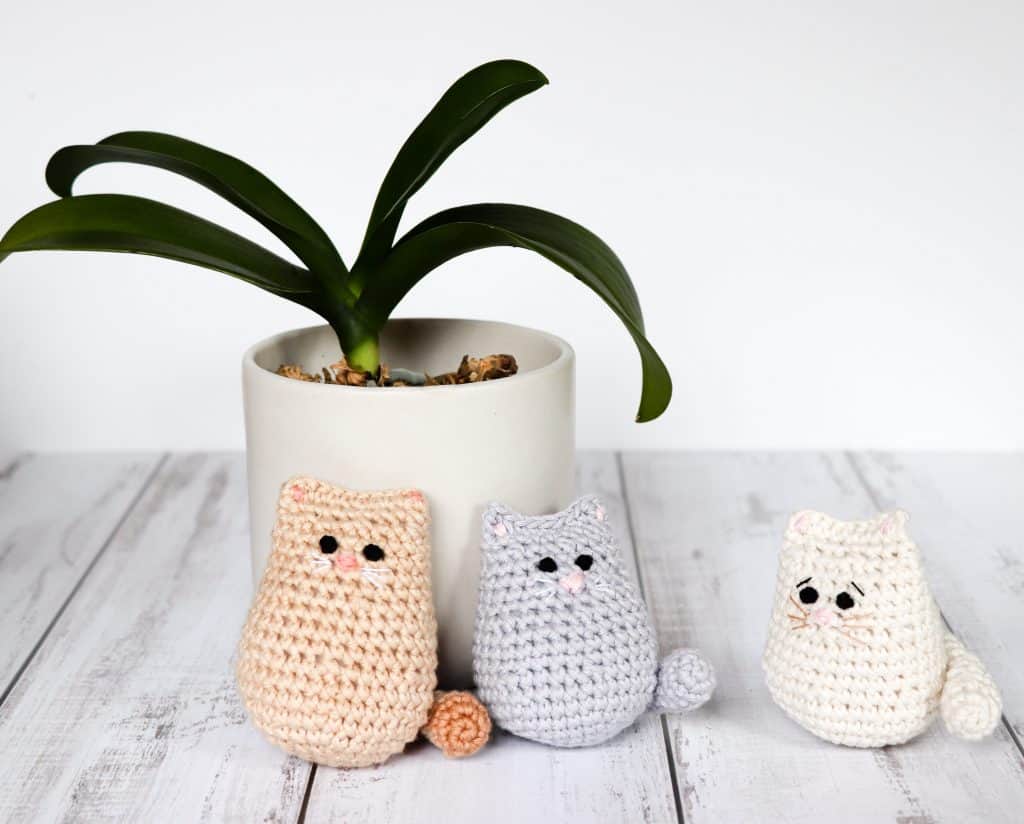
Crochet cat pattern requirements
DK/light worsted cotton* (Main body color as well as optional contrast color if adding stripes)
3.25mm crochet hook (larger cat)
2.75mm crochet hook (smaller cat)
Yarn needle
Stuffing
Embroidery cotton for sewing facial details (black, white, pink, tan)
Safety eyes (optional)
*Yarn suggestions
Vinni’s colors Nikkim: 50g (1.75oz), 119m (130yds), 100% cotton, double knit
Paintbox yarns Cotton DK: 50g (1.75oz), 125m (137yds), 100% cotton, 8 ply
La mia Mini Cottony: 25g (0.88oz), 60m (65yds), 100% cotton, double knit
Lion Brand 24/7 Cotton DK: 80g (2.8oz), 250m (273yds), 100% cotton
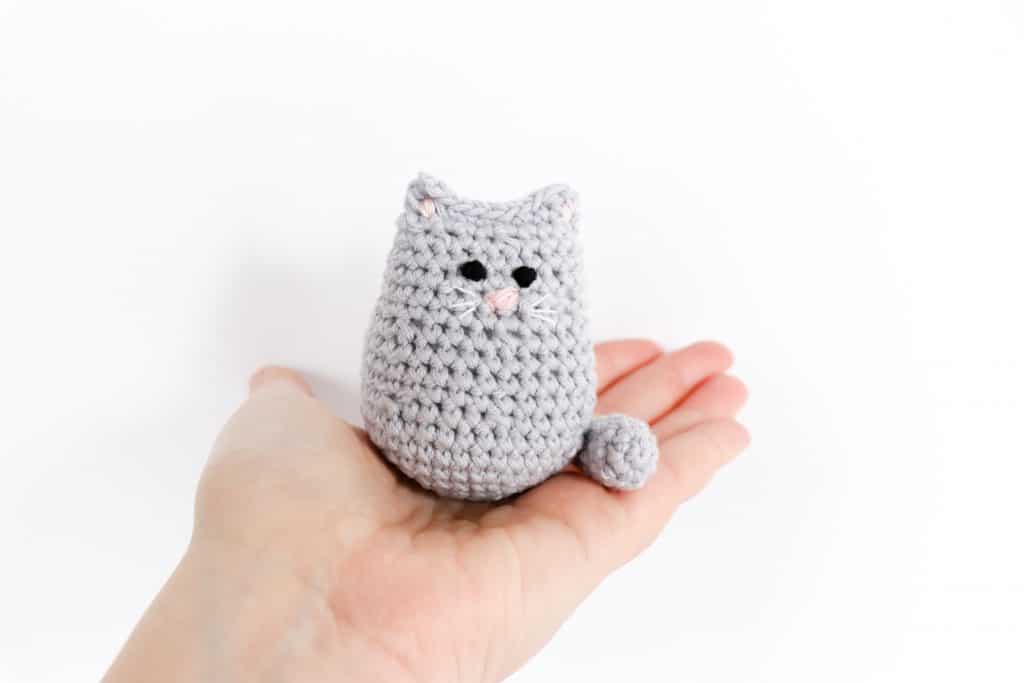
>> PIN NOW, MAKE LATER! <<
Notes:
- This crochet cat pattern is written using US crochet terms. If you are unfamiliar with any of the abbreviations, please visit the crochet terms page.
- Have a look at my tips for crocheting amigurumi before you start this project!
- It’s also worth looking at my tutorial for the magic ring if you are unfamiliar with how to make one.
- Some parts of this pattern are worked in continuous rounds. Don’t slip stitch to close the ring unless instructed to do so!
- A low cost, ad free, printable version of this pattern is available in my online stores.
Crochet Cat Pattern
Body
Rnd 1. Mr 6 sc (6)
Rnd 2. sc 2 in each (12)
Rnd 3. [sc in next st, 2 sc in next st] repeat around (18)
Rnd 4. [sc in next 2 sts, 2 sc in next st] repeat around (24)
Rnd 5. [sc in next 3 sts, 2 sc in next st] repeat around (30)
Rnd 6. [sc in next 4 sts, 2 sc in next st] repeat around (36)
Rnd 7 – 8. sc around (36)
Rnd 9. [sc in next 4 sts, sc2tog] repeat around (30)
Rnd 10 – 12. Sc around (30)
Rnd 13. [sc in next 3 sts, sc2tog] repeat around (24)
Rnd 14 – 17. sc around (24)
Rnd 18. [sc in next 2 sts, sc2tog] repeat around (18)
Rnd 19. sc around (18)
Stuff. (*If you are adding safety eyes, do so now!)
Rnd 20. Hold the top two edges together and crochet through both sides.
ch1, dc into the first st, sc into the next 7 sts, dc into the last st. Bind off and weave in ends.
Tail:
Rnd 1. Mr 5 sc (5)
Rnd 2. 2 sc in each (10)
Rnd 3. sc around (10)
Rnd 4. [sc2tog, sc in next 3], repeat (8)
Rnd 5 – 6. sc around (8)
Rnd 7. [sc2tog, sc in next 2] repeat (6)
Stuff the end of the tail lightly.
Rnd 8 – 15. sc around (6)
Bind off and leave a tail for joining. No need to add more stuffing!
If you want to add stripes, change color every 2 – 3 rounds.
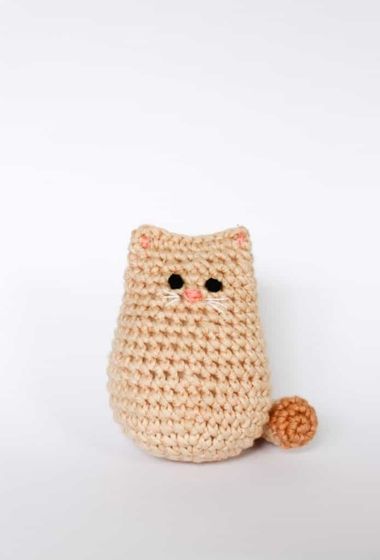
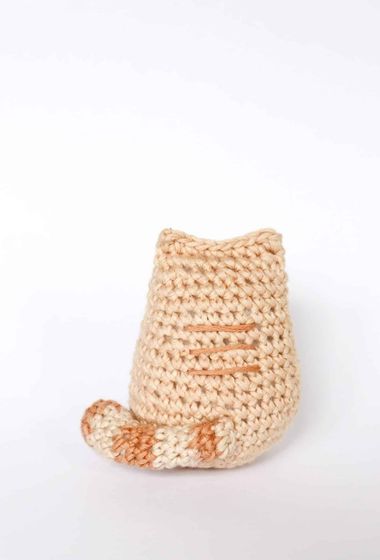
You can have great fun adding character to your little kitty!
The eyes are stitched in place first, approximately 1 – 2 stitches apart and 5 rows down from the top. Have a look at this tutorial for how to embroider eyes onto your kitty.
*You can also use safety eyes, but make sure to attach them before you do the final row!
Stitch the ear details and nose in pink. Add cute little whiskers in a softly contrasting color and stitch any other details (such as stripes on the back). Stitch the tail in place. Give your kitty lots of little cuddles!
More Itty Bitty Kitty patterns!
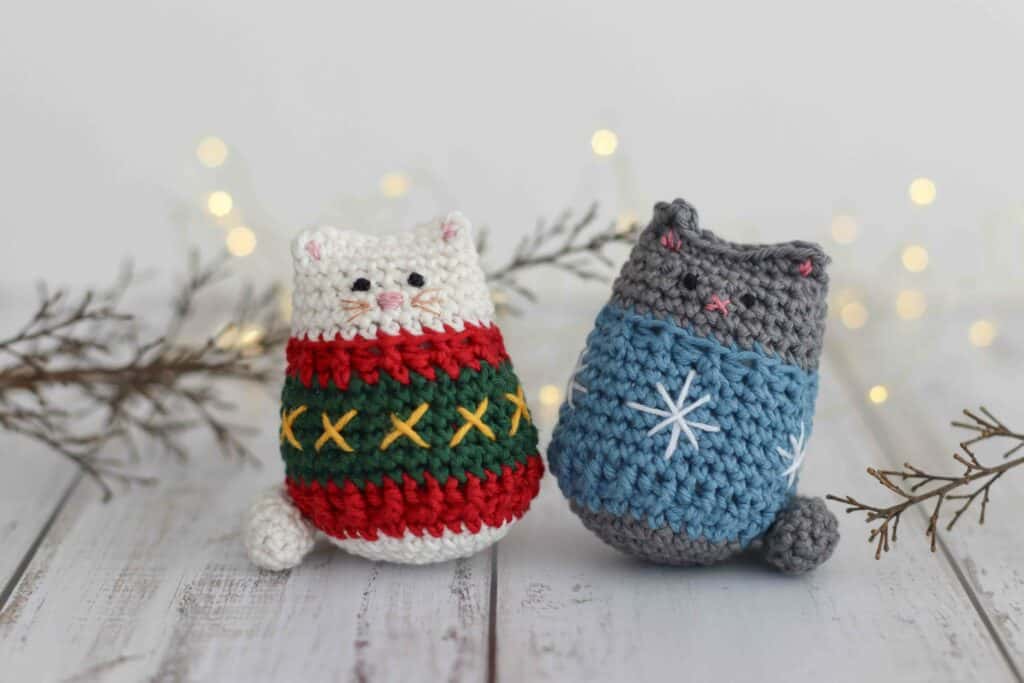
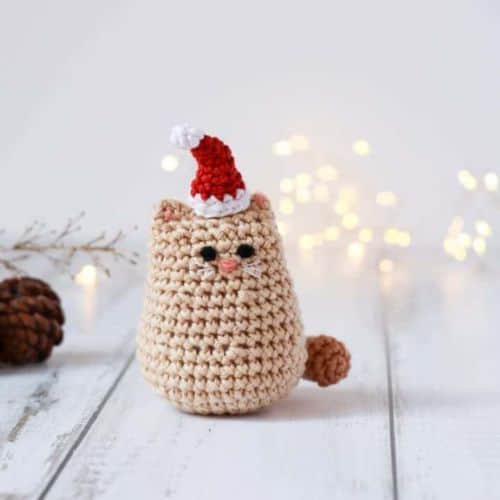
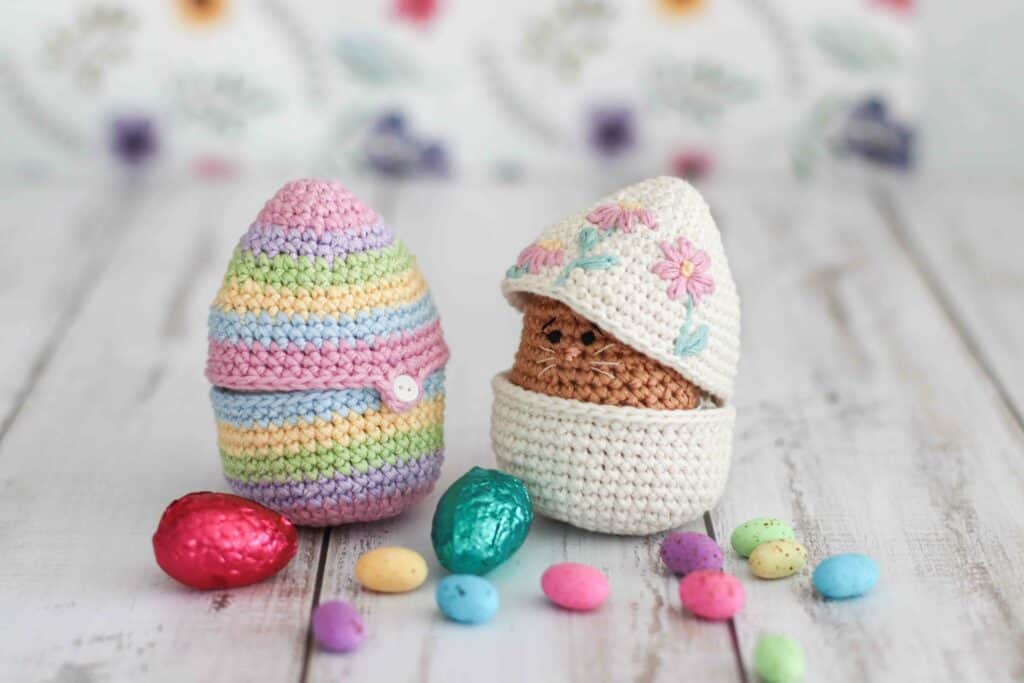
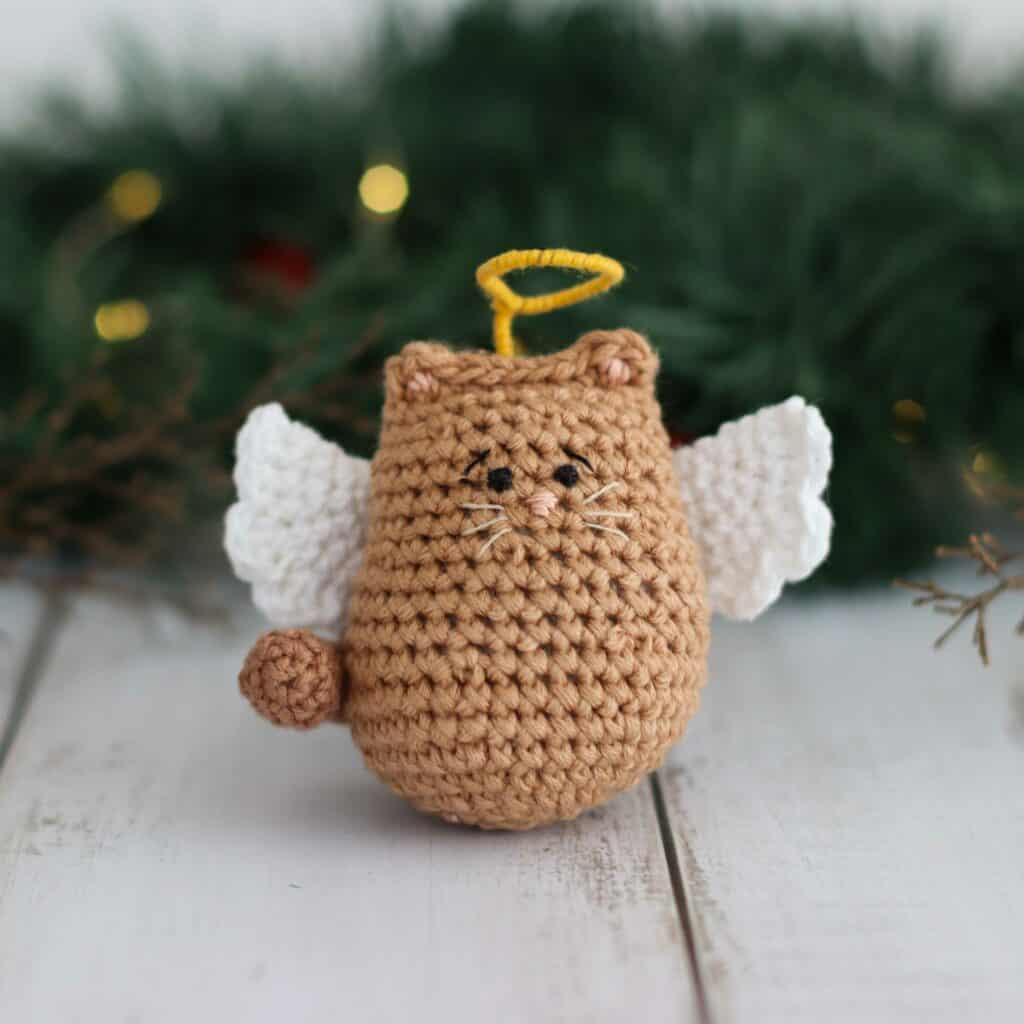
If you loved this Itty Bitty Kitty crochet cat pattern, why not check out my other free and premium patterns over on the patterns page (including an adorable Christmas hat for your kitty!). Happy stitching!
Yours in craft,
Caitie x

Good day! I absolutely love this pattern! Would it be possible for me to sell some on Etsy if I use my own pictures, credit you for the pattern, and leave a link in the description to this website? If not that’s perfectly alright, I’ll just keep them for my personal collection 🙂
Hello! Thank you so much for checking in about this – it is so appreciated. You are most welcome to sell items you have finished yourself with links back as you describe. Happy stitching!
We did a 6-month interim pastorate recently. I made several of these in different sizes to give to the children when we left. They loved them!
I also made one with fluffy green yarn and added a ridge on the back. It became a dinosaur!
THANK YOU very much for this beautiful pattern if it wasnt for Elise Rose Crochet i wouldn’t have come a cross of this pattern happy holidays
Love the Itty Bitty Kitty I have made 3 so far and they are ADDICTIVE.
Caitie what do you use for stuffing?
I used small pieces of fabric and rice for the bottom. The rice gets put into a sown bag.
Your kitties all look so even.
Thanks for your very kind work.
So glad that you like the pattern! I use the equivalent of polyfil and I “massage” it into place to help it look nice and even. I always use more stuffing than I think I will as I stuff it quite firmly. Rice would add nice weight!
Im confused, is sc 2 in each saying sc 2 in the same stitch?
Yip! In other words, work an increase in each stitch around.
whats “-8. sc” I have never seen this stitch before and could not find anything on google, but so far this is a really good beginner amigurumi I love it!
This one often confuses people! The – means “to”. So in other words, R7 and R8 (or R7 – R8). i.e. the next 2 rounds are the same. Hope that makes sense!
I would love to try this for a friends newborn grandson. Would it be safe to add a rattle inside? This will be my first attempt at arigurumi. Thank you for your help and the cute pattern
You can absolutely add a rattle inside, as long as you sew up the top nice and tight (I would suggest sewing it closed all the way one way and then all the way back again, and possibly with thin sewing thread if doing it with a yarn tail is too bulky). I’d also suggest embroidering on the eyes instead of using safety eyes. Congratulations on the arrival of your friends’ new grandson!
Loving this kitty! It’s a good beginner project (for me, they’re the 4th and almost 5th amigurumi that I’ve ever done), but I keep getting stuck on the ears (row 20)! Both times, my first ear is rounded, and then my second ear is pointy. Not quite sure what I’m doing wrong – maybe it’s how I’m transitioning from the dc to the next sc? Or how I’m closing off the second dc?
Thank you for posting, and for being so helpful in the comments.
So glad you are enjoying the pattern! You can add a chain stitch to the ear that is a bit rounded to help it appear a bit more pointy. Hope that helps!
Hi, how big is this
I didn’t find the size, can you please tell me the sizes for both kitties!
Thank you for the cat. So Cute!
Your kitties will be 7 – 10cm tall if using DK cotton, depending on the yarn you use and your unique tension. If you make the kitties in acrylic yarn they tend to be a little bigger and more floofy. Happy stitching!
Made two of these- the first one was a bit wonky but the second turned out really well! Thanks for the amazing free pattern!