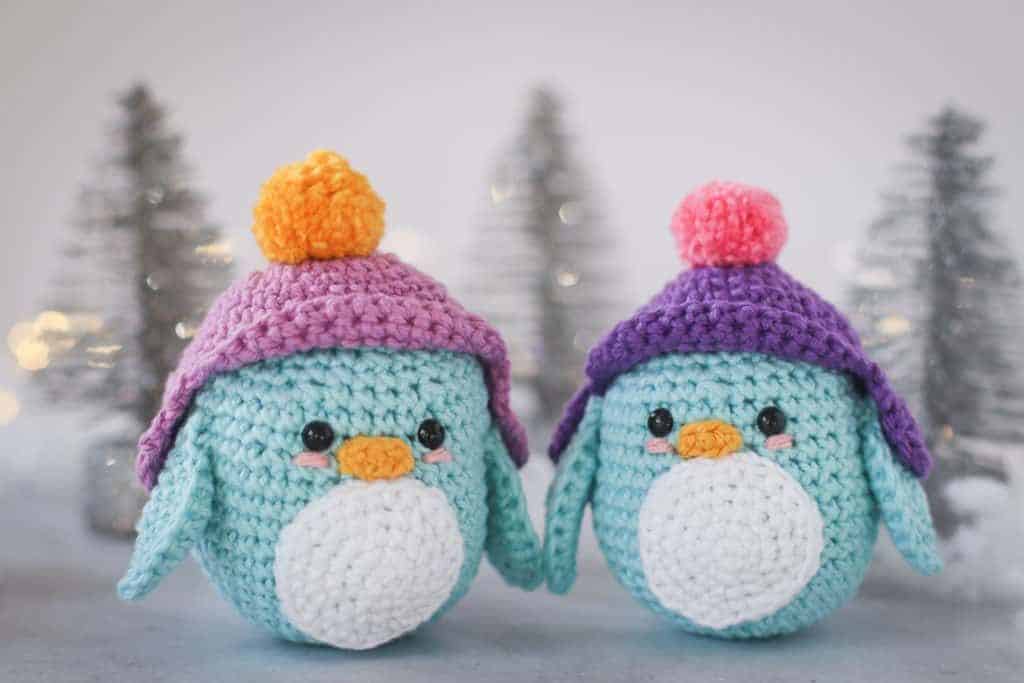
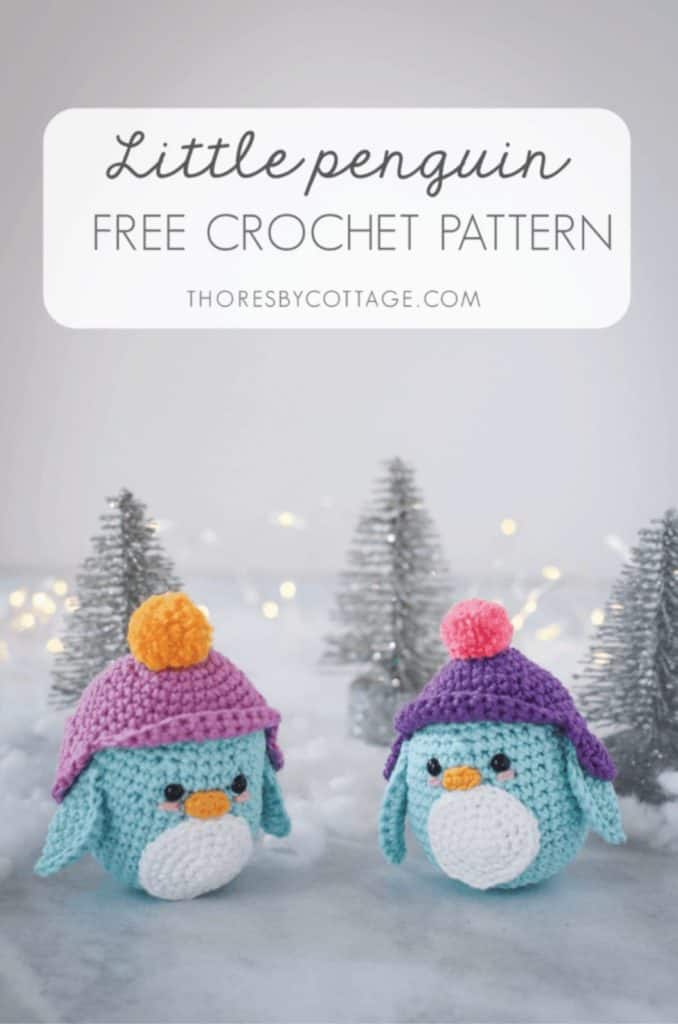
As someone who lives in the Southern Hemisphere, Christmas time for me is usually pretty warm. It’s funny, we sing about “Let it snow” and “Winter wonderland” (and decorate our trees and houses to match) even though the temperature outside is soaring! So, even though it has been pretty warm lately, putting together this little wintery scene for these adorable crochet penguins got me in a Christmas mood!
This free crochet penguin pattern is a delight to make. I mean, who doesn’t love a little pom pom hat?? The pattern is available for free here on the blog, but you can also buy a low-cost, ad free, step-by-step, and printable version in my online stores.
I suggest reading through my article on tips for crocheting amigurumi before starting this project.
If you haven’t done the magic ring before, you can find a photo tutorial here.

Free Crochet Penguin Pattern
Materials
2.75 mm / size C crochet hook
2 x 6 mm safety eyes (2 per penguin)
Stuffing
Pins
Sewing thread
Pom pom (or you can make your own using a pom pom maker)
Stitch marker
Yarn
DK (light worsted) cotton yarn (e.g. Paintbox Yarn) in the following colors:
Washed Teal
White
Pansy purple / Tea rose
Mustard (scrap)
Blush (scrap)
This pattern uses US terminology. Please refer to the abbreviations page for stitch details
Finished Size: 10cm / 4 “
INSTRUCTIONS
Body (washed teal)
Rnd 1: into a magic ring, work 6 sc (6)
Rnd 2: 2 sc in each st around (12)
Rnd 3: [sc in next st, 2 st in next] repeat around (18)
Rnd 4: [sc in next 2 st, 2 sc in next] repeat around (24)
Rnd 5: [2 sc in next st, sc in next 3 st] repeat around (30)
Rnd 6: Sc around (30)
Rnd 7: [sc in next 4 st, 2 sc in next st] repeat around (36)
Rnd 8 – 9: sc around (36)
Rnd 10: [2 sc in next st, sc in next 5 st] repeat around (42)
Rnd 11 – 14: sc around (42)
Rnd 15: [sc2tog, sc in next 5 st] repeat around (36)
Rnd 16 – 17: sc around (36)
Rnd 18: [sc in next 4 st, sc2tog] repeat around (30)
Attach safety eyes between rnd 16 and rnd 17, 5 sts apart. Stuff
Rnd 19: Sc around (30)
Rnd 20: [sc2tog, sc in next 3 st] repeat around (24)
Rnd 21: Sc around (24)
Rnd 22: [sc in next 2 st, sc2tog] repeat around (18)
Rnd 23: [sc in next st, sc2tog] repeat around (12)
Last chance to add stuffing!
Rnd 24: sc2tog around (6)
Fasten off yarn, leaving a tail. Thread yarn needle onto the yarn tail and
weave in and out of rnd 24 to cinch the top of the penguin closed.
Flippers (Make 2, washed teal)
Rnd 1: Into a magic ring, sc 5 (5)
Rnd 2: 2 sc in each st (10)
Rnd 3: [sc in next st, 2 sc in next st] repeat around (15)
Rnd 4: [sc in next 2 st, 2 sc in next st] repeat around (20)
Ch 1. Fold the circle in half, work a sc through both sides of the half circle (9)
Fasten off and leave a tail for joining.
Beak (mustard)
Ch 4, sk 1 ch and sc into the 2nd ch from hook. Hdc into the next st. Sc into the last st. Fasten off and leave a tail. You should have two tails on the same end of the beak. Using these tails, tie a knot to complete the shaping.
Hat (Purple / Tea Rose)
Rnd 1: into a magic ring, work 6 sc (6)
Rnd 2: 2 sc in each st around (12)
Rnd 3: [sc in next st, 2 st in next] repeat around (18)
Rnd 4: [sc in next 2 st, 2 sc in next] repeat around (24)
Rnd 5: [2 sc in next st, sc in next 3 st] repeat around (30)
Rnd 6: Sc around (30)
Rnd 7: [sc in next 4 st, 2 sc in next st] repeat around (36)
Rnd 8 – 10: sc around (36)
Start forming the ear flaps
- Sc in the next 5 st. Ch 1, turn, sc across (5)
- Ch 1, turn, sc across (5) Repeat once more.
- Ch 1, sk 1, dc into the 3rd st, work 5 more dc into the same st.
sk 1, slst into the last st. Fasten off
Join yarn in the 12th st from the end of the first flap.
Repeat steps 1 – 3 for the 2nd flap.
Tummy (white)
Rnd 1: Into a magic ring, work 5 sc (5)
Rnd 2: 2 sc in each st around (10)
Rnd 3: [sc in next st, 2 sc in next st] repeat around (15)
Rnd 4: [2 sc in next st, sc in next 2 st] repeat around (20)
Rnd 5: [sc in next 3 st, 2 sc in next] repeat around (25)
Fasten off and leave a long tail for joining
Assembling your crochet penguin
- Using the white yarn tail, stitch the tummy in place just below the eyes. For a neat finish, stitch only into the back loops of the tummy.
- Stitch the beak on between the eyes.
- Stitch the flippers in place, with the curve of the flipper facing forwards. Each flipper is placed approximately 5 sts away from each eye.
- Using a scrap piece of pink yarn, stitch a small line underneath each eye.
- Add the pom pom to the hat and turn up the front of the hat.
- Enjoy your new little crochet penguin friend!
Looking for more Christmas patterns? Head over to my Patterns page for plenty of Christmas crochet patterns.
More soft toy crochet patterns!
I hope you have enjoyed this free penguin crochet pattern. Please do tag me on Instagram, or share your makes with the hashtag #thoresbycottage. Have a wonderful Christmas everyone!
Yours in craft, Caitie x


Morning I have tried to do the penguin a couple of times but it always ends up a long body, I follow the pattern but it always ends up the same, it should be round but mine doesn’t I don’t know what I am doing wrong, I am new to crochet, can you please give me some advice thank you.
Are you using UK crochet terms or US ones? The pattern is written for US terminology. It is also possible that you are having an issue with your tension. Perhaps email a picture through to me on hello [at] thoresbycottage [dot] com and I can help you troubleshoot!
Very cute, and pretty simple to make, thanks for the pattern!
These guys are adorable. Love the flaps on the hats.