I love Christmas and so it’s time for a free Christmas pudding crochet pattern! I always chuckle at our Christmas traditions. I find myself singing about a Winter Wonderland and decorating our tree with snowmen and icicles, but Christmas for us is never cold. Most years, Christmas day is well over 30°C (that’s 85°F or hotter!). We usually have Christmas dinner (or late lunch) because it’s just too hot to eat a roast at midday, and many people spend the day at the beach or in the pool!
Christmas puddings are so very Christmassy for me. There are always oohs and aahs as the pudding is lit. As a child, I didn’t like Christmas pudding very much but would always swallow down a piece in the hopes of finding the elusive coins that our granny had hidden inside. If you are unfamiliar with this tradition, you can read more about it here. I hope you enjoy this fun little Christmas pudding crochet pattern!
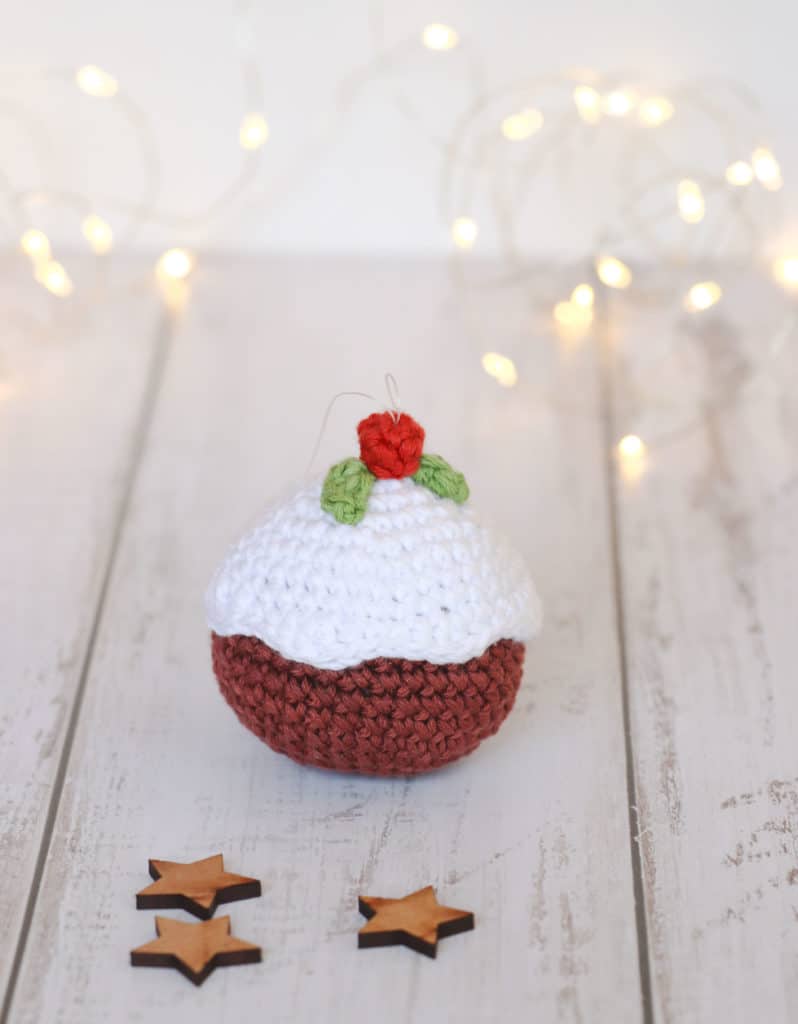
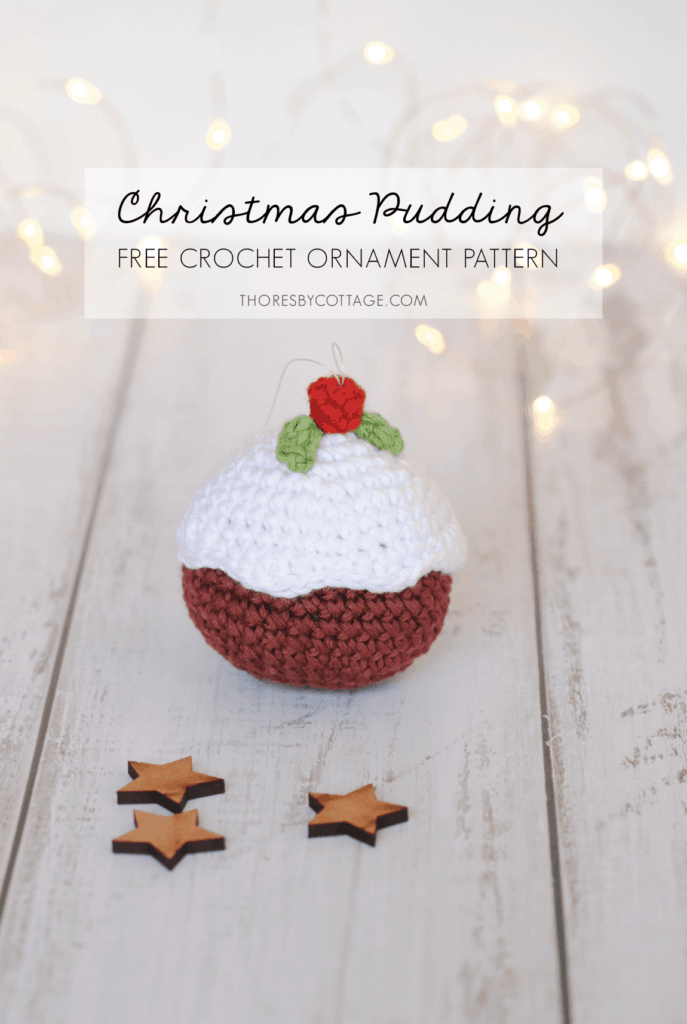
Christmas Pudding crochet pattern
Materials
Small length of sewing thread if you are making this into an ornament to hang on the Christmas tree.
Stuffing/polyfil
I used Vinni’s colors for this plump pudding, but any double knit (light worsted) cotton yarn would work.
Brown (Vinni’s mahogany)
White (Vinni’s white)
Red (Vinni’s brick red)
Green (Vinni’s fern)
NOTES
- This pattern uses US terminology (see abbreviations)
- Don’t know how to do the magic ring? Head over to my tutorial
Pudding (brown)
R1. mr 6 sc (6)
R2. 2 sc in each st (12)
R3. (sc in next st, 2 sc in next) repeat around (18)
R4. (sc in next 2 sts, 2 sc in next) repeat around (24)
R5. (sc in next 3 sts, 2 sc in next) repeat around (30)
R6. (sc in next 4 sts, 2 sc in next) repeat around (36)
R7 – 11. sc around (36)
R12. (sc in next 4 sts, sc 2 tog) repeat around (30)
R13. (sc in next 3 sts, sc 2 tog) repeat around (24)
R14. (sc in next 2 sts, sc 2 tog) repeat around (18)
Stuff
R15. (sc in next st, sc 2 tog) repeat around (12)
Last chance to add stuffing!
R16. sc 2 tog around (6)
Slst into next st and bind off. Weave in ends.
Don’t worry if the stuffing shows through around round 15 and 16, these will be covered by icing!
Icing (in white)
R1. mr 6 sc (6)
R2. 2 sc in each st (12)
R3. (sc in next st, 2 sc in next) repeat around (18)
R4. (sc in next 2 sts, 2 sc in next) repeat around (24)
R5. (sc in next 3 sts, 2 sc in next) repeat around (30)
R6. (sc in next 4 sts, 2 sc in next) repeat around (36)
R7. sc around (36)
R8. sc 2 tog, sc around (35)
R9. sc around (35)
R10. (sc in next st, hdc in next st, 2 dc in next st, hdc in next st, sc in next st) repeat around.
Slst into next st and bind off.
Cherry (red)
R1. mr 4 sc (4)
R2. 2 sc in each st (8)
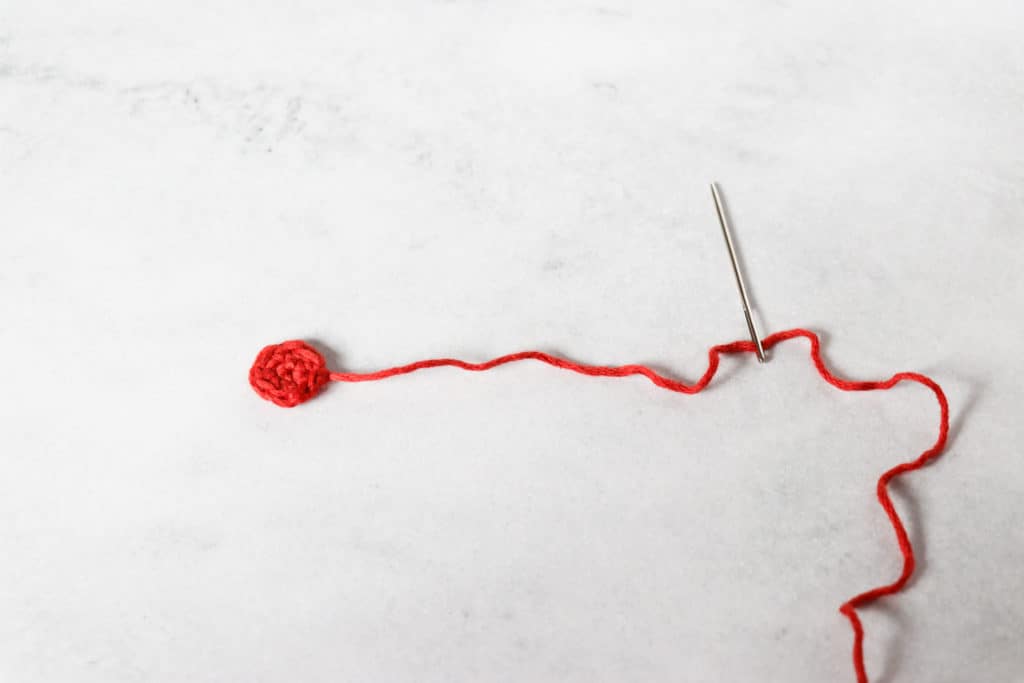
Slst into next st and leave a tail. You should have a flat circle.
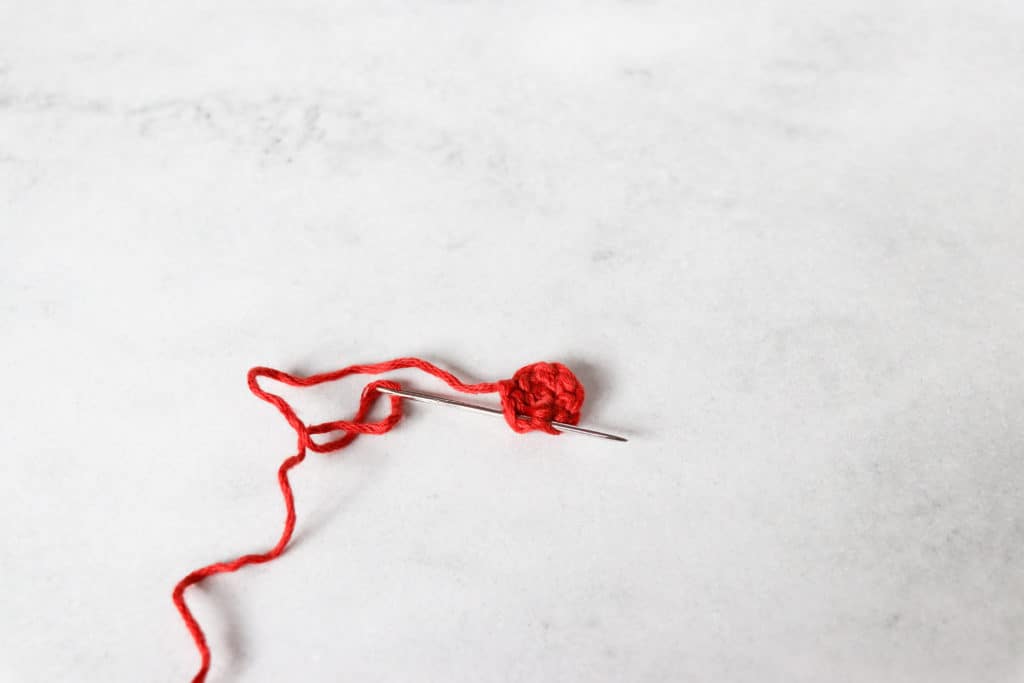
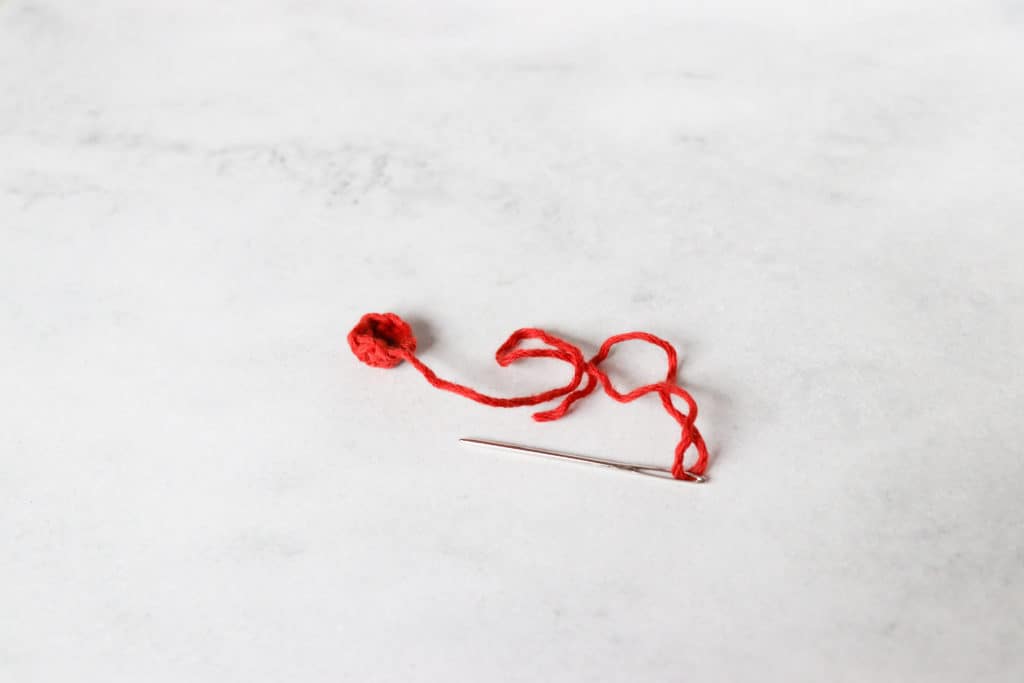
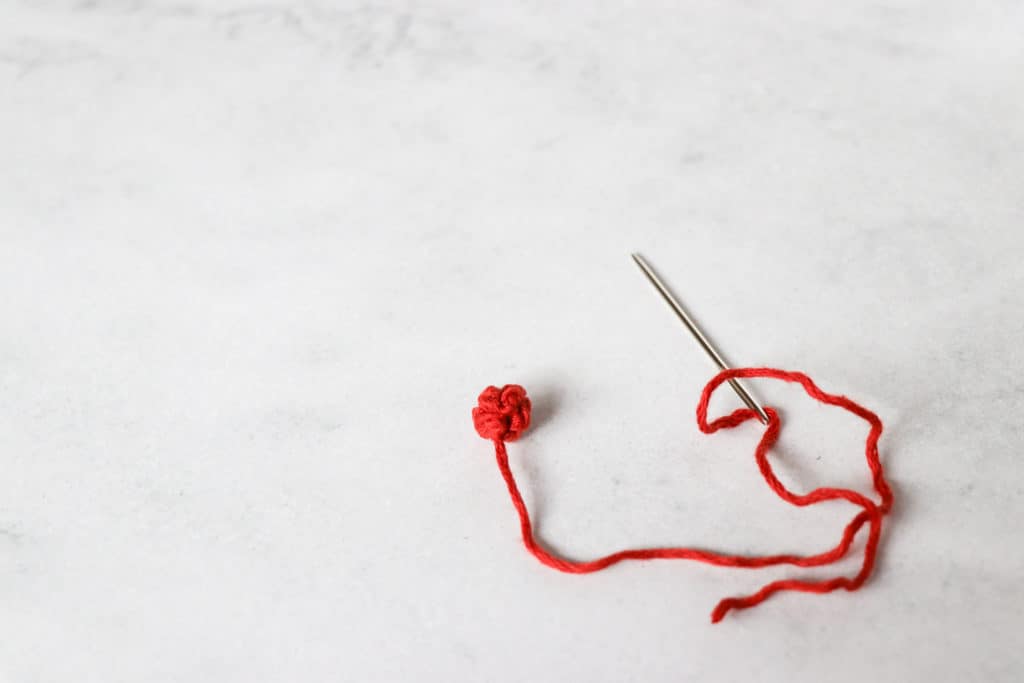
To turn the circle into a cherry, using a yarn needle, weave the yarn tail in and out of the stitches of R2, all the way around. Pull the yarn tail to cinch the outer edge of the circle together to form a ball. Weave in ends.
Leaves (green, x 2)
ch 4, hdc in the 2nd ch from hook, dc in next st, slst in last st.
To make the tip of your leaf nice and pointy, you can take the two yarn tails at the leaf tip, and tie them together. Weave in the ends (you can leave one tail for joining)
Assembly
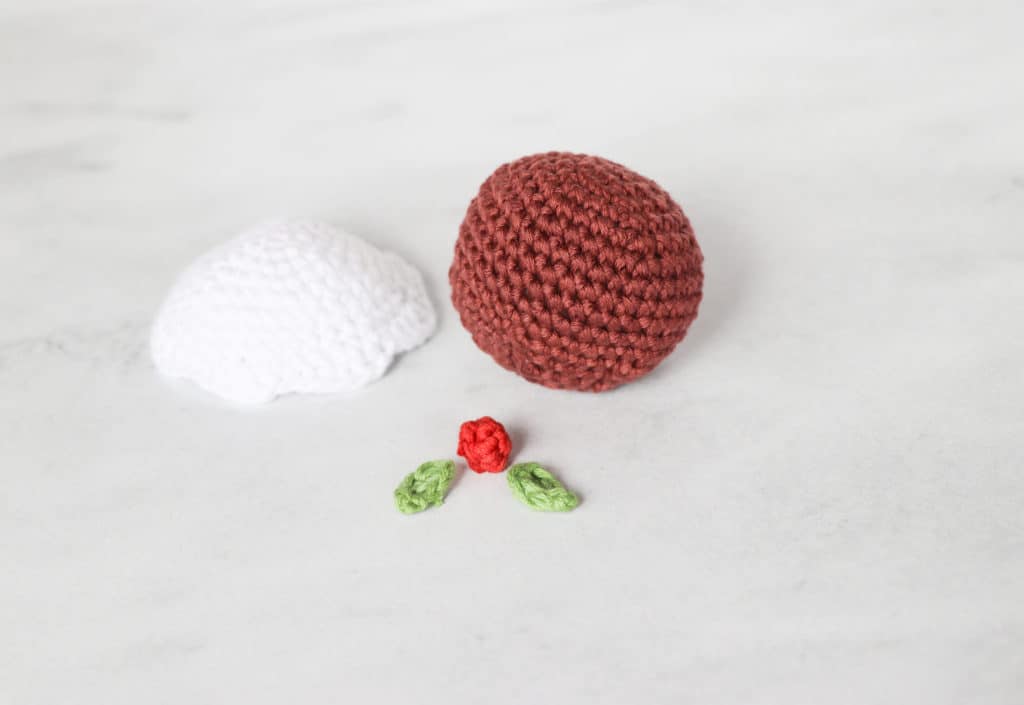
Fit the icing on top of the pudding (remember that the first round of the pudding is now the bottom of the pudding) and stitch in place.
Thread a sewing needle with sewing thread. Secure the thread at the bottom of the cherry. Insert your needle through the middle of the crochet cherry and pull the thread through. Then insert your needle back into the centre of the cherry (from the top) and pull your needle through. You should have a loop of sewing thread sticking out of the cherry. Adjust the loop to the desired size and secure the other end of the sewing thread neatly in place at the base of the cherry.
Stitch the cherry and leaves onto the top of the crochet Christmas pudding (I find using pins very helpful!)
I hope you enjoy this Christmas pudding crochet pattern! You can find more Christmas crochet patterns here, including some gorgeous crochet wreaths and a set of free printable gift tags!
More Christmas crochet patterns!
Until next time, yours in craft.
Caitie x

2 thoughts on “Christmas pudding crochet pattern | Free crocheted Christmas decoration”