I recently got to help out with planning our work end of year function. It was so much fun! It was a particularly special celebration so we decided to go with glamorous gold as our main color. I love the idea of upcycling, re-purposing, and giving old things new life.
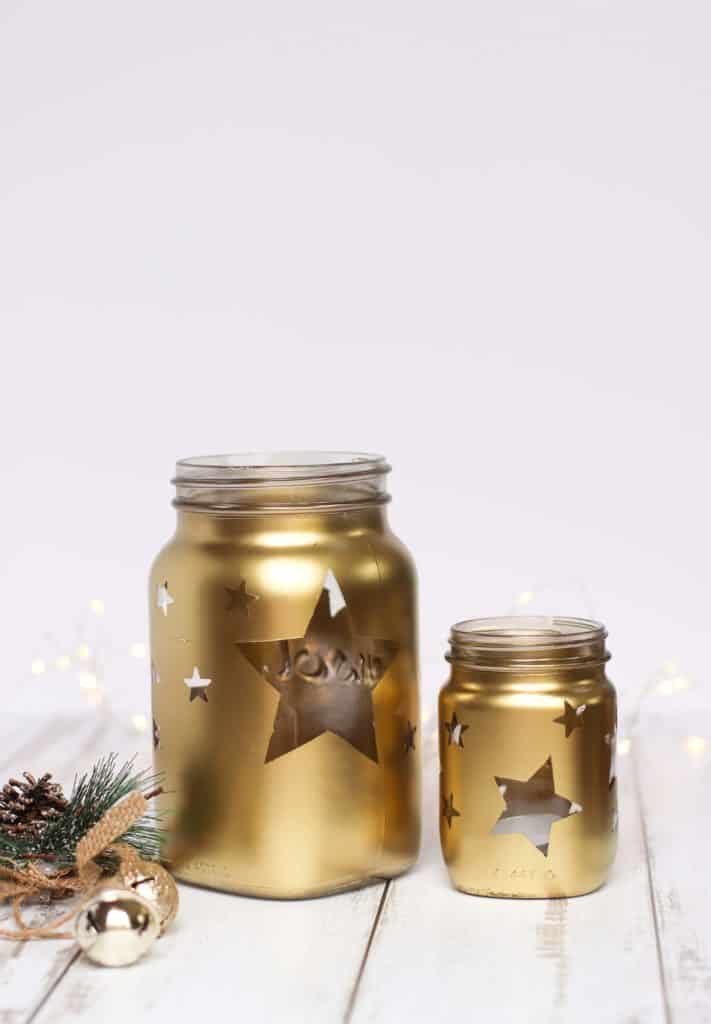
So, for this project, I upcycled mason jars that had been knocking around my garage gathering dust. I turned them into DIY gold lanterns and the end result is really glamorous. From garage junk to gorgeous gold table decor. These DIY lantern candle holders also work really well for Christmas table decor.
I used gold Rust-Oleum spray paint which gave a really fantastic and sophisticated finish. It’s got great coverage too (I sprayed over 20 jars with one can and still have paint left!).
Also to add, this is not a sponsored post, I just really love the product! They have a variety of different metallic colors as well as glitter spray paint.

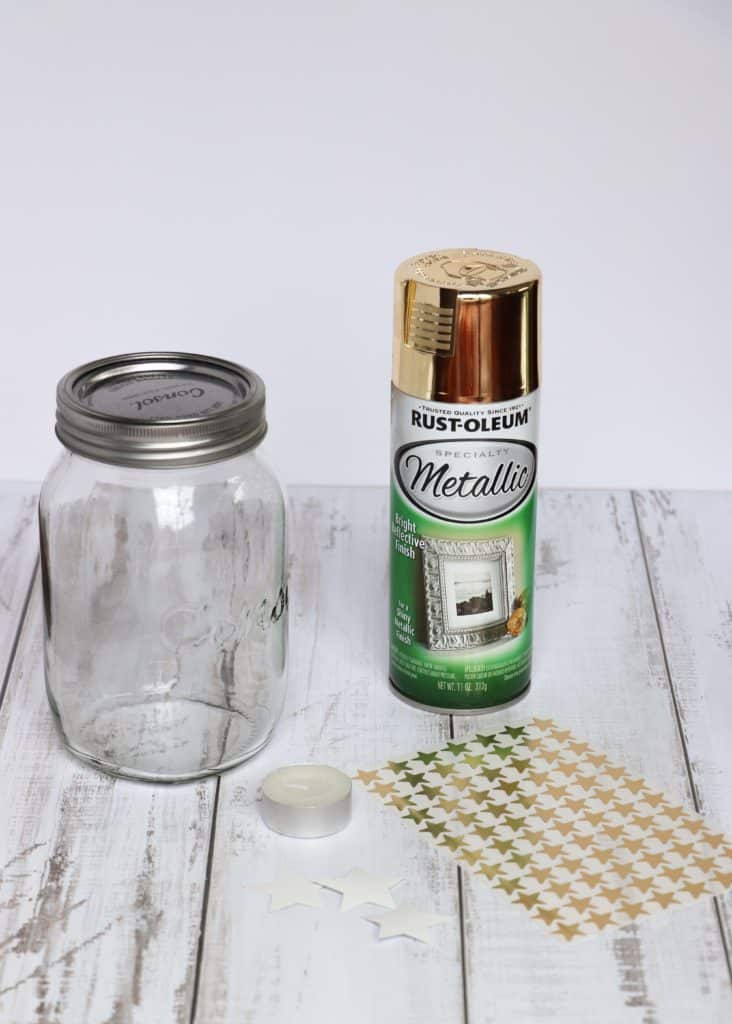
What you need for your DIY gold lantern:
Glass jars (Mason jars have a great shape). If you plan to place a candle in the jar, make sure that the glass is heat-resistant!
Contact paper (optional)
Gold spray paint (I used Rust-Oleum)
Tea light candles
Clear lacquer spray (optional)
Gloves and mask (optional, recommended)

Before you start, I strongly recommend doing a test run on an old glass jar (and read through the tips at the end of this article!). I found that some of the stickers that I used left a residue which is really hard to clean off. It can also take a little practice getting a nice even coat of paint.
Upcycled glass jar lanterns
Step 1: Make sure your jars are clean and dry
Step 2: Stick the stickers on your jar. If you want to make custom shapes then cut those out of contact paper. I was making a lot of jars so I made a little cardboard template of the different sized stars and then used that to trace onto the back of the contact paper before cutting them out.
If you have a Cricut machine, you can cut out all sorts of shapes and designs using removable vinyl!
Make sure to that you stick enough stars on your jar, so that there is an opportunity for the light from the tea lights to shine through.
Step 3: Follow the instructions on the spray can before you start. Wearing gloves and a mask, spray your jar with gold spray paint. Wait until it is touch dry (approximately 10 minutes).
Step 4: Carefully peel off the stickers. If you notice that the spray paint is starting to lift, wait a little longer before peeling off the stickers. You can leave it to dry overnight, but I found that my stickers left a residue if left overnight.
Step 5: Allow the jars to dry completely overnight.
Step 6: Place a tea light or string of lights inside the jar and enjoy the warm, festive glow!

DIY Lantern Tips:
- Do a test run before you start!
- If the stickers leave a residue, you can carefully wipe it off using rubbing alcohol and an earbud. Make sure not to get any of the alcohol on the paint as it will smudge.
- Don’t spray too close to the jar as this causes streaking.
- The gold spray paint can scratch quite easily, so you can add a layer of clear lacquer spray either after step 3 or step 4. I strongly suggest giving this a test run first though to check that your specific lacquer spray won’t react with the gold paint.
Head over to the Christmas crafting page for some more festive tutorials and free downloads (like these print-at-home Christmas tags!)
More DIY festive project ideas!
That’s all from me! I’d love to see your finished festive upcycled mason jar lanterns, so please do tag me on Instagram or use the hashtag #thoresbycottage.
Happy crafting!
Caitie x

