Does anyone else find it hard to throw away scraps of fabric or yarn? I feel like it is such a waste and I can’t bear to chuck things if they still have life in them and could be put to good use. But… I also don’t think it is good to hoard scraps forever. Some of my favourite and most popular crochet patterns are made with left over yarn. Enter this scrap fabric Christmas decoration.
Taking something from the chuck away pile and turning it into something beautiful is so rewarding. Which is why I love making scrap fabric Christmas tree decorations. From the bottom of the fabric pile to adorning a festive tree!
I had some scraps of silk sitting in my fabric stash and they worked perfectly for this project. Silk has a lovely sheen and catches the light beautifully when hanging on the Christmas tree. Of course, you can use whatever fabric you have in your stash.
You do not need a sewing machine for this project – you can hand sew, or even use fabric glue!

Scrap fabric Christmas decoration requirements
Fabric scraps in different colors (washed and ironed)
Rotary cutter / scissors
Quilting ruler (optional)
Cutting mat (optional)
Sewing machine (optional)
Pins
Stuffing (polyfil)
Embroidery thread for decoration
Triangle template
Tailors chalk / washable fabric marker
Twine
How to make a Christmas tree ornament with fabric scraps
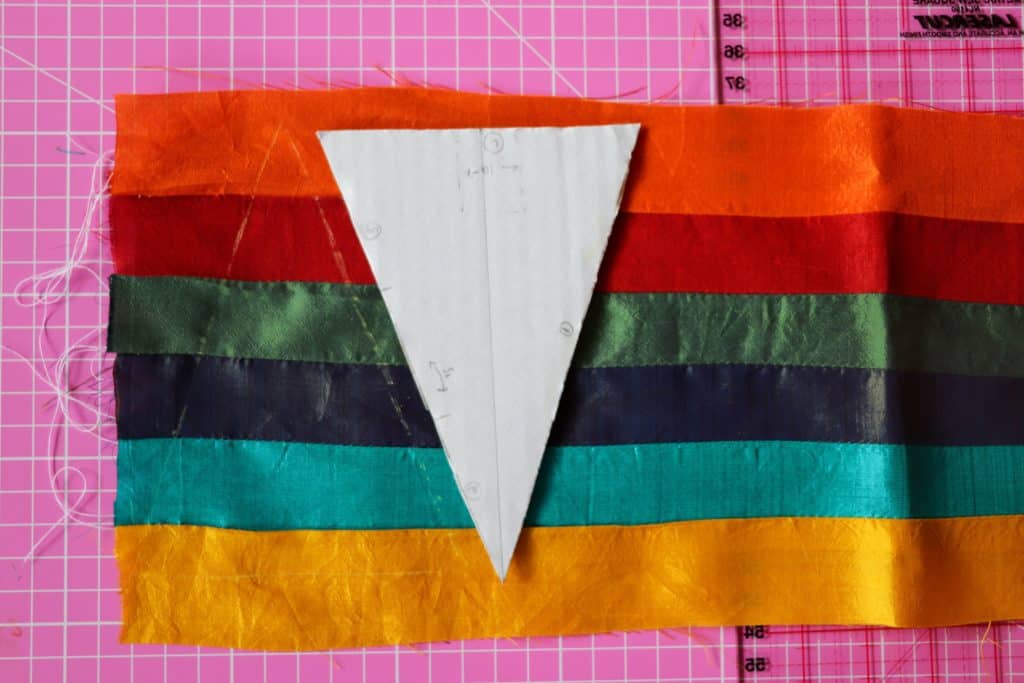
The dimensions of these trees are really up to you. I think a collection of different types of triangles (tall and skinny, short and stubby) would look wonderful! I made my template by cutting a triangle shape out of a piece of cardboard. Just remember to make the triangle slightly larger than the finished size, to include a seam allowance (minimum 1/4 inch or 6mm).
If you are new to sewing, a larger tree may be easier to manage and easier to turn out once you have finished sewing.
Step 1: Cut long strips of fabric approximately 4 – 5cm thick. The thickness of the strips doesn’t matter too much (although bigger strips are easier to sew because there is more fabric to work with). You can cut your strips by hand, but a rotary cutter and ruler will be much quicker and give a neater finish, which in turn, will be easier to sew. Reserve a piece of fabric, approximately 5cm x 7cm. This will be used to make a tree trunk.
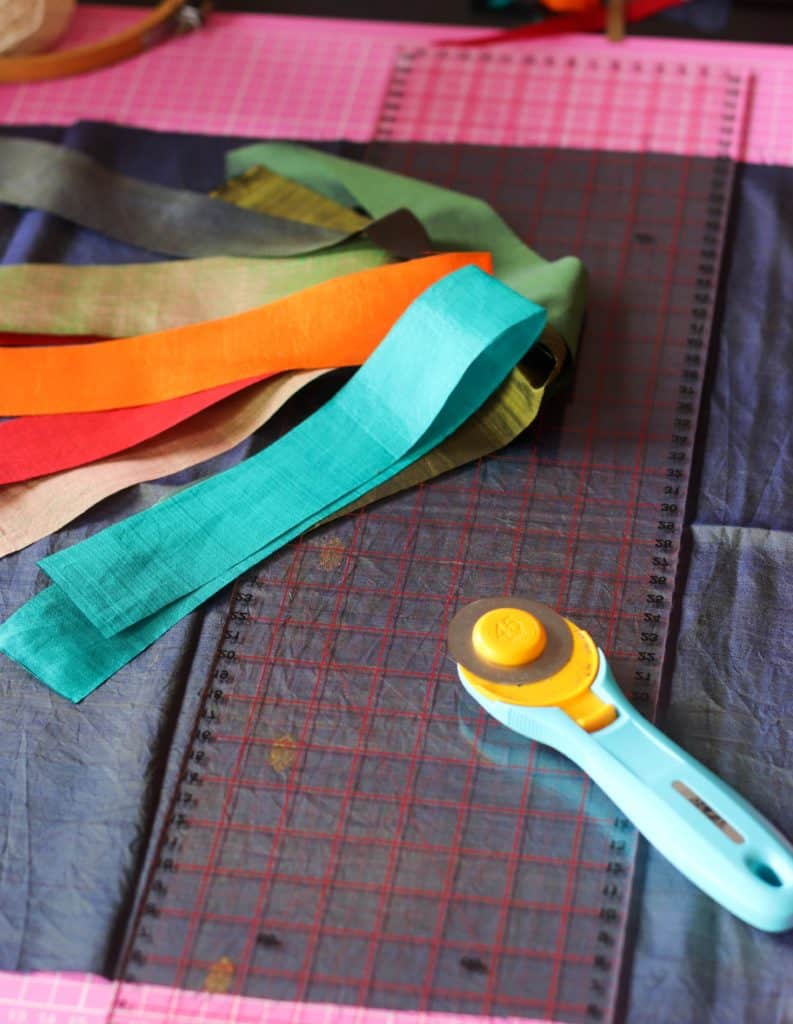
Step 2: Arrange your strips in the order you would like them to be on your fabric Christmas tree. Play around with different color combinations.

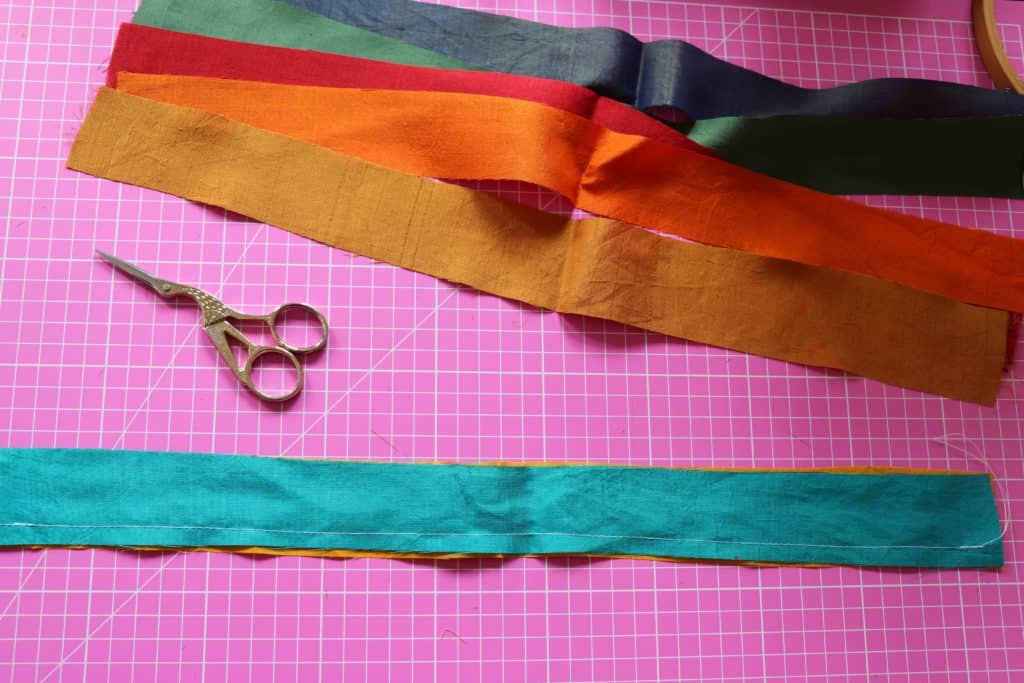
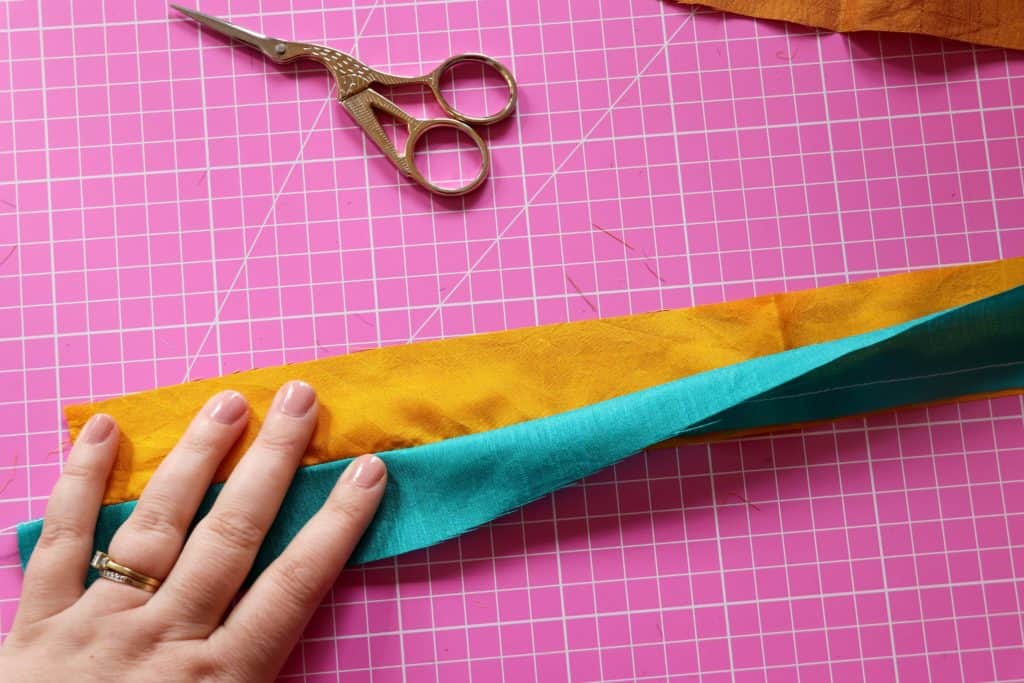
Step 3: Take two strips and place them right sides together. Not all fabric has a “right” or “wrong” side, in that case, choose the side of the fabric that you would like to show once your Christmas tree has been made. This is the “right” side.
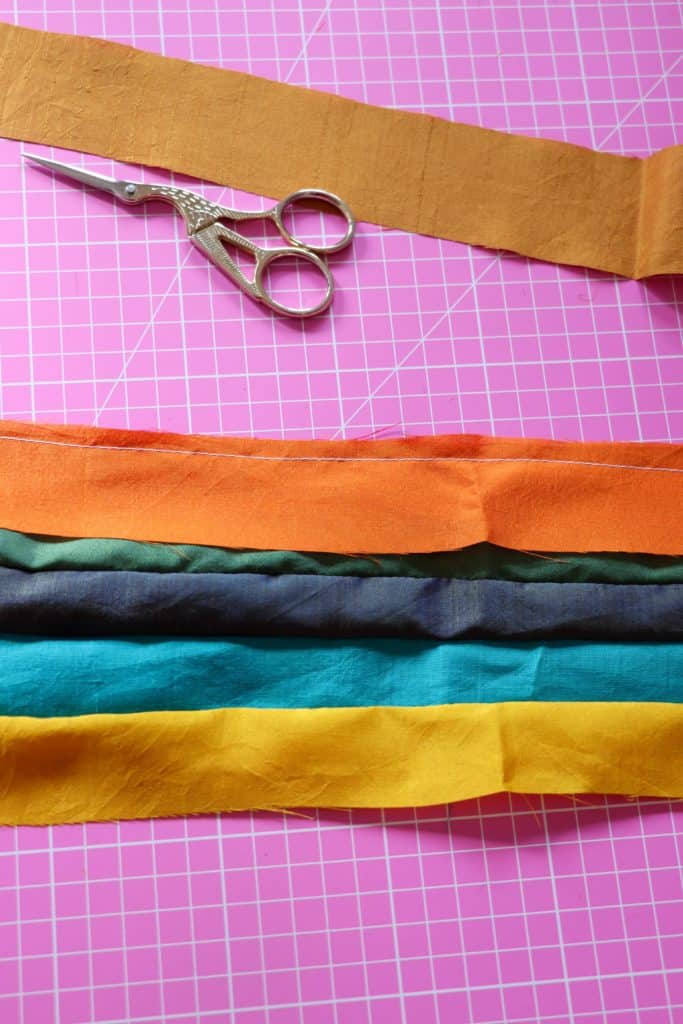
Stitch all the way down the length of the strip, with the smallest seam you are comfortable sewing. Open the seam and press the fabric flat. Add the next strip of fabric. Repeat step 3 with the rest of the strips of fabric, until you have a nice square/rectangle of striped fabric. Don’t stress if your sewing is not perfectly straight!
Once you have sewn all the strips together, give your piece of fabric a quick iron to make it nice and flat.
Step 4: Lay the triangle template on top of the striped fabric and trace an outline with a washable fabric pen or tailors chalk. Cut out two triangles per tree. No need to be too specific here! The stripes do not need to match up to each other for this scrap fabric Christmas decoration, in fact, the more scrappy, the better.
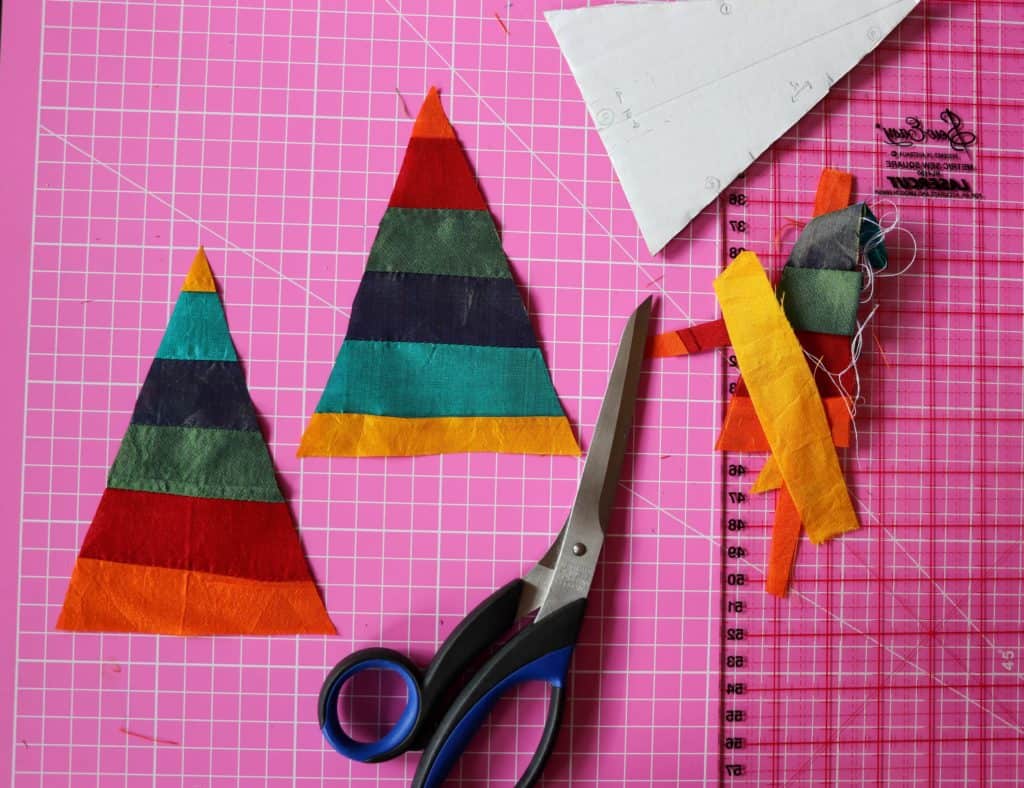
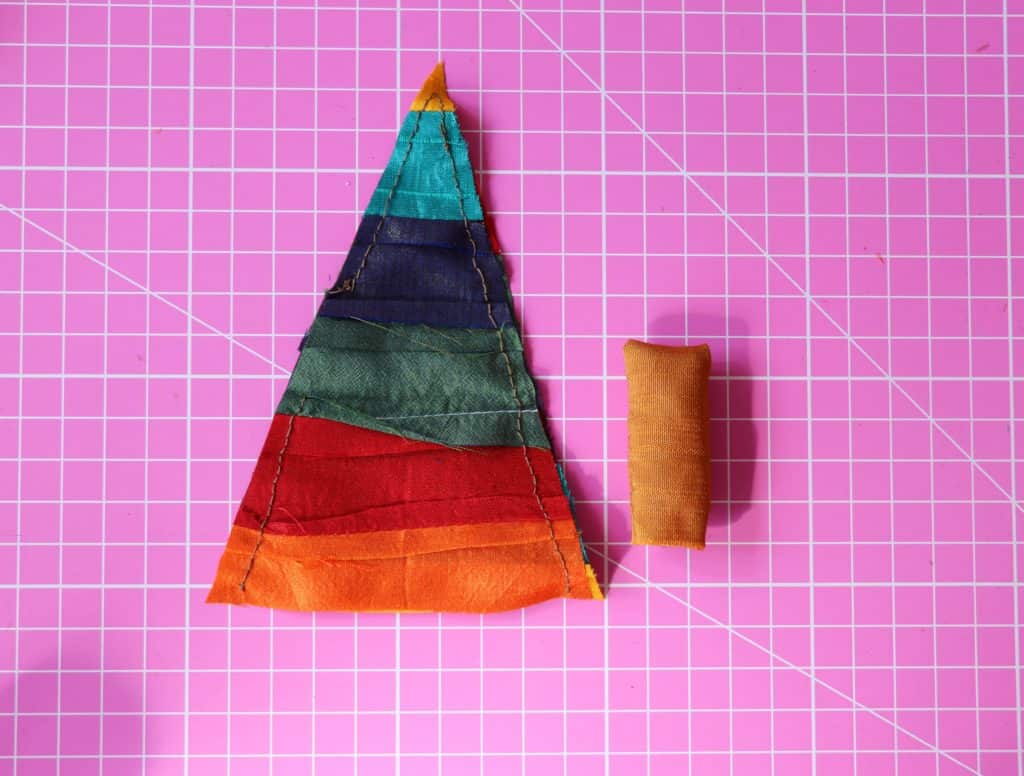
Step 5: Make the trunk. Take the piece of fabric reserved for the trunk and fold it in half. Sew down either side of the trunk, leaving the top of the trunk open for stuffing. If your seams are larger, trim them before turning out the trunk. Use a little polyfil to lightly stuff the trunk.
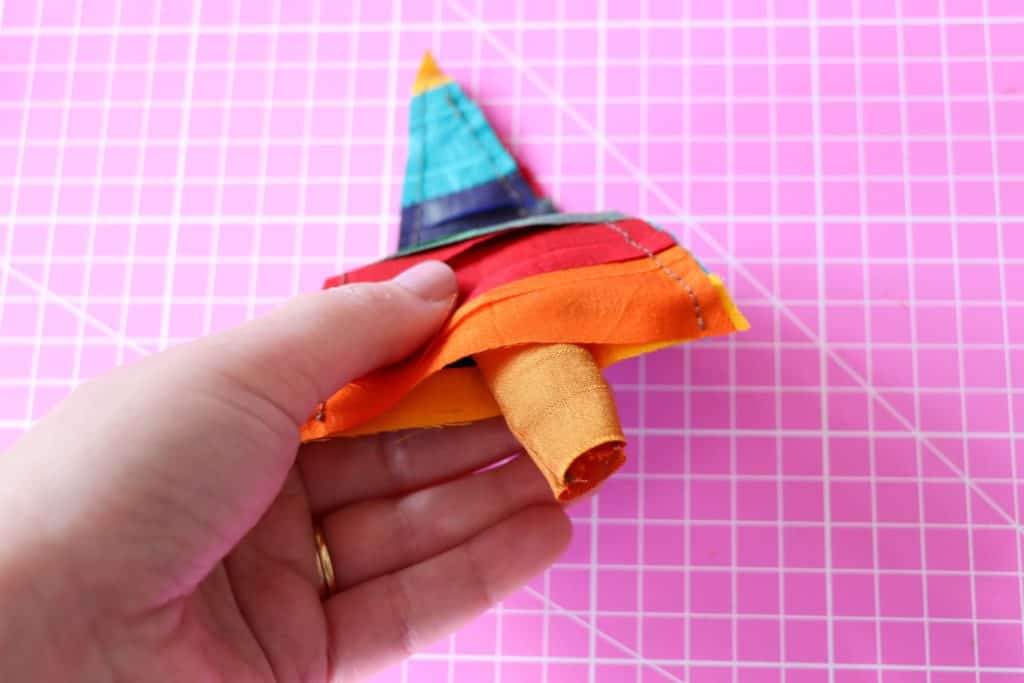
Step 6: Next we are going to assemble our tree. Place the right sides of the triangles together and pin in place. Make sure to add the trunk at the bottom of the triangle, with the open edge facing outwards (see picture below). Sew all the way around the triangle, leaving a 2 – 3cm gap on one side for turning out. You can sew on the machine or by hand (we had a power out so I ended up sewing my trees by hand). You could even use fabric glue if you didn’t want to do any sewing!
Step 7: Turn out the Christmas tree ornament. You can use a skewer or knitting needle to get into the corners if needed. Iron it if required. Add any embellishments (such as beads or embroidery). Lightly stuff with polyfil and sew up the open side. Add some twine to hang your decoration.
I hope you have enjoyed making this scrap fabric Christmas decoration. If you are looking for some festive table decor, why not try out my upcycled lanterns. And if you enjoy crochet, I’ve got plenty of free Christmas crochet patterns too!
I know many of you also own a Cricut machine, so if you’d like some ideas for even more Christmas makes, then head over to my profile on Design Space.
More festive Christmas projects!
