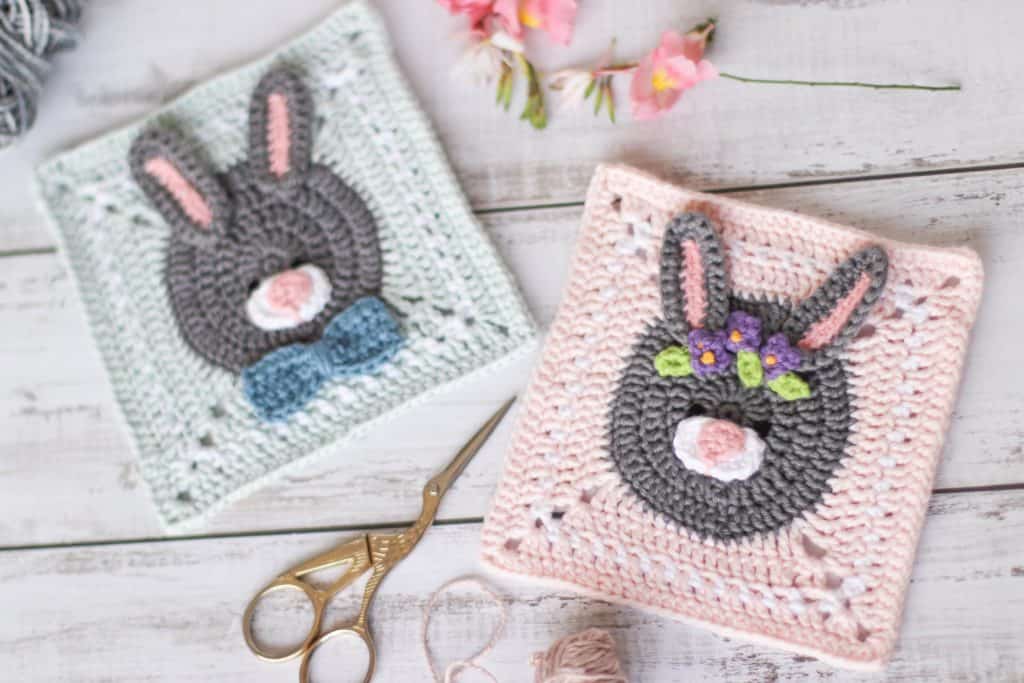
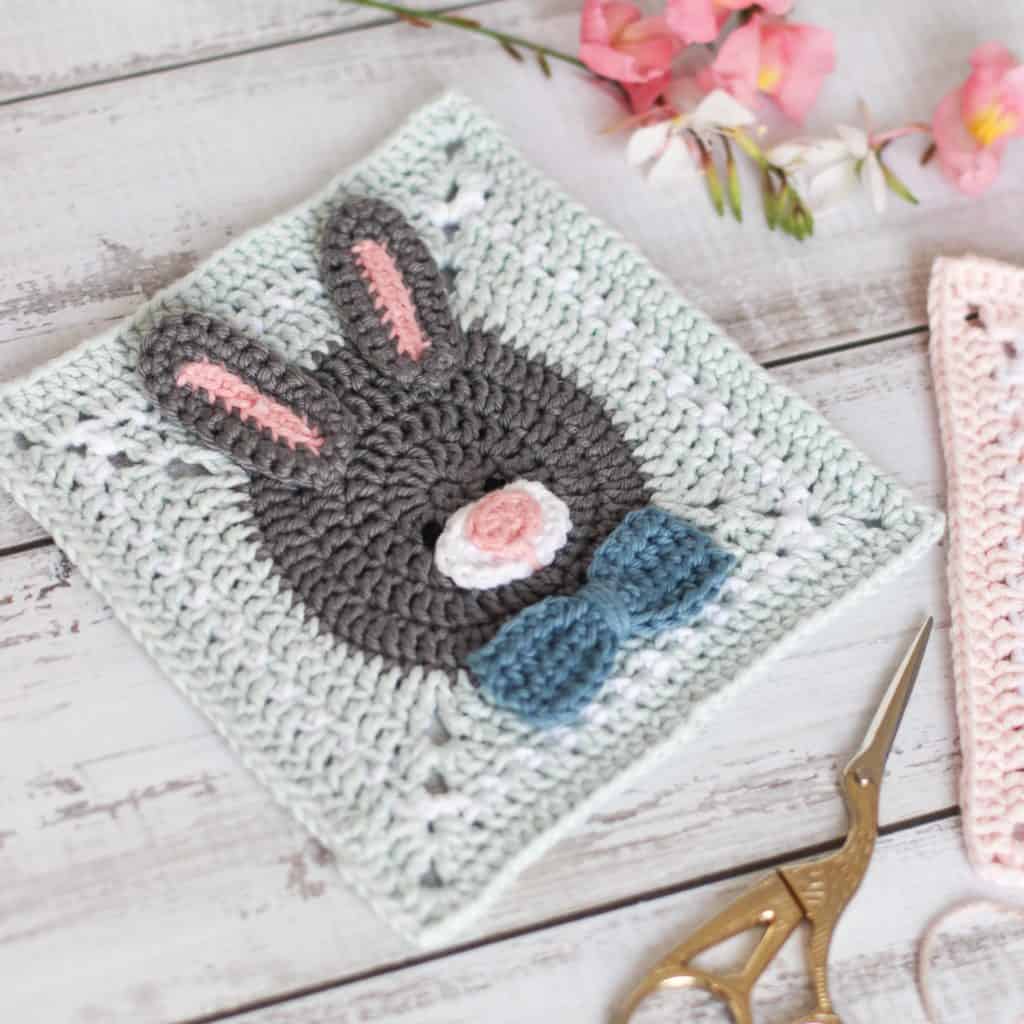
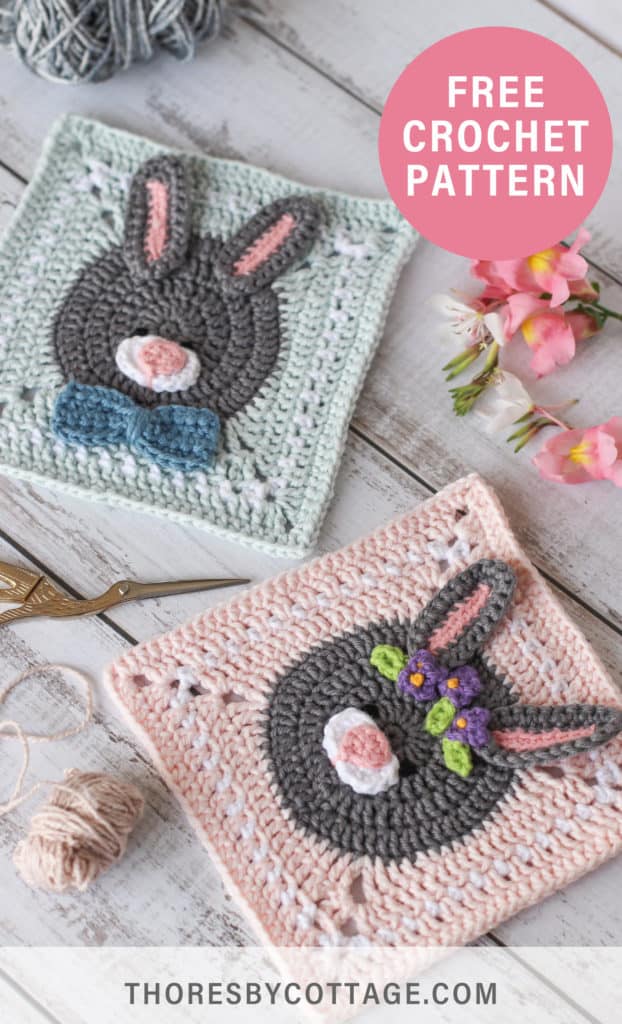
Today I’m sharing not one, but two granny square patterns! This free crochet bunny pattern includes two delightful variations; a crochet bunny with a dapper bow tie, and a whimsical crochet bunny with a beautiful flower crown.
These crochet bunny squares were first published in the book 3D granny squares and I’m so delighted to share them with you.
Cotton yarn, such as Paintbox Yarns Cotton DK, is fantastic for these squares. It has a lovely finish and shows up all the details really nicely. Of course, if you prefer to work in another fibre, such as acrylic or even wool, then you use that for these squares too.
All of my 3D granny squares (including this free crochet bunny pattern) are compatible with each other and can be mixed and matched.

Free crochet bunny pattern requirements
Materials
2.75mm / size C crochet hook
Yarn needle
Sewing needle
DK (light worsted) yarn (such as Paintbox Yarns*) in the following colors:
Grey (Paintbox Yarns – Slate Grey)
White (Paintbox Yarns – Paper White)
Pink (Paintbox Yarns – Blush Pink)
Light pink (Paintbox Yarns – Ballet Pink)
Blue (Paintbox Yarns – Dolphin Blue)
Light blue (Paintbox Yarns – Duck Egg Blue)
Purple (Paintbox Yarns – Pansy Purple)
Green (Paintbox Yarns – Lime Green)
Yellow yarn/embroidery cotton for flower detail
Black yarn/embroidery cotton for eye details
View my recommendations for my favourite tools on Amazon
*Paintbox Yarn Cotton DK: 50g (1.75oz), 125m (137yds), 100% cotton, 8 ply (less than 1 ball of each color is required for this square)
NOTES
- Finished size: 13cm square using the hook and yarn suggested and is compatible with my other granny squares.
- This pattern uses US terminology (view conversion chart and abbreviations)
- If you are looking for a plain square to use alongside the bunny squares, consider either the Solid Granny Square or the Polka Dot Square.
- Don’t know how to do the magic ring? Head over to my tutorial.
- A low cost, printer friendly, ad free version of this pattern (including a chart and lots of pictures to help you!) is available here, or on Ravelry here.

Free Crochet Bunny Pattern (boy bunny + girl bunny details below)
Rnd 1: Starting with Grey, mr 6 sc, slst to close the rnd (6)
Rnd 2: ch 3 (counts as a dc), 3 dc in next 5 st, 2 dc in last st, slst into 3rd ch of initial ch 3 to close the rnd (18)
Rnd 3: ch 3 (counts as a dc), dc into next st. * dc in next st, 2 dc in next st. Repeat from * 8 times. Slst into 3rd ch of initial ch 3 to close the rnd (26)
Rnd 4: ch 3 (counts as a dc). * 2 dc in next st, 2 dc in next st, dc in next st. Repeat from * 8 times. 3 dc into the last st, slst into 3rd ch of initial ch 3 to close the rnd. (44)
Rnd 5: ch 3 (counts as a dc). * 2 dc in next 2 sts, dc in the next 2 sts. Repeat from * 10 times. dc in last 3 st. Invisible join to first st of rnd to close. Fasten off and weave in ends (64)
Rnd 6: Attach Light Blue / Light Pink anywhere in the circle with a standing tr or ch 3 (counts as tr). ch 2 and tr into the same st, *tr into the next st, dc into the next 2 sts, hdc into the next 2 sts, sc into the next 5 sts, hdc into the next 2 sts, dc into the next 2 sts, tr into the next st, into the same st (tr + ch 2 + tr), repeat from * 3 more times, leaving out the (tr + ch 2 + tr) in the last repeat . Slst into the first st of rnd to close. (68, 4 x ch-2-sp)
Rnd 7: slst into ch-2-sp. Into ch-2-sp, ch 3 (counts as a dc) dc + ch 2 + 2 dc, *dc into the next 17 sts, into the ch-2-sp (2 dc + ch 2 + 2 dc). Repeat from * 3 more times, leaving out the (2 dc + 2 ch + 2 dc) in the last repeat. Invisible join to close the rnd. Cut yarn and weave in ends. (84, 4 x ch-2-sp)
Rnd 8: Join White in any ch-2-sp with a standing sc. (sc + ch 3 + 2 sc) into the same ch-sp. *ch 1, sk 1 st and sc in the next. Repeat the ch 1, sk 1, sc sequence 9 more times, ch 1, sk and work the corner (2 sc + ch 3 + 2 sc) into ch-2-sp. Repeat from * 3 more times, omitting the last corner. Invisible join to close the rnd. (56 sc, 44 x ch-1-sp, 4 x ch-3-sp)
Rnd 9: Join Light Blue / Light Pink in any ch-3-sp with a standing dc. Into the same sp (2 dc + ch 3 + 3 dc). *2 dc in each ch-1-sp across. Work the corner into the next ch-3-sp as follows (3 dc + ch 3 + 3 dc). Repeat from * 3 more times, omitting the last corner. Slst into the first st of rnd to close (112, 4 x ch-3-sp)
Rnd 10: ch 2, hdc in next 2 st. *(2 hdc + ch 2 + 2 hdc) into the ch-3-sp, hdc in next 28 st. Repeat from * 3 more times, omitting the last 3 hdc. Invisible join to close the round. Fasten off and weave in ends. (128, 4 x ch-2-sp)
Muzzle
Rnd 1: Starting with White, ch 5, working back along the ch, skip first ch, sc in next 3 ch, 3 sc in last ch, continue on other side of the chain, sc in next 3 ch, 3 sc in next ch (12)
Rnd 2: sc in next 4 st, 2 sc in next 2 st, sc in next 4 st, 2 sc in next 2 st (16)
Nose
Use Pink: into mr, 2 sc, 2 dc, 2 sc, 2 dc. Pull ring closed and slst into 1st st to close. Leave tail for joining (8)
NOTE: A low cost, printer friendly, ad free version of this pattern (including a chart and lots of pictures to help you!) is available here, or on Ravelry here.
Ears (make 2)
R1: Starting with Pink. ch 10, sc into 2nd ch from hook and sc in the next 8 sts to the end (9)
R2: Change to Grey. Ch 1, turn. Working back up the ch, flo-sc in the next 8 st, 5 flo-dc in the next st, sk turning ch and continue on the other side of the ch. flo-sc in the next 9 st (22)
R3: Ch 1, turn. Sc in each st around (22). Fasten off, leaving a tail of grey for joining. Weave in remaining ends.
Bow tie
R1: Using Blue, ch 12, sk 1 and hdc in the next 11 (11)
R2: Ch 1, turn and hdc in each st (11)
R3 – 4: Repeat R2
Fasten off and weave in ends. Cut a length of yarn approximately 30 cm long, pinch the centre of the rectangle together an wind the yarn around it a few times to form the centre of the bow tie. Secure at the back.
Flowers (make 3)
Use Purple. Into mr, (ch 3 + slst). Repeat 3 more times. Fasten off leaving a tail for joining.
Turn the flower over (the back of the flower as stitched will be the front of the flower)
Add the flower centres using Yellow.
Cut a length of yarn (approximately 15 cm) and tie a knot in the centre of the yarn. You should have two yarn tails with a knot in the middle.
Thread one of the yarn tails onto a yarn needle. Insert the needle into the centre of the flower and pull through. The knot should be sitting in the middle of the flower, at the back (the new front). Remove the yarn tail from the needle.
Thread the other yarn tail onto the needle and insert needle from back to front (but not in the same hole) and pull through. Tie the two yarn tails together to secure the centre in place. Weave in ends.
Leaves (make 3)
R1: Using Green, ch 4, hdc into 2nd ch from hook, dc into the next st, sl st into the last st.
R2: Fasten off and weave in ends
Assembly and details
- Shape the ears: pinch the bottom of the ear together and sew closed. Then attach to the face along the outer edge of rnd 4, approximately 8 sts apart.
- Stitch the nose onto the muzzle and stitch the nose details.
- Stitch the muzzle onto the face, just below rnd 1 of the circle.
- Using black yarn, stitch eyes on either side of nose. This can be done either with a whip stitch, or a French knot. Visit the Thoresby Cottage YouTube channel for a French knot video tutorial.
- Sew the bow tie on, or arrange the flowers and leaves and sew in place.
- Weave in any remaining ends and block square.
If you have enjoyed this free crochet bunny pattern, I have lots of other Easter and bunny themed crochet designs, have a look below:
- Floral bunny teether
- Bunny applique
- Bunny ears egg cosy
- Rabbit wall hanging
- Crochet flower clutch
- Narcissus flower
- Crochet poppy
Happy stitching!


OH MY GOSH!! THIS IS ABOUT THE CUTEST THING I HAVE SEEN !!! CAN’T WAIT TO MAKE IT!!