
The Itty Bitty Crochet Kitty is the cutest little crochet cat pattern, and one of my most-loved little makes. It works up very quickly (great for beginners!) and would make the sweetest gift for any cat lover.
This kitty crochet project is perfect if you are looking to take a dive into making amigurumi. If you are new to amigurumi, head over to my tips for making amigurumi to ensure your project turns out perfectly.
You can personalize your crochet kitty too by adding stripes or spots, changing up the colors or even using fluffy novelty yarn!
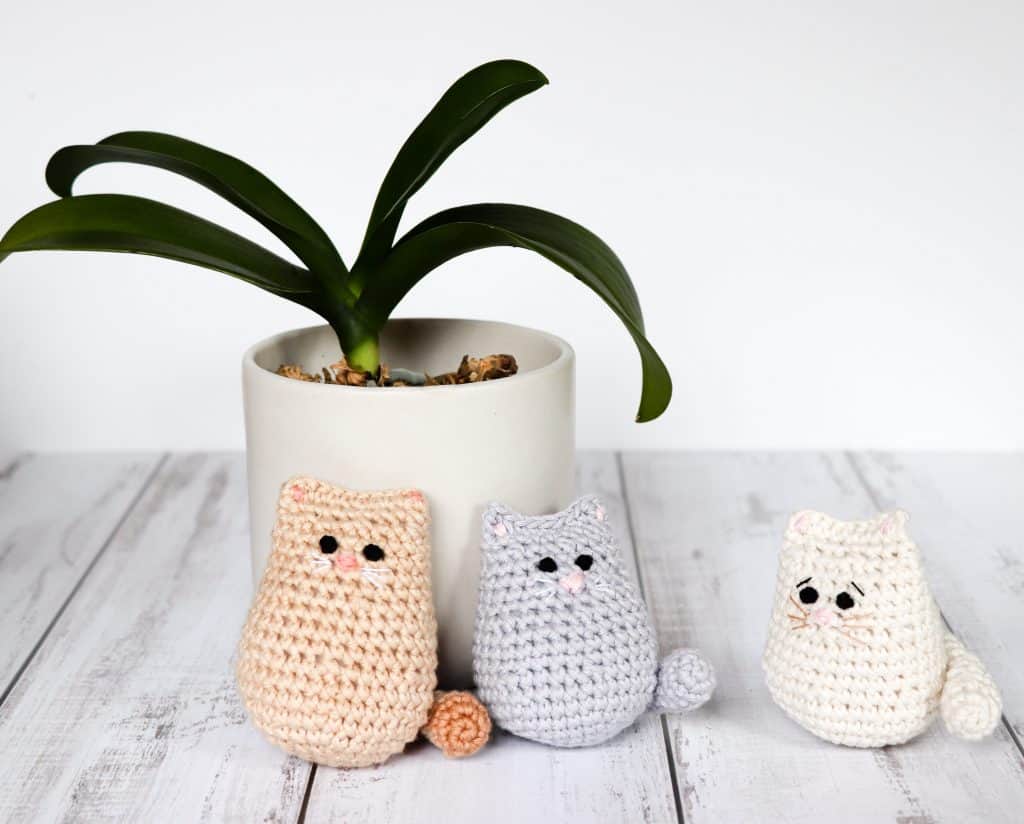
Itty Bitty Crochet Kitty Pattern
About The Crochet Cat Pattern
- Skill Level: Beginner-friendly
- Technique: Amigurumi (worked in the round)
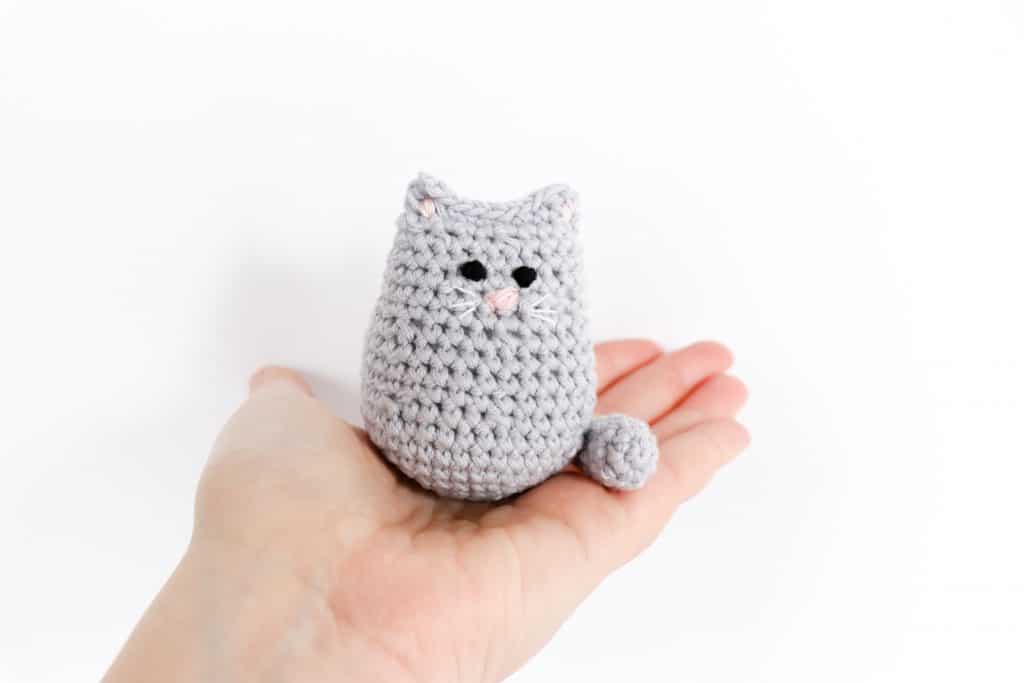
- Finished Size: Small palm-sized kitty
- Time: Quick make (1–2 hours approx.)
Materials
DK/light worsted cotton* (Main body color as well as optional contrast color if adding stripes)
3.25mm crochet hook (larger cat)
2.75mm crochet hook (smaller cat)
Yarn needle
Stuffing
Embroidery cotton for sewing facial details (black, white, pink, tan)
Safety eyes (optional)
*Yarn suggestions
Vinni’s colors Nikkim: 50g (1.75oz), 119m (130yds), 100% cotton, double knit
Paintbox yarns Cotton DK: 50g (1.75oz), 125m (137yds), 100% cotton, 8 ply
La mia Mini Cottony: 25g (0.88oz), 60m (65yds), 100% cotton, double knit
Lion Brand 24/7 Cotton DK: 80g (2.8oz), 250m (273yds), 100% cotton
>> PIN NOW, MAKE LATER! <<
Pattern Notes:
- This crochet cat pattern is written using US crochet terms. If you are unfamiliar with any of the abbreviations, please visit the crochet terms page.
- Have a look at my tips for crocheting amigurumi before you start this project!
- It’s also worth looking at my tutorial for the magic ring if you are unfamiliar with how to make one.
- Some parts of this pattern are worked in continuous rounds. Don’t slip stitch to close the ring unless instructed to do so!
- A low cost, ad free, printable version of this pattern is available in my online stores.
Prefer a printer-friendly version?
Ad-free, printer-friendly PDF version is available in my stores!
How to Crochet the Itty Bitty Kitty (Step-by-Step Pattern)
Crochet Cat Body:
Rnd 1. Mr 6 sc (6)
Rnd 2. sc 2 in each (12)
Rnd 3. [sc in next st, 2 sc in next st] repeat around (18)
Rnd 4. [sc in next 2 sts, 2 sc in next st] repeat around (24)
Rnd 5. [sc in next 3 sts, 2 sc in next st] repeat around (30)
Rnd 6. [sc in next 4 sts, 2 sc in next st] repeat around (36)
Rnd 7 – 8. sc around (36)
Rnd 9. [sc in next 4 sts, sc2tog] repeat around (30)
Rnd 10 – 12. Sc around (30)
Rnd 13. [sc in next 3 sts, sc2tog] repeat around (24)
Rnd 14 – 17. sc around (24)
Rnd 18. [sc in next 2 sts, sc2tog] repeat around (18)
Rnd 19. sc around (18)
Stuff. (*If you are adding safety eyes, do so now!)
Rnd 20. Hold the top two edges together and crochet through both sides.
ch1, dc into the first st, sc into the next 7 sts, dc into the last st. Bind off and weave in ends.
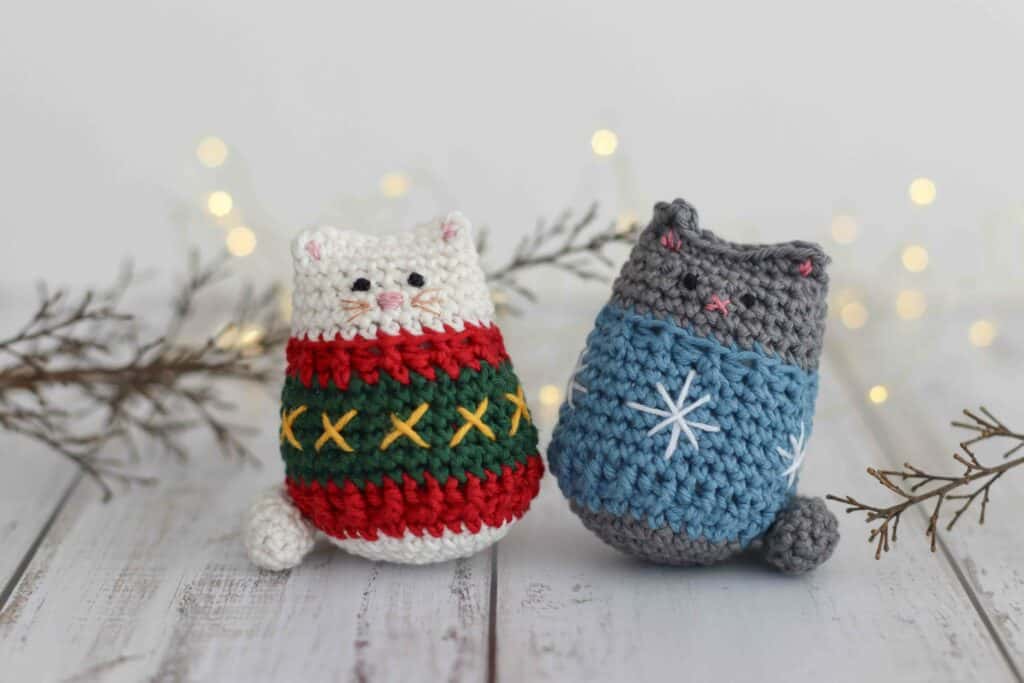
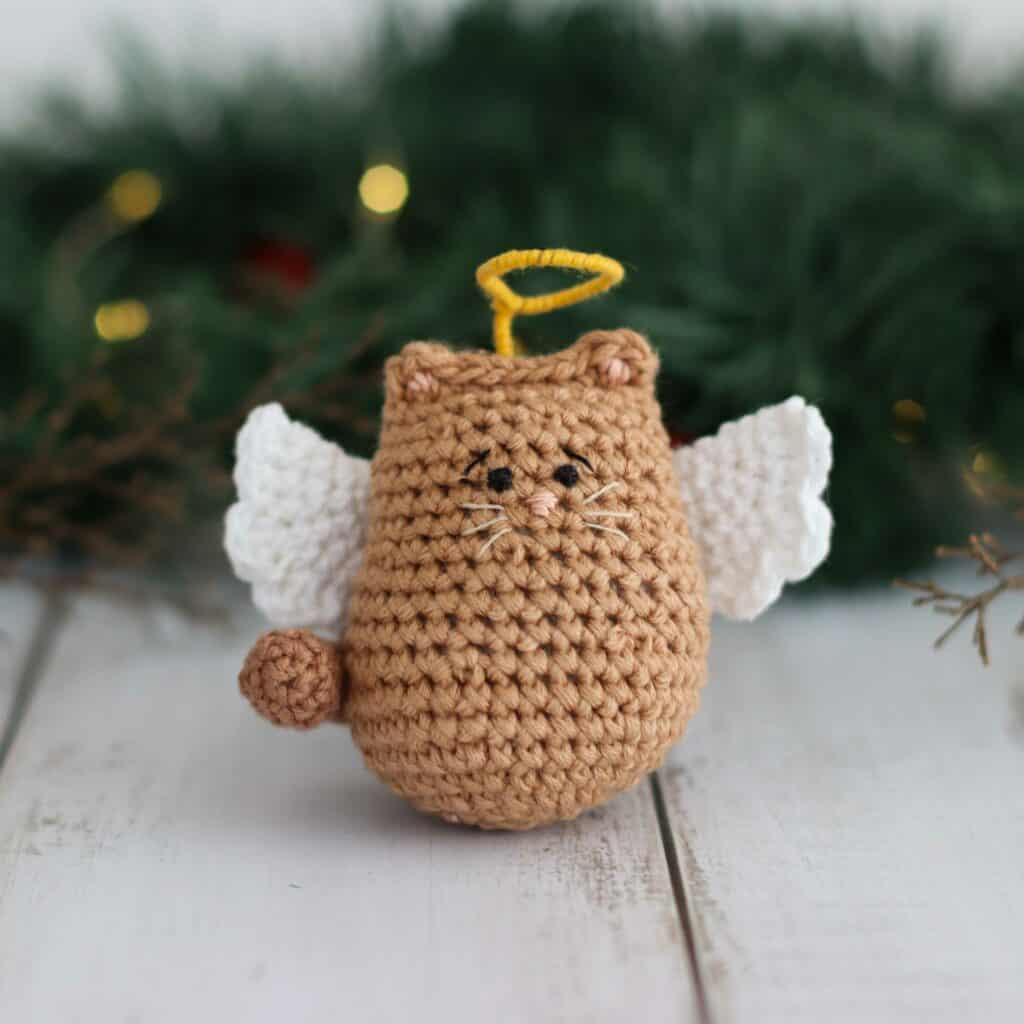
Seasonal Itty Bitty Kitty Variations
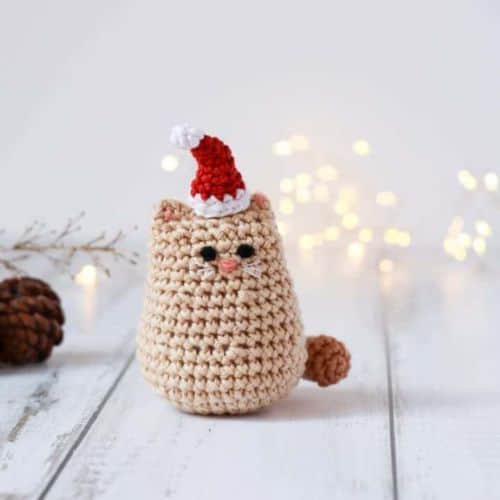
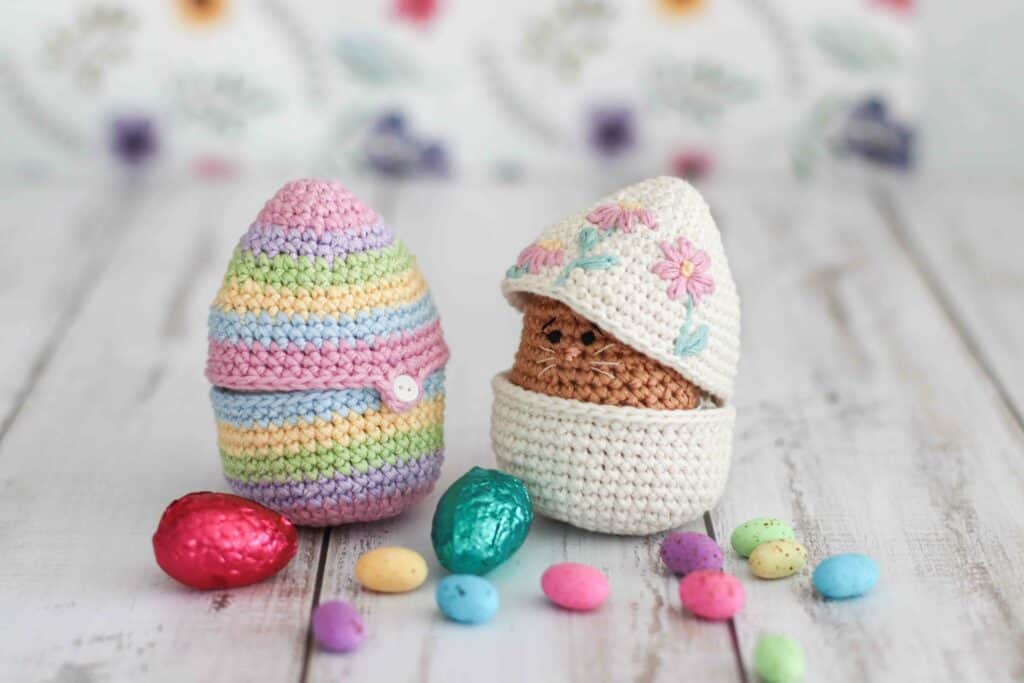
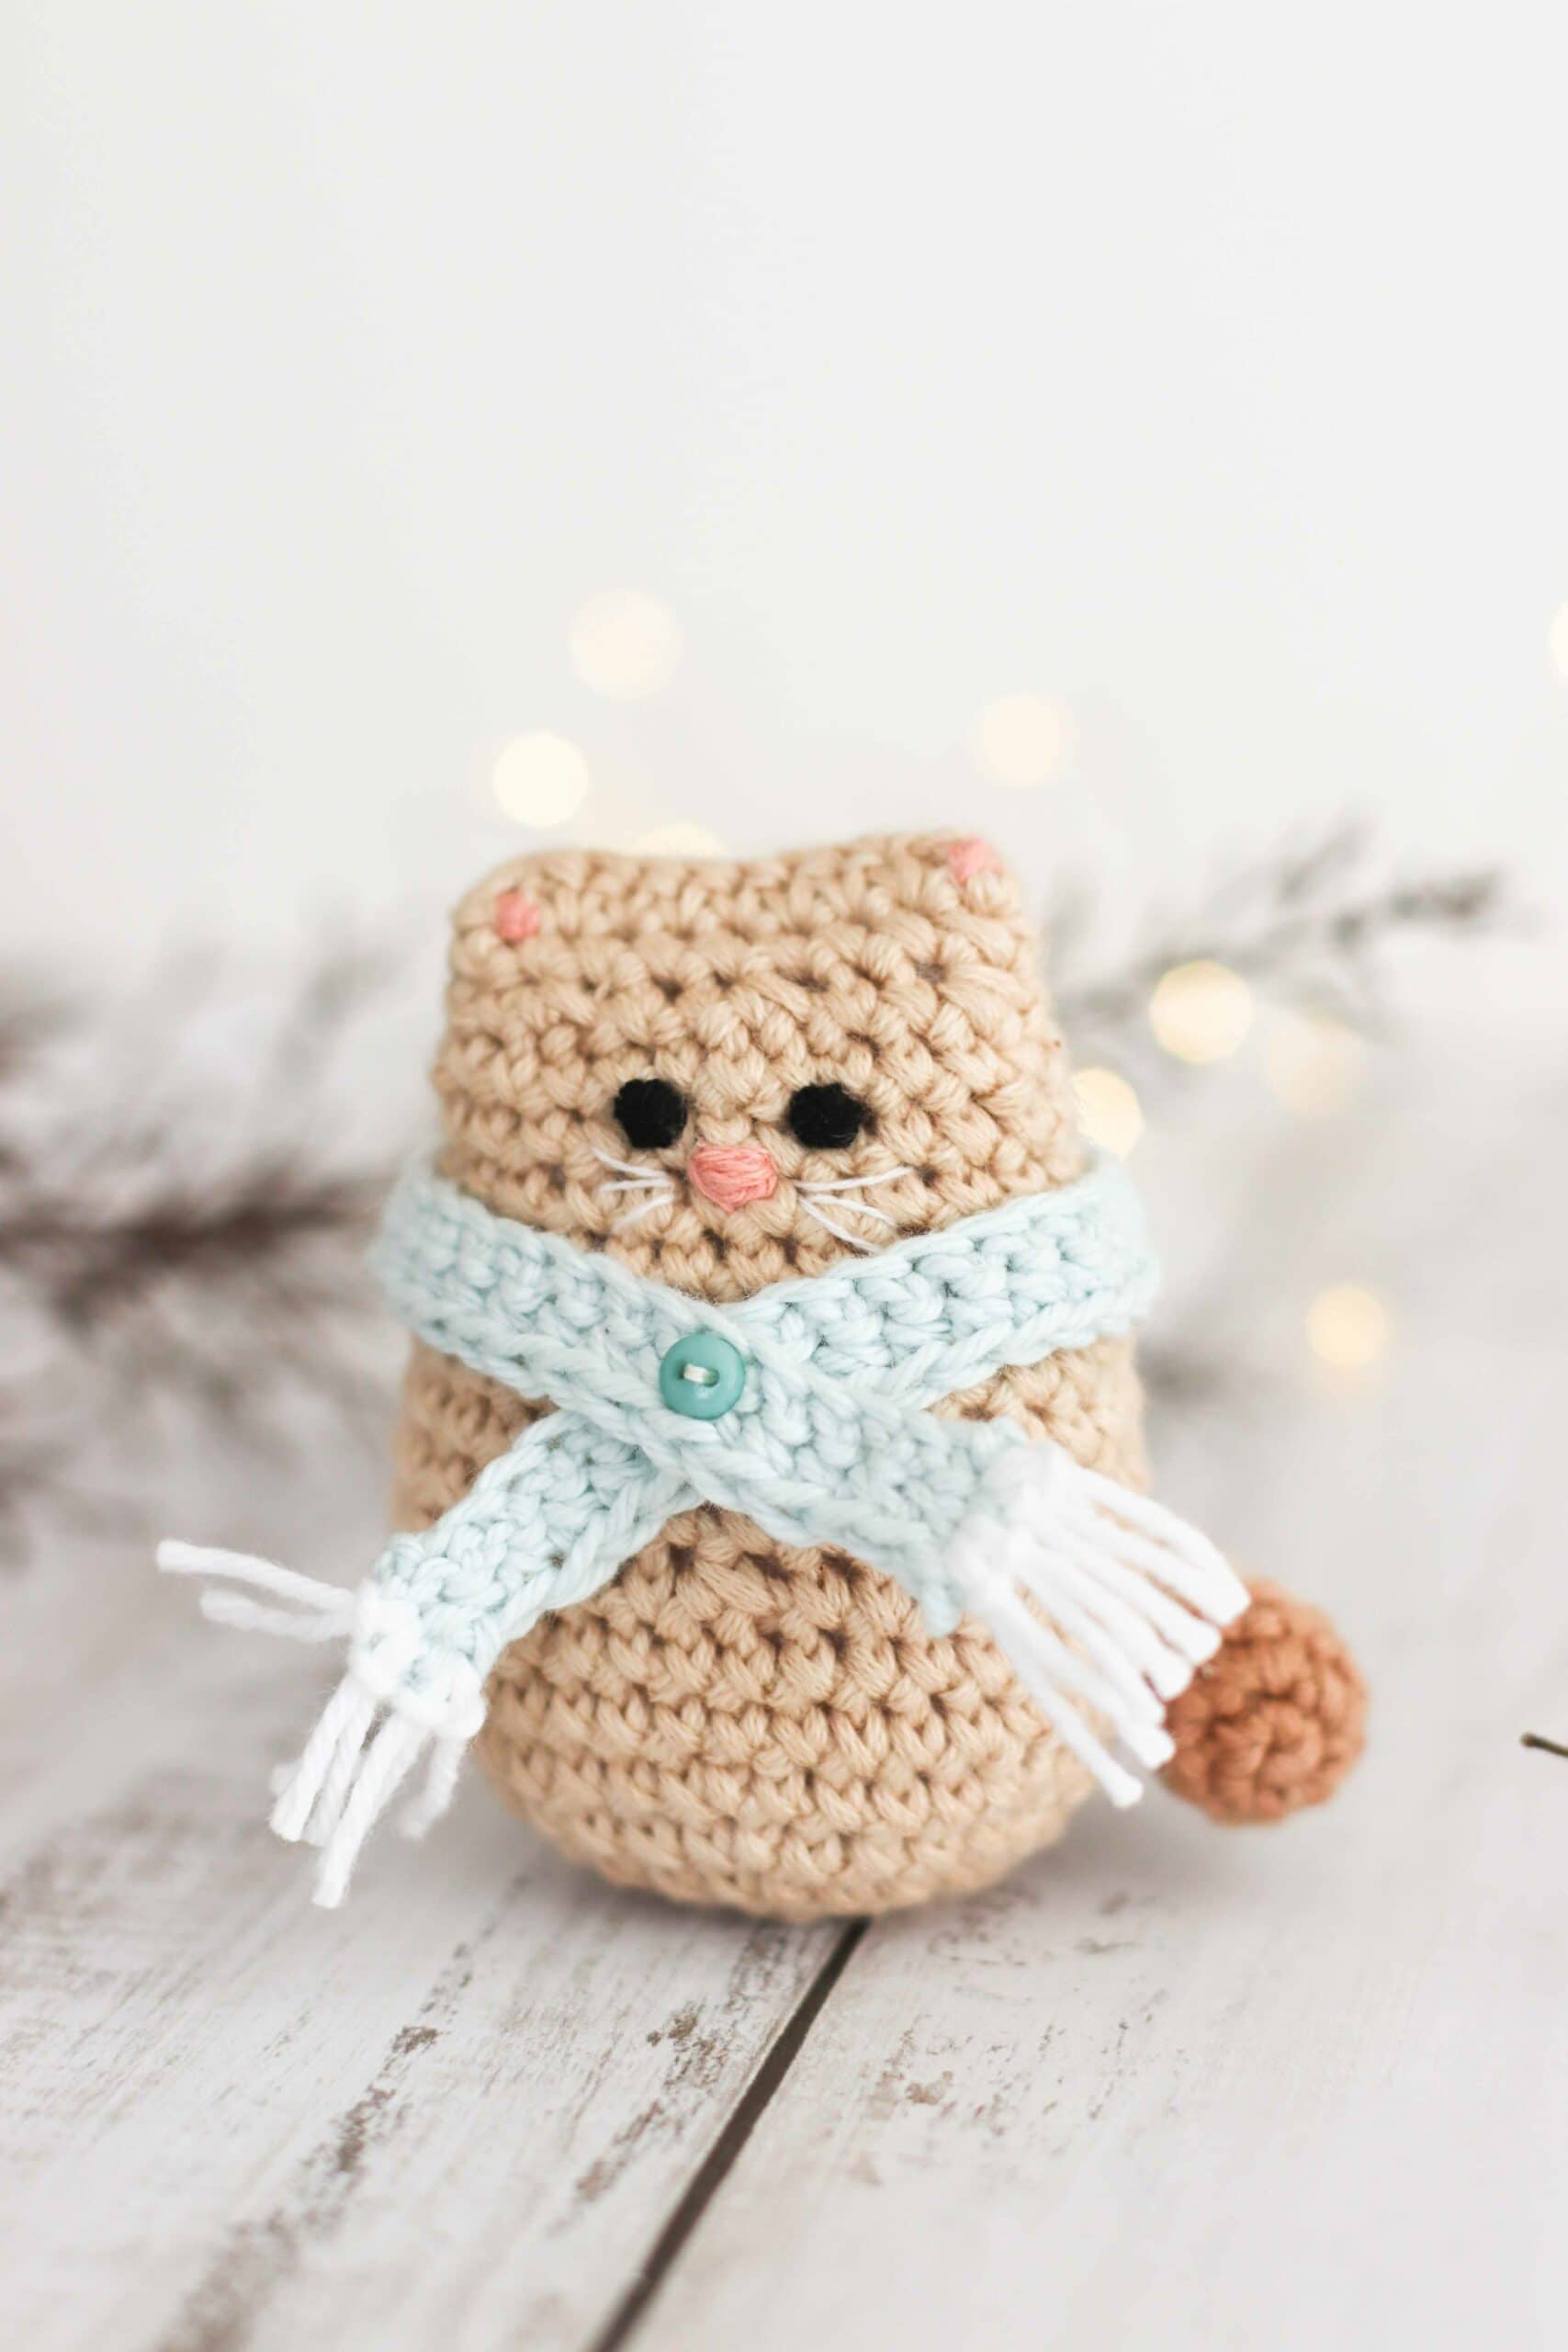
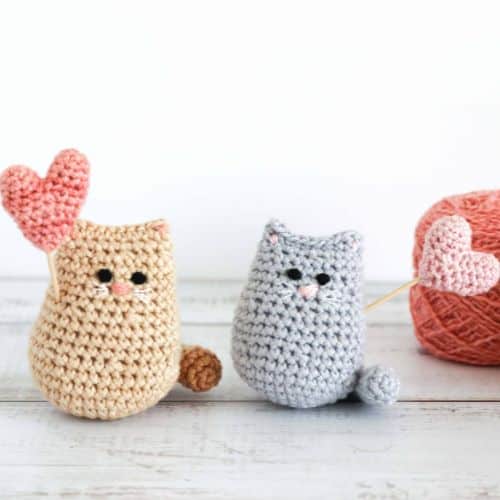
Once you’ve made your base kitty, why not dress it up for the season?
Crochet Cat Tail:
Rnd 1. Mr 5 sc (5)
Rnd 2. 2 sc in each (10)
Rnd 3. sc around (10)
Rnd 4. [sc2tog, sc in next 3], repeat (8)
Rnd 5 – 6. sc around (8)
Rnd 7. [sc2tog, sc in next 2] repeat (6)
Stuff the end of the tail lightly.
Rnd 8 – 15. sc around (6)
Bind off and leave a tail for joining. No need to add more stuffing!
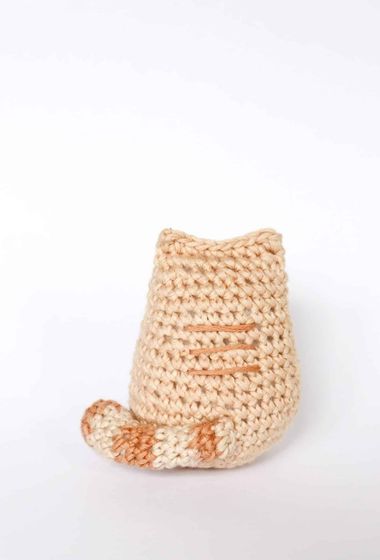
If you want to add stripes, change color every 2 – 3 rounds.
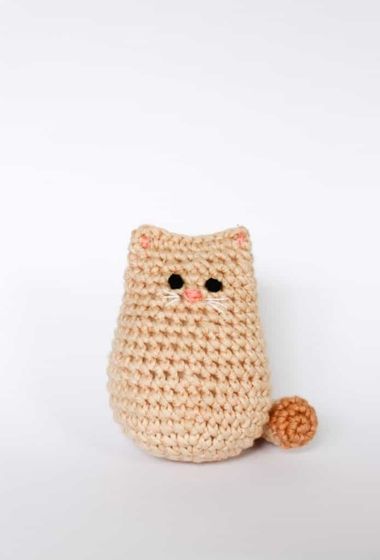
Crochet Cat Eyes and Facial Details
You can have great fun adding character to your little kitty!
The eyes are stitched in place first, approximately 1 – 2 stitches apart and 5 rows down from the top. Have a look at this tutorial for how to embroider eyes onto your kitty.
*You can also use safety eyes, but make sure to attach them before you do the final row!
Stitch the ear details and nose in pink. Add cute little whiskers in a softly contrasting color and stitch any other details (such as stripes on the back). Stitch the tail in place. Give your kitty lots of little cuddles!
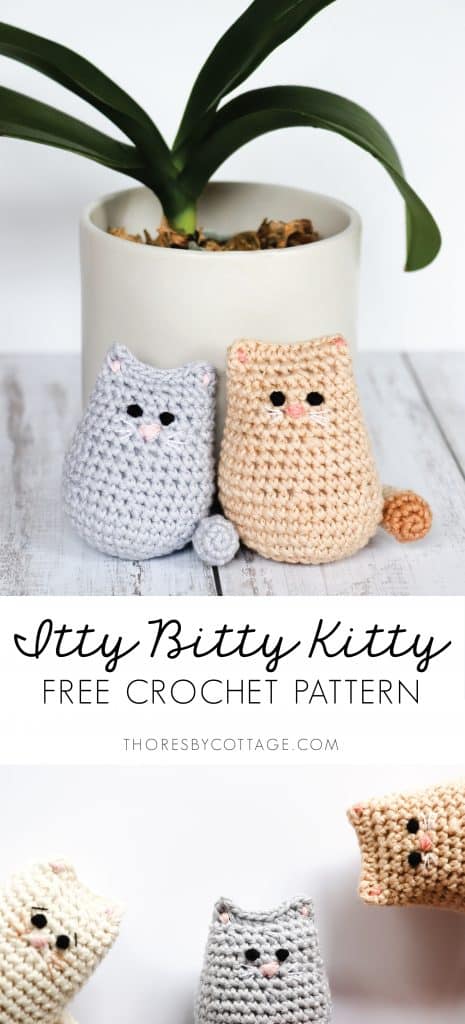
More Itty Bitty Kitty patterns!
If you loved this Itty Bitty Kitty crochet cat pattern, why not check out my other free and premium patterns over on the patterns page (including an adorable Christmas hat for your kitty!). Happy stitching!
Yours in craft,
Caitie x
Thank you, Caitie, for the free Itty Bitty Kitty pattern! This is my first time trying amigurumi. For Row 1: After I make the magic ring, do I need to chain 5 before adding 5 single crochets?
Great that you are trying out amigurumi! The pattern is worked in continuous rounds, or spirals, so when you have worked round 1, you continue working around (no need to work any chains). Hope that makes sense!
Hi Caitie! Thanks for creating such an adorable crochet kitty! It’s been many years since I’ve crocheted and this is a fun way to get back into it. I would like to share your pattern and kitty photo as a take+make craft kit that we are offering to our public library patrons and wondered if that was permitted? I would credit you and provide a link to your website. We’ve been doing different craft kits during the pandemic to connect to our community and they have been a big hit. This would be a perfect intro to crocheting!
As I’m making up 30 bags and using a slightly bigger hook for ease (3.75mm), approximately how much yarn do you think I’d need for each kitty? 35-40 yds? 15-20 g?
Thanks again!
Hi Ruth, I love that you are encouraging people to get crocheting! As long as it links back to me for the pattern then that is absolutely fine. I rely on the revenue generated from views on my blog (or from pattern sales) to pay for the costs of running my blog (along with other expenses!), so that link back is important. I reckon 20g should be plenty! I’d love to see some pictures of the kits or of library patrons finished projects, so feel free to share them via email or on Instagram. Happy stitching!
Thanks Caitie! I’ll include a shout out to you as well as a link to your blog and pattern.
Looking forward to sparking some new interest in crocheting and I’ll share any photos I get back from patrons with you.
Thanks again and stay well!
Not sure how to reply to a comment but that does help and I will definitely try that! Thank you much
Hello if I want to adapt this to make it a larger size , how many rounds would you recommend adding? I was thinking about 12-16 inch in size thank
You!
hmmm, that’s a bit tricksy because if you simply add lots of rounds, you will end up with a long and skinny cat, rather than an overall bigger itty bitty kitty. I’d suggest using bulkier yarn, or yarn held together and going up a few hook sizes to increase the overall size. You can add in a few extra rows to help it along a bit. Hope that helps! Let me know if you have any other questions.
Hey Caitie!! Thank you so much for making this pattern; a lot of friends and I have incredibly enjoyed making our little creations.
I wanted to ask if it was alright if I sold the cats that I made with this pattern (with credit, of course).
Thank you again :D!!
So glad you have enjoyed the pattern! You are more than welcome to make for sale. Happy stitching 🙂
Thank you for the free pattern. These are so cute, I made two of them and the second one was much more easier, but they both turned out okay. I am sure the pattern will become a favorite with many.
Thanks… ~~~Peace~~~
Unfortunately there are quite a few Amazon Kindle books being sold which were “written” by a variety of other authors that incorporate these photos and this pattern. Avoid buying cheap Amazon crochet patterns or at a minimum take the time to be sure that the person getting paid for them has the right to publish them! There’s a reason why some of them are so cheap.
Thank you for this Sue! I completely agree. Those “books” have pirated free patterns and photographs (which they are prohibited from doing based on the policies of this website. They have not been given permission at all!). It is such a shame… I so appreciate that there are many more honest crafters out there though!
Hi this is so cute. Was I supposed to do the french knot eyes before I closed up the cat? I didn’t do that. any way to do them after it is stuffed and sewn closed?
So glad you like the kitty! You can sew the eyes on afterwards. I usually insert my threaded needle from the back of the cat, pull through and leave a tail hanging at the back. Work your french knot/embroidered eyes, then pull the thread back through the body and trim off both tails. You can weave it through the body a few times to secure the thread a bit more too. Hope that helps!
Thank you so much for writing this pattern! I am really enjoying making my little kitty! It’s my first amigurumi attempt and I can’t believe how well it has turned out. I am making it for my cat-liver friend as a Christmas bauble, found it by searching online and it’s just PERFECT so thank you so much! Even the Santa hat!!