
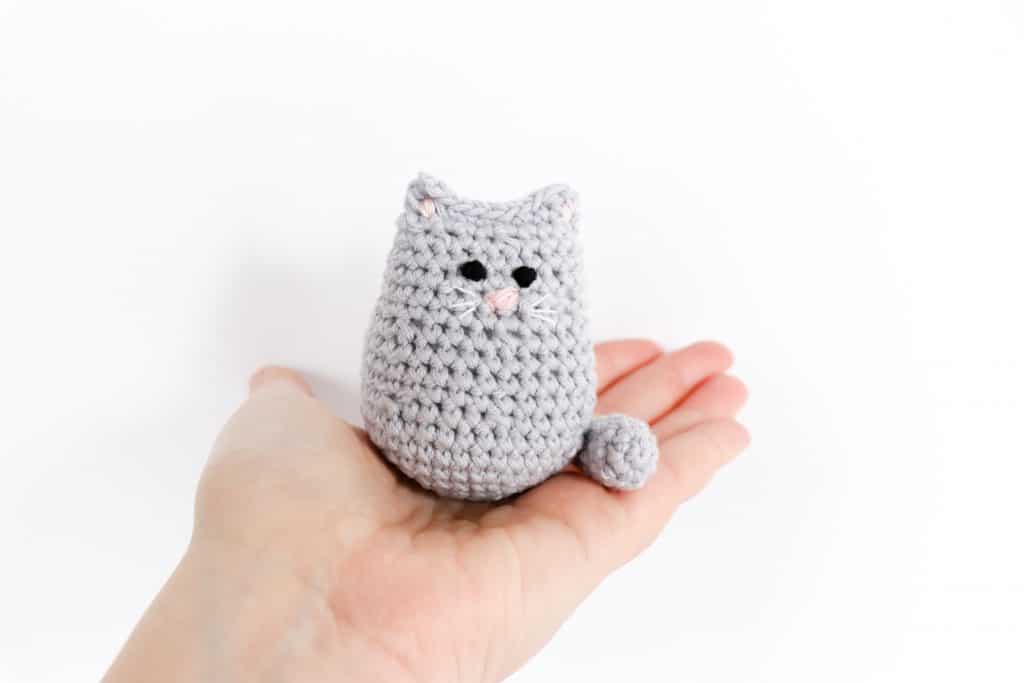
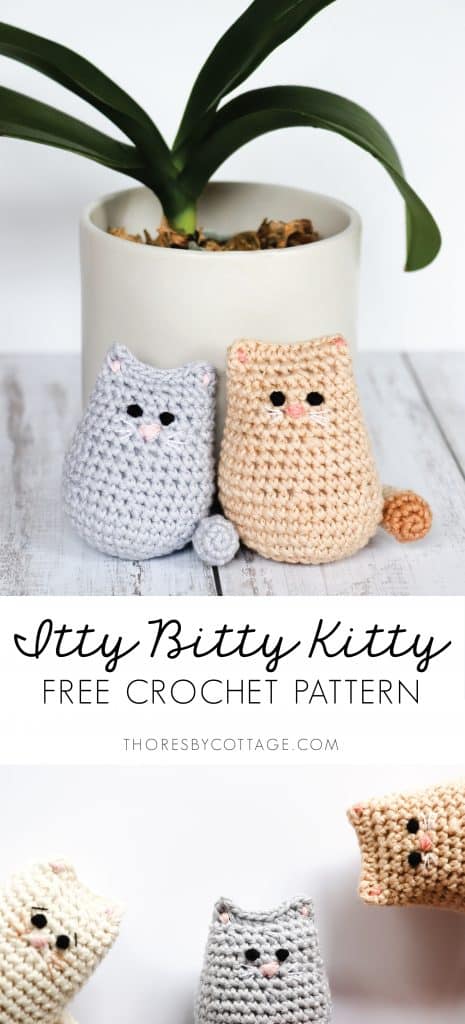
The Itty Bitty Crochet Kitty is the cutest little crochet cat pattern, and one of my most-loved little makes. It works up very quickly (great for beginners!) and would make the sweetest gift for any cat lover.
This kitty crochet project is perfect if you are looking to take a dive into making amigurumi. If you are new to amigurumi, head over to my tips for making amigurumi to ensure your project turns out perfectly.
You can personalize your crochet kitty too by adding stripes or spots, changing up the colors or even using fluffy novelty yarn!
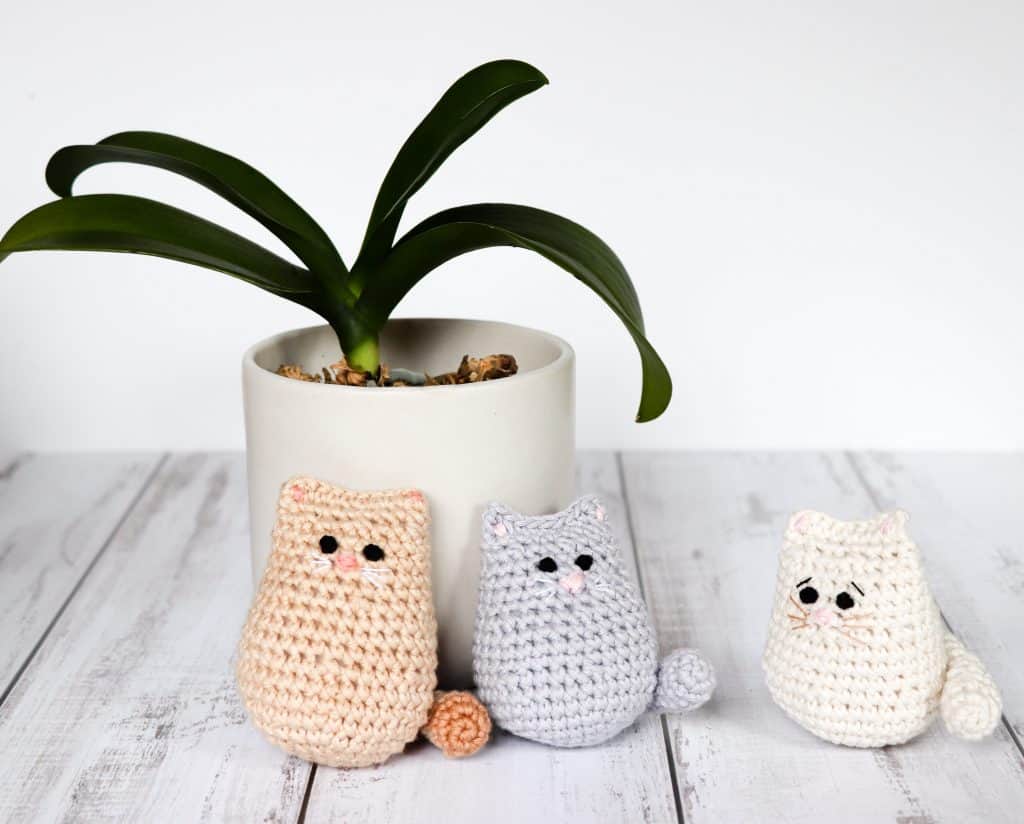
Itty Bitty Crochet Kitty Pattern
About The Crochet Cat Pattern
- Skill Level: Beginner-friendly
- Technique: Amigurumi (worked in the round)
- Finished Size: Small palm-sized kitty
- Time: Quick make (1–2 hours approx.)
Materials
DK/light worsted cotton* (Main body color as well as optional contrast color if adding stripes)
3.25mm crochet hook (larger cat)
2.75mm crochet hook (smaller cat)
Yarn needle
Stuffing
Embroidery cotton for sewing facial details (black, white, pink, tan)
Safety eyes (optional)
*Yarn suggestions
Vinni’s colors Nikkim: 50g (1.75oz), 119m (130yds), 100% cotton, double knit
Paintbox yarns Cotton DK: 50g (1.75oz), 125m (137yds), 100% cotton, 8 ply
La mia Mini Cottony: 25g (0.88oz), 60m (65yds), 100% cotton, double knit
Lion Brand 24/7 Cotton DK: 80g (2.8oz), 250m (273yds), 100% cotton
>> PIN NOW, MAKE LATER! <<
Pattern Notes:
- This crochet cat pattern is written using US crochet terms. If you are unfamiliar with any of the abbreviations, please visit the crochet terms page.
- Have a look at my tips for crocheting amigurumi before you start this project!
- It’s also worth looking at my tutorial for the magic ring if you are unfamiliar with how to make one.
- Some parts of this pattern are worked in continuous rounds. Don’t slip stitch to close the ring unless instructed to do so!
- A low cost, ad free, printable version of this pattern is available in my online stores.
Prefer a printer-friendly version?
Ad-free, printer-friendly PDF version is available in my stores!
How to Crochet the Itty Bitty Kitty (Step-by-Step Pattern)
Crochet Cat Body:
Rnd 1. Mr 6 sc (6)
Rnd 2. sc 2 in each (12)
Rnd 3. [sc in next st, 2 sc in next st] repeat around (18)
Rnd 4. [sc in next 2 sts, 2 sc in next st] repeat around (24)
Rnd 5. [sc in next 3 sts, 2 sc in next st] repeat around (30)
Rnd 6. [sc in next 4 sts, 2 sc in next st] repeat around (36)
Rnd 7 – 8. sc around (36)
Rnd 9. [sc in next 4 sts, sc2tog] repeat around (30)
Rnd 10 – 12. Sc around (30)
Rnd 13. [sc in next 3 sts, sc2tog] repeat around (24)
Rnd 14 – 17. sc around (24)
Rnd 18. [sc in next 2 sts, sc2tog] repeat around (18)
Rnd 19. sc around (18)
Stuff. (*If you are adding safety eyes, do so now!)
Rnd 20. Hold the top two edges together and crochet through both sides.
ch1, dc into the first st, sc into the next 7 sts, dc into the last st. Bind off and weave in ends.
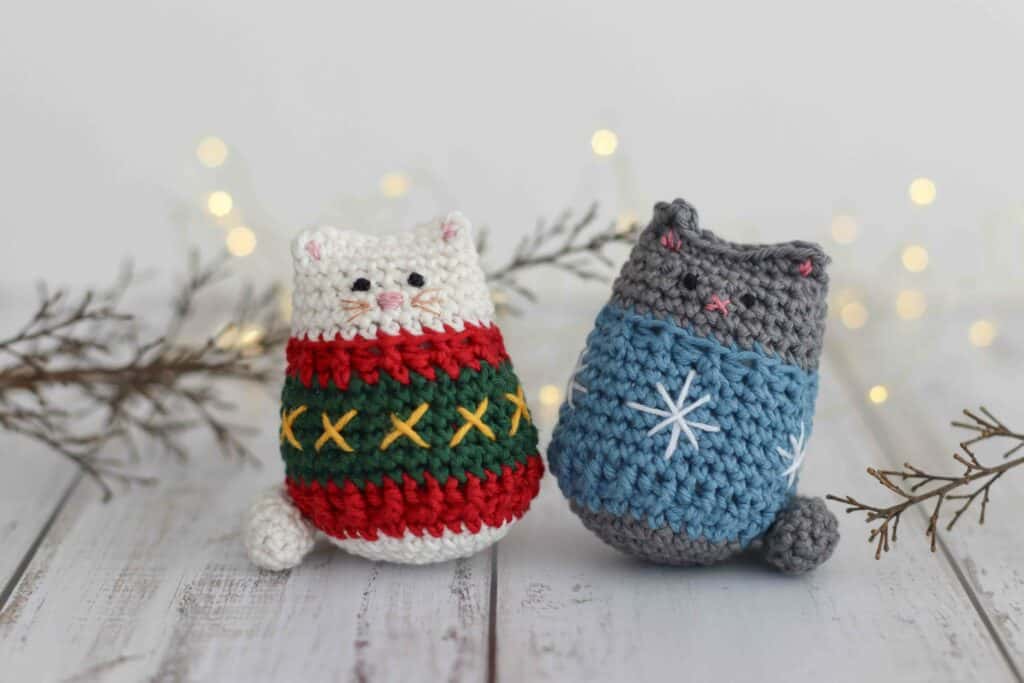
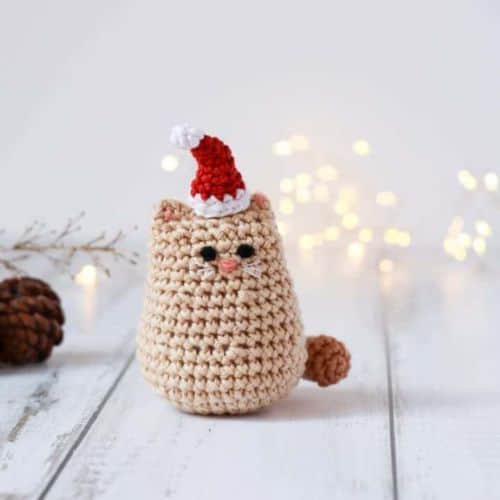
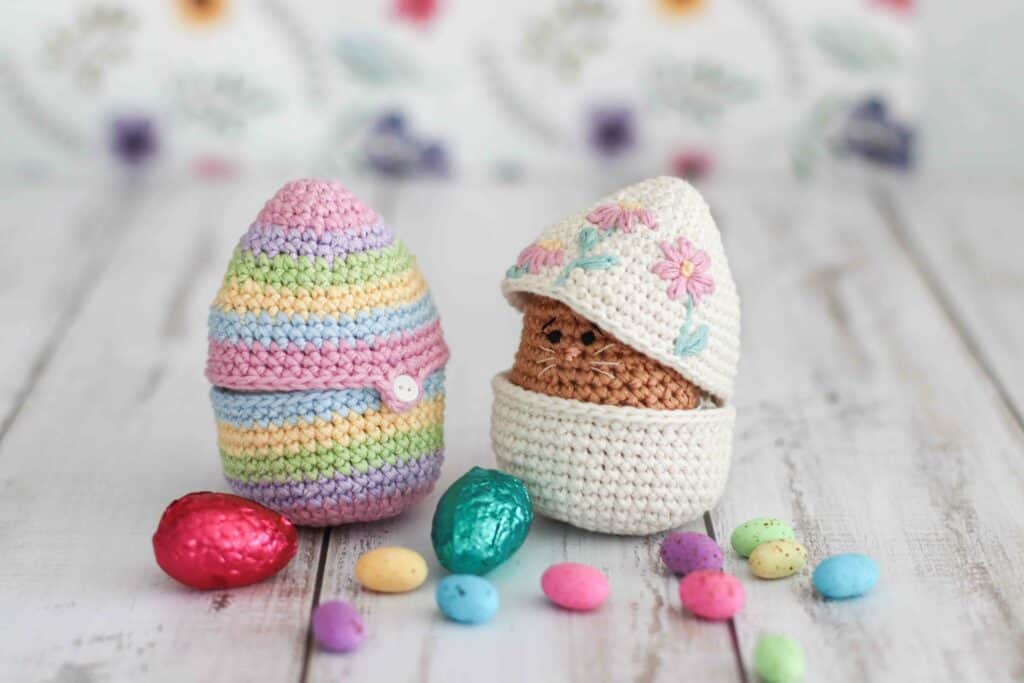
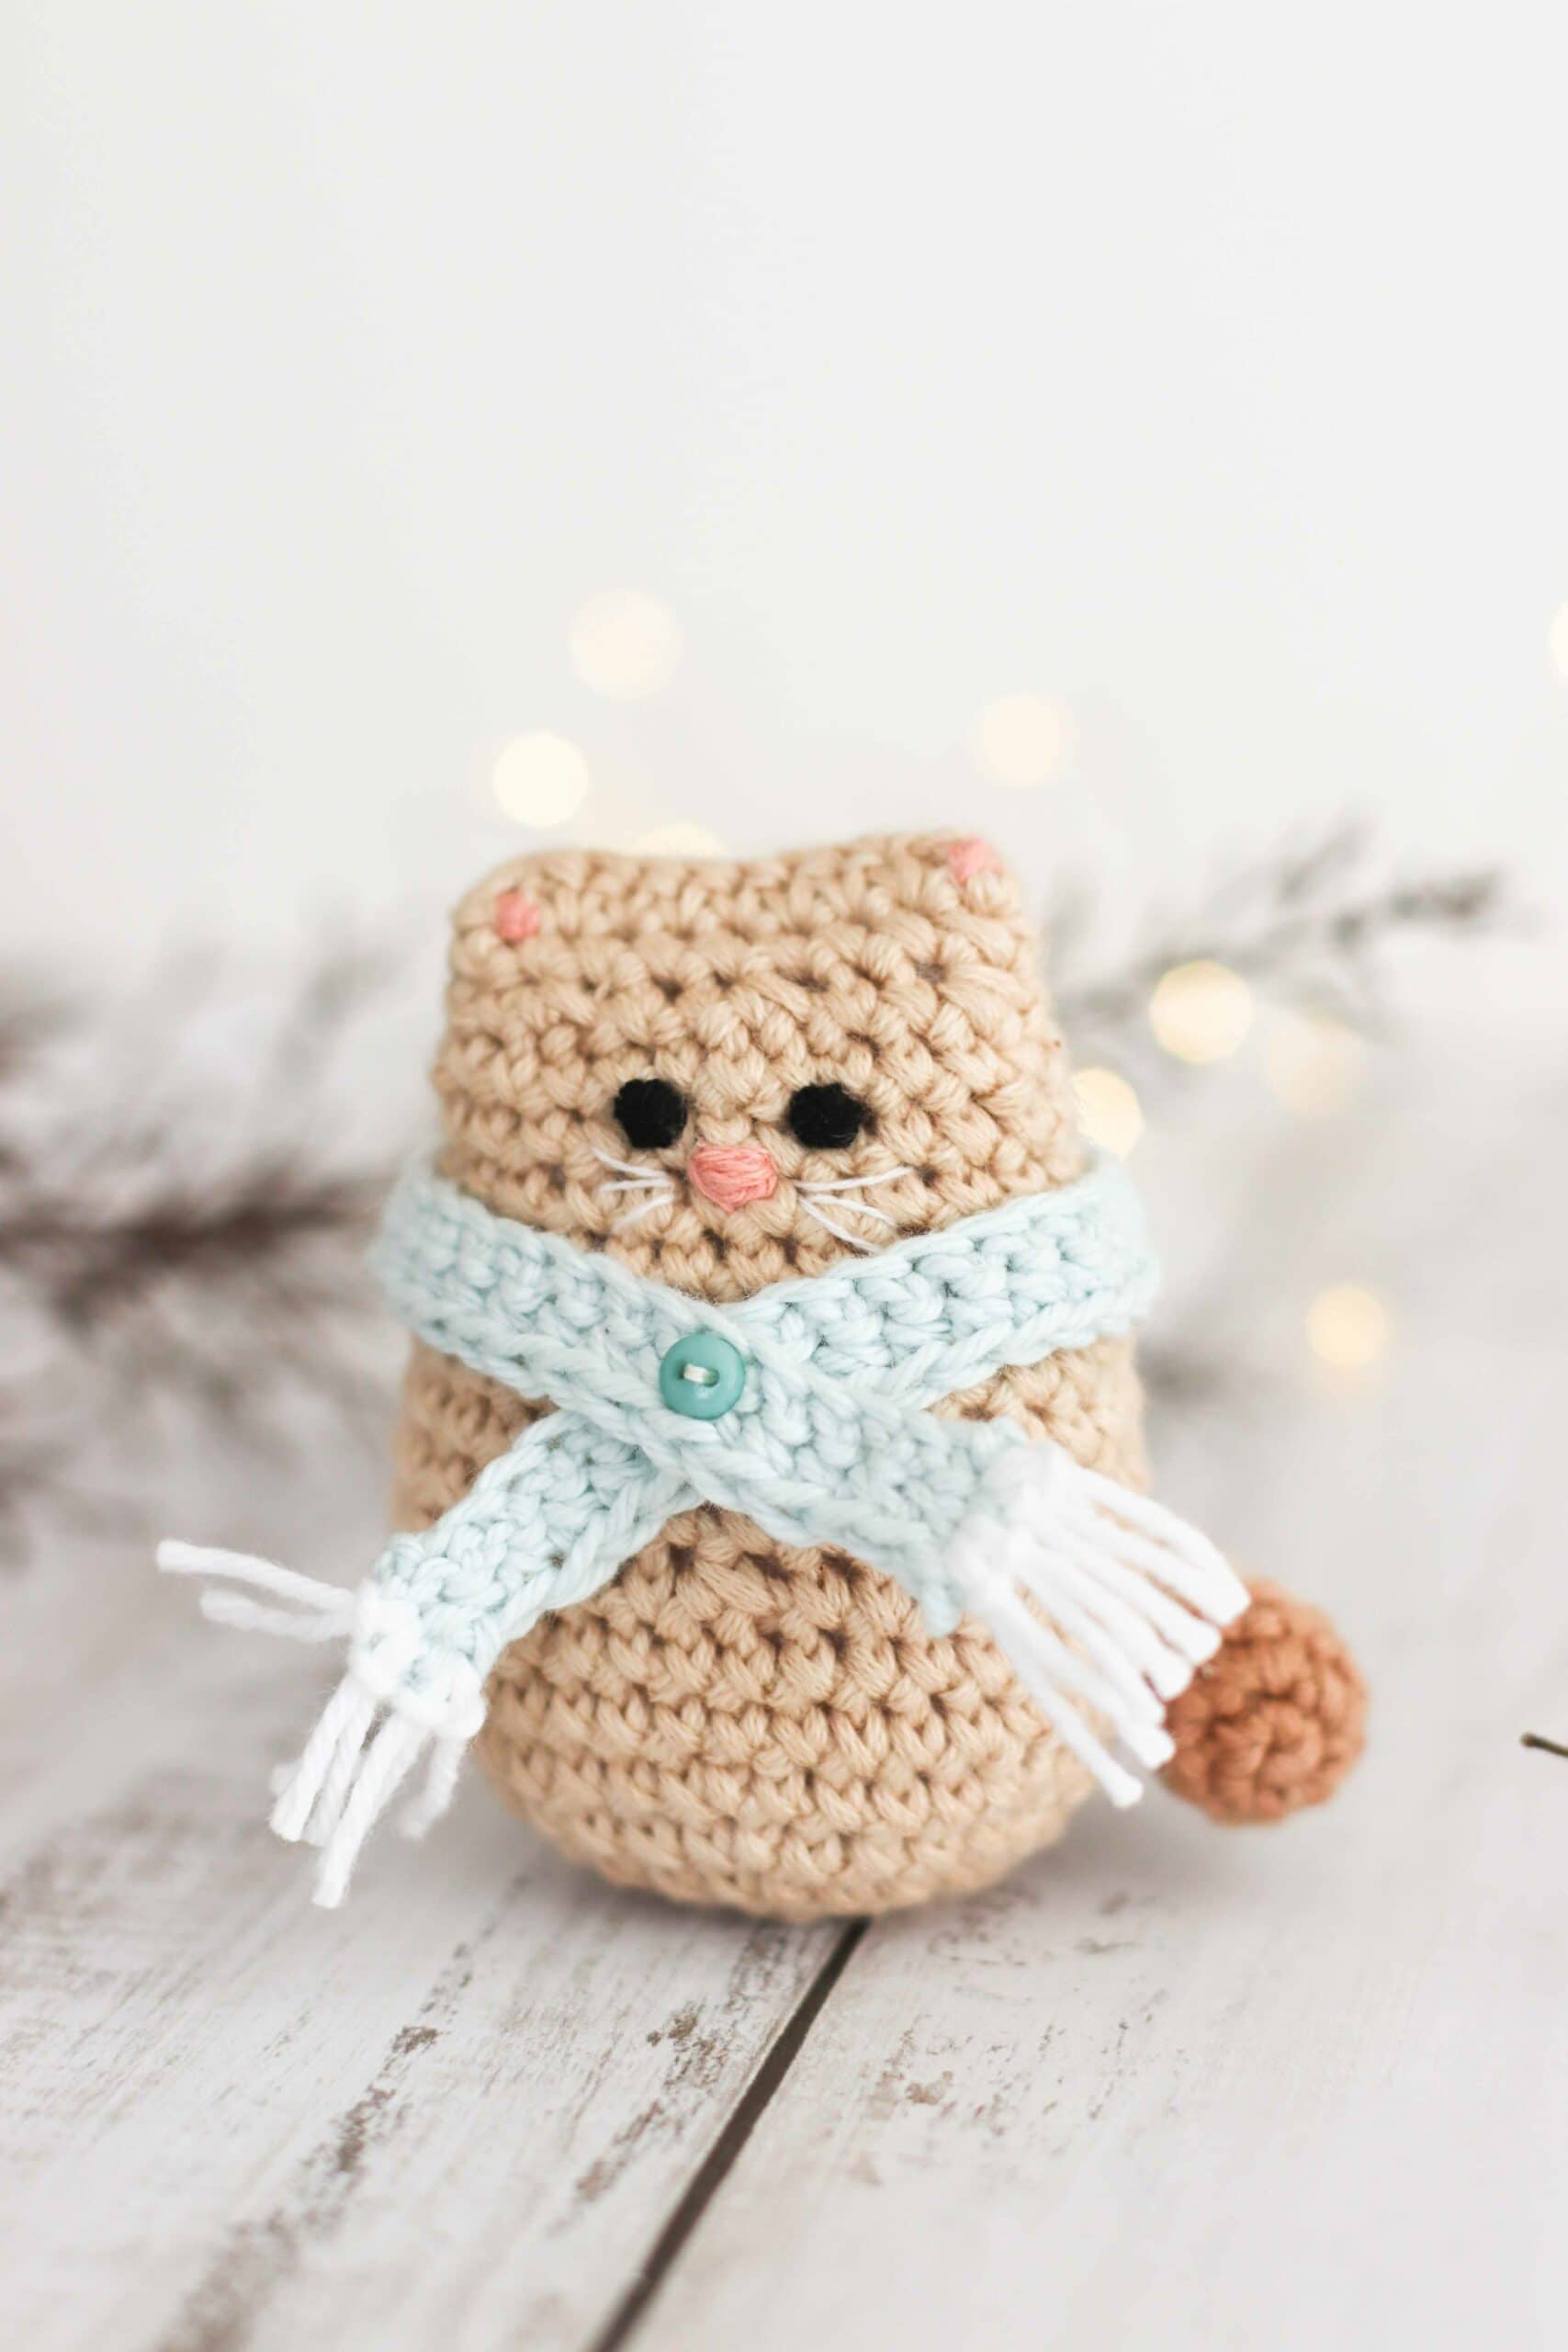
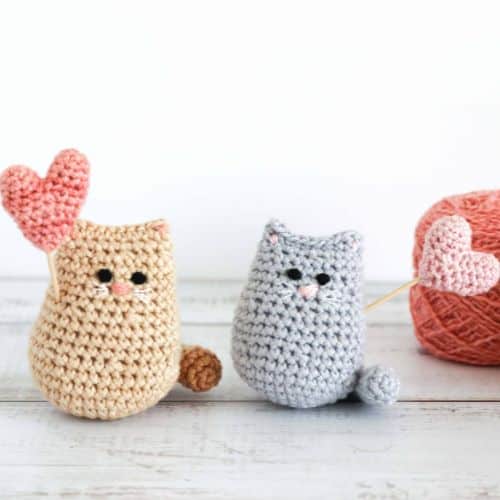
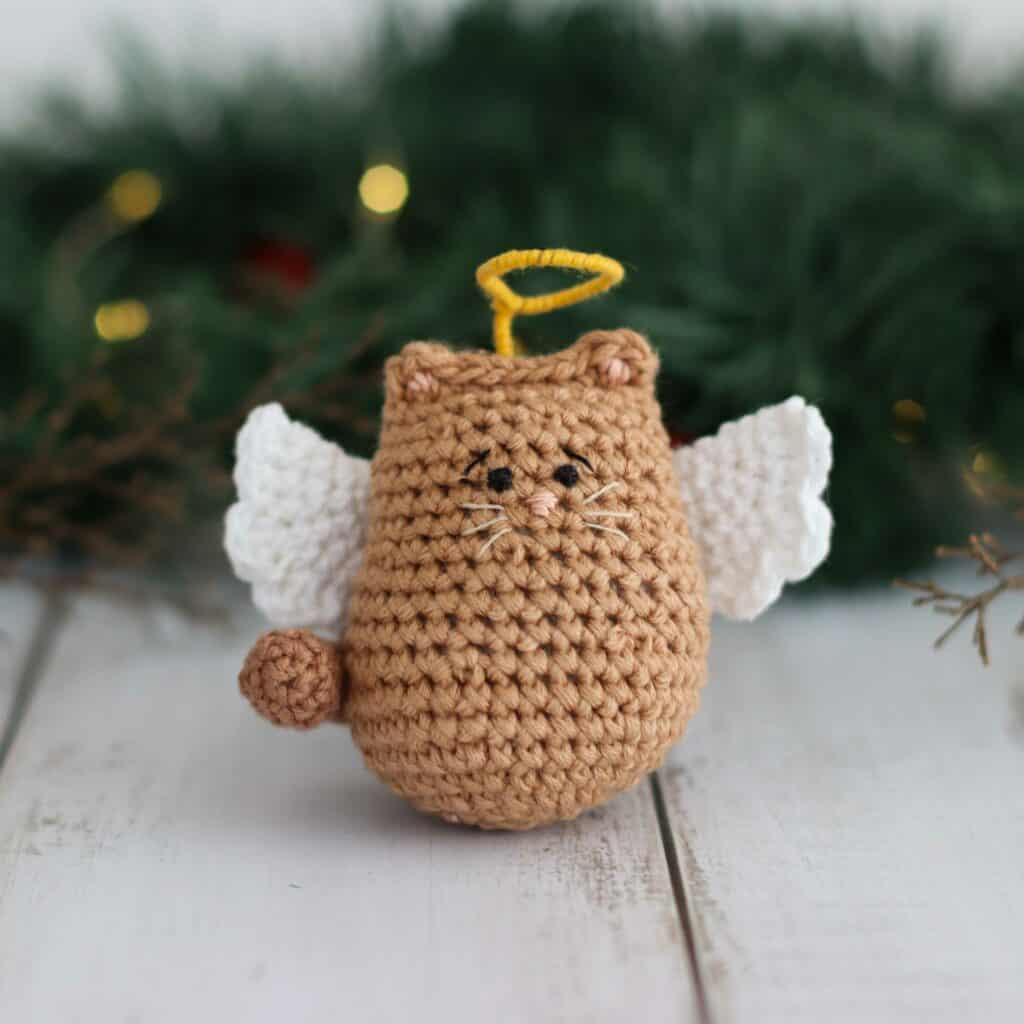
Seasonal Itty Bitty Kitty Variations
Once you’ve made your base kitty, why not dress it up for the season?
Crochet Cat Tail:
Rnd 1. Mr 5 sc (5)
Rnd 2. 2 sc in each (10)
Rnd 3. sc around (10)
Rnd 4. [sc2tog, sc in next 3], repeat (8)
Rnd 5 – 6. sc around (8)
Rnd 7. [sc2tog, sc in next 2] repeat (6)
Stuff the end of the tail lightly.
Rnd 8 – 15. sc around (6)
Bind off and leave a tail for joining. No need to add more stuffing!
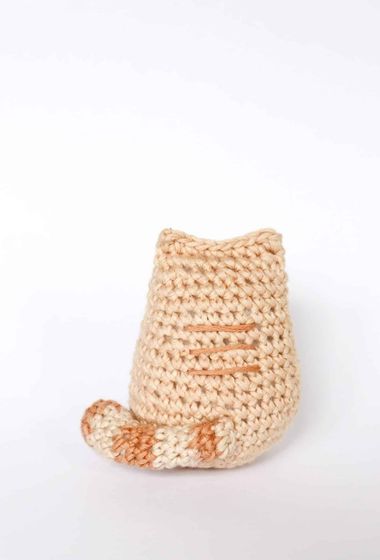
If you want to add stripes, change color every 2 – 3 rounds.
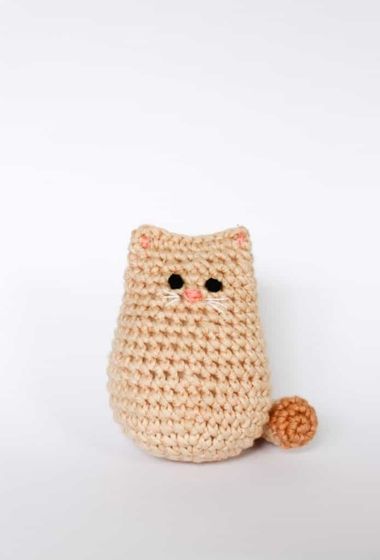
Crochet Cat Eyes and Facial Details
You can have great fun adding character to your little kitty!
The eyes are stitched in place first, approximately 1 – 2 stitches apart and 5 rows down from the top. Have a look at this tutorial for how to embroider eyes onto your kitty.
*You can also use safety eyes, but make sure to attach them before you do the final row!
Stitch the ear details and nose in pink. Add cute little whiskers in a softly contrasting color and stitch any other details (such as stripes on the back). Stitch the tail in place. Give your kitty lots of little cuddles!
More Itty Bitty Kitty patterns!
If you loved this Itty Bitty Kitty crochet cat pattern, why not check out my other free and premium patterns over on the patterns page (including an adorable Christmas hat for your kitty!). Happy stitching!
Yours in craft,
Caitie x
Hi Caitie. Thanks so much for posting this pattern. I’ve only ever crocheted granny squares before!
Do I need to chain 3 before I start the sc to get the height of the row? And do I close each row with a slip stitch?
Hi Hazel, great that you are giving this a go! This amigurumi project is worked in continuous rounds (which is essentially a spiral) so you do not need to slst to close the round and you do not need to ch 1 either. I do find it helpful to use a stitch marker to mark the beginning or end of a round. Hope that helps.
If you are going to do a french knot should you do it when it says after round 19 to stuff it or can you do it after?
It is probably best to do it afterwards actually, otherwise it may come undone while you finish up the crocheting.
it didn’t work for me 🙁 but i am a beginner and i am only 10 but they are cute i am going to try
again
Keep trying! If you have any questions, you can ask right here 🙂
I love this so much, thanks for the pattern!!! I made it as my first ever crochet project and it turned out so well, was really easy to follow. And it is so cute, the amount of joy it has brought me and my friends is ridiculously high.
Ah, I’m so, so happy to hear this! 🙂
Hello! Thank you very much for this reaaally cute kitty! My parents and siblings love them now:)
I have a question. I’m a student, who love crochet animals, but I don’t have money for this hobby. Can I use your pattern and sell some kitties (price will be low, I need only yarn)? I will indicate you as author of this pattern💖
(I’m trying to use English translator, sorry if something was unclear)
Hello! So glad you have enjoyed the pattern. Yes, you are welcome to sell kitties that you have made yourself. All the best!
Hi, can I sell this with your santa hat pattern attached?
Thanks!
Hi there! You are more than welcome to sell kitties you have made yourself, but please can I ask you to refer people to the website for the hat pattern. Thanks so much 🙂 (You can read more about the pattern terms of use here
Hi Caitie!
First of all, thank you so much for this pattern! I just started crocheting 3 weeks ago and this is my 3rd Amigurumi project! I am currently on Round 20 and had a question. When you say: Hold the top two edges together and crochet through both sides. — (Are you meaning you pinch them together and then crochet through 2 different stitches to bind them together?) I’m struggling to visualize this and wanted to ask before I attempted to go ahead. Thanks so much! 😀
Patrice
Hi Patrice, so glad you are enjoying the pattern! Yes, you hold the two open edges together, and instead of stitching through just one layer of fabric/one stitch (as you have been doing) you stitch through both layers to close up the top of the kitty. Hope that helps!
Hi,
I really want to make one of these but I dont understand any of the terminology even with the term guide… im new to this haha
Does anyone have a video i can follow to create my own?
Thank you
Becky xx
Hi Becky, I’m hoping to make a video for the itty bitty kitty soon! So stay tuned. I’d suggest familiarising yourself with the stitches (e.g. how to do a sc [single crochet]) and practice that so that when you get to making your kitty, it will turn out perfectly 🙂 You are also welcome to email me on hello@thoresbycottage.com for any other help you may need with the pattern.
Thanks!
Hi Caitlin! I should single crochet through both loops (not just the back loop), is that correct?
Correct! 🙂
Thank you! : )